Adjusts the range that will be played when you trigger a note. Adjust the play start and end
points in the Sample via the Start and End parameters. You can also do it by dragging the
white markers labeled S and E on the waveform display (1) using the mouse as described
above.
(6) SELECTION RANGE section
Adjusts the range to which audio processing functions will be applied. You can also select the
range by dragging your mouse on the waveform display (1) as described above.
(7) Audio Toolbar
Provides a set of destructive audio processing functions to modify your Sample. The functions
will be applied to the current selection range. The available functions are described in section
↑17.3.2, Audio Editing Functions below.
You can also edit the play and loop ranges on the Zone page. See section ↑17.5.6, Adjusting the
Zone Settings for more information.
Using the EDIT Page on Your Controller
► In Sampling mode, press NAV + pad 14 to access the EDIT page. You can also hold NAV
and turn the Control encoder.
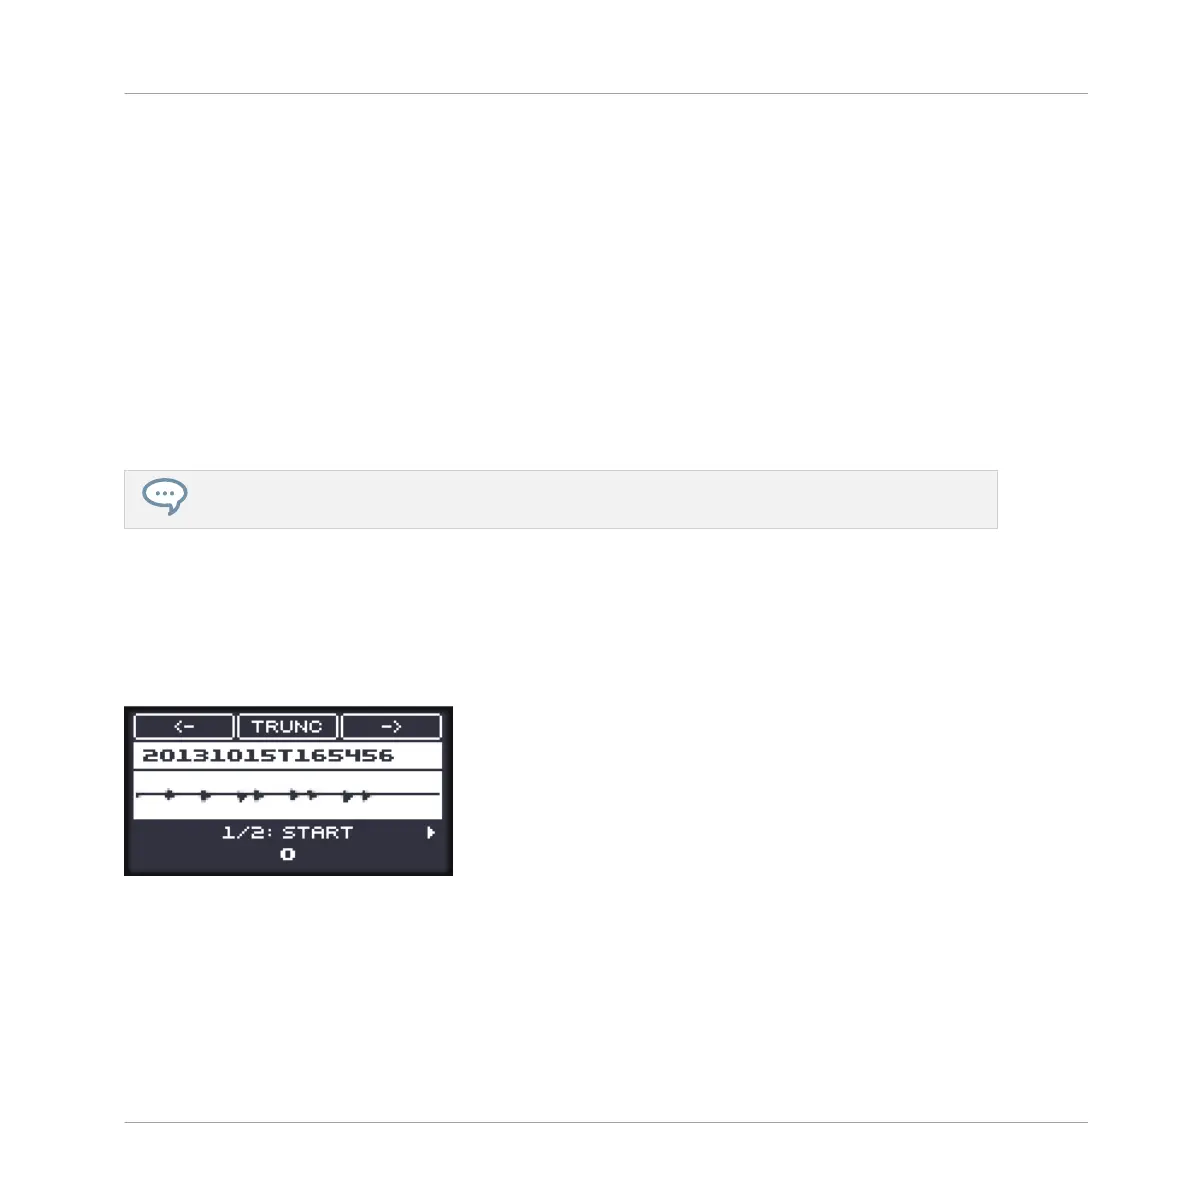
The EDIT page looks as follows:
The EDIT page on the controller.
The display shows you the waveform of the selected Sample. You can adjust the waveform view
as follows:
1. Press and hold the VIEW button to enter View mode. You can also pin the View mode so
that you can release VIEW and stay in View mode (see ↑3.3.1, Pinning a Mode on the
Controller).
Sampling and Sample Mapping
Editing a Sample
MASCHINE MIKRO - Manual - 838
 Loading...


