Issue 1.2 UNIVERGE SV9100
3 - 2 Installing the SV9100 Chassis
1.1.1 Installing the 19” Controlling Chassis
1. Ensure the chassis is powered down.
2. Align the GCD-CP10 blade with the Slot 1 guides of the Controlling
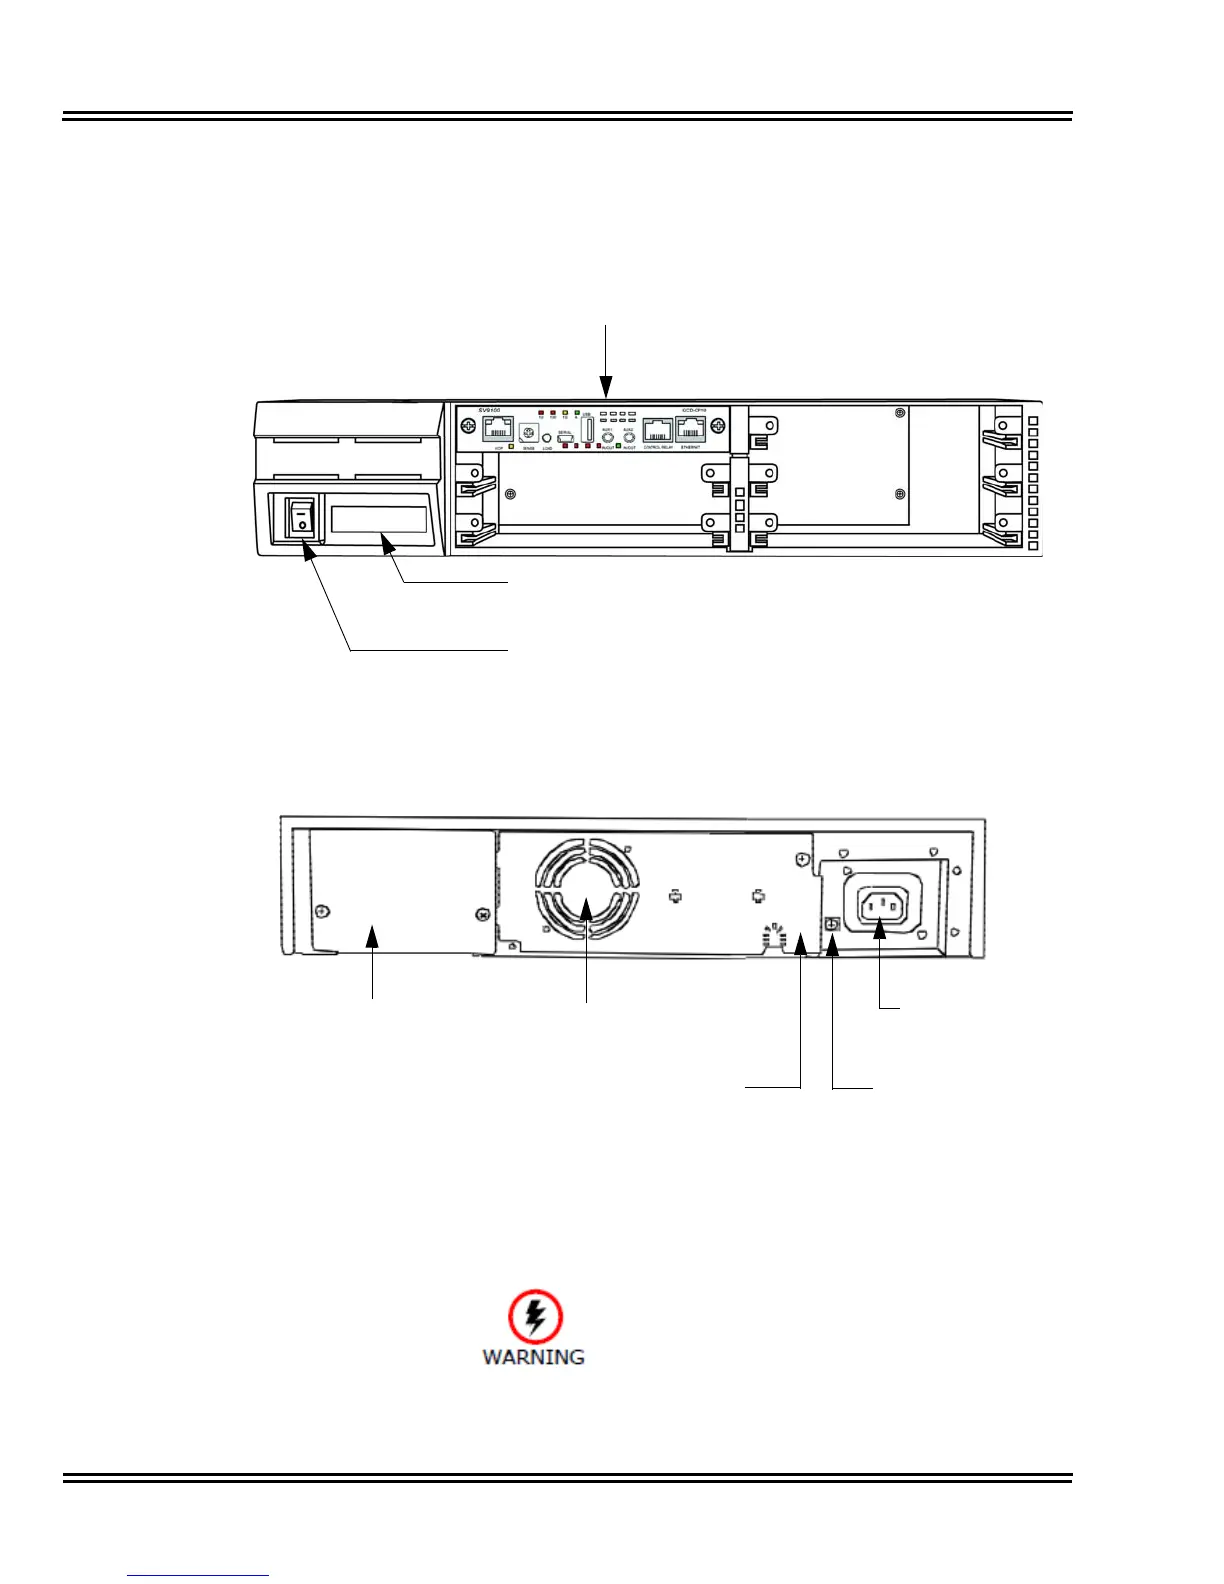
Figure 3-1 CHS2UG Chassis (Front View)
Figure 3-2 CHS2UG Chassis (Rear View)
Do not remove or install blades with the power on.
Universal Slot for Legacy Line/Trunk blades and
Application blades (six slots). When used as
controlling chassis, the GCD-CP10 is mounted in Slot
1 (shown).
Slot for GPZ-BS10/GPZ-BS11 blade
– Connection with CHS2UG chassis
Power Switch

 Loading...


