14-10
(2) Changing number of units
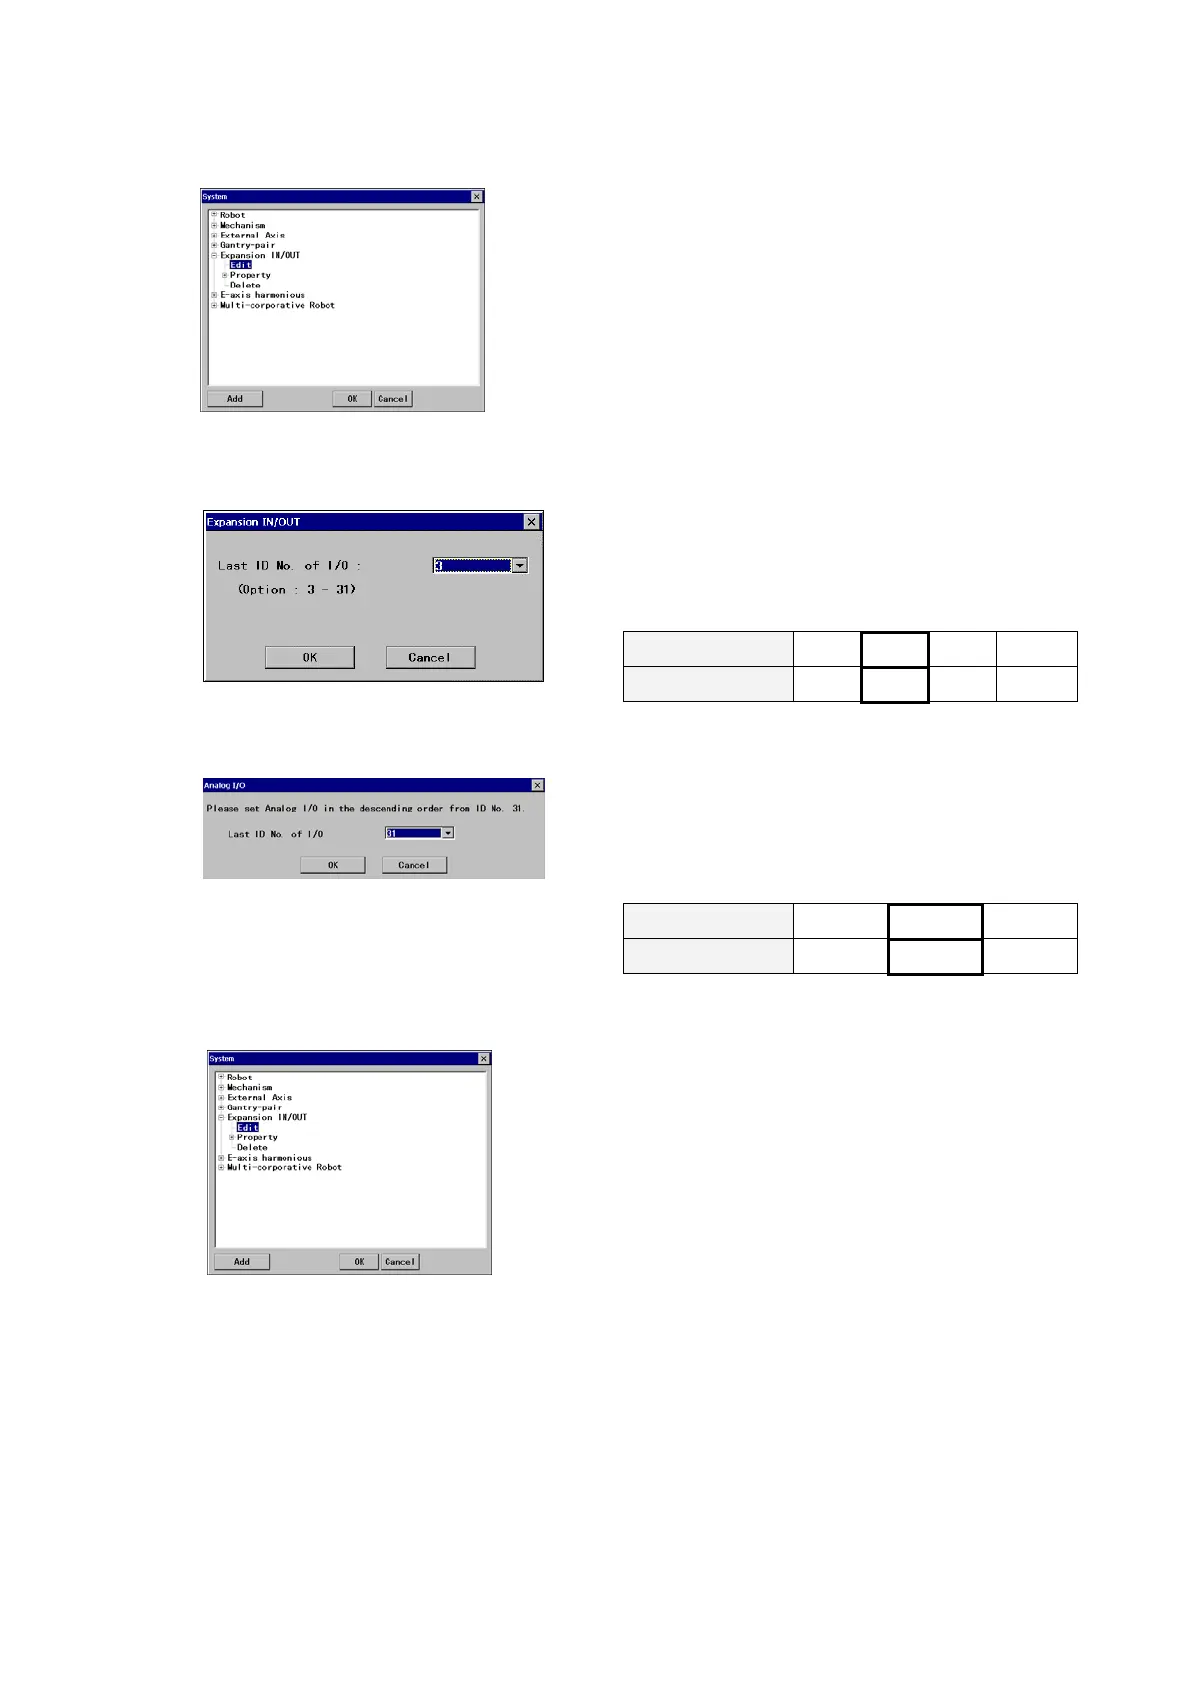
<System settings screen>
On the System settings screen,
click the
Edit of ‘Auxiliary IN/OUT’ (or ‘Analog I/O’), and
then click the
OK button to display the ID setting dialog box
1) To change “Expansion IN/OUT”
Enter the ID number of the last unit after the
change (Last I/D number).
The ID number should start from “3” in ascending
order (by 1), that is, if you change the unit to 2
units, you should enter “4”.
Number of unit 1 2 3
…
Î
Last ID No. of I/O
3 4 5 …
2) To change “Analog I/O”
Enter the ID number of the last unit after the
change (Last I/D number)..
The ID number should start from “31” in
descending order (by 1), that is, if you change to 2
units, you should enter “30”.
Number of unit 1 2
…
Î
Last ID No. of I/O
31 30 …
(3) Remove all units
<System settings screen>
On the System settings screen,
click the
Delete of ‘Expansion IN/OUT’ (or ‘Analog I/O’),
and then click the
OK button to display the ID setting
dialog box
Then the teach pendant prompts you to confirm the action.
Click the
OK button to delete all units.