4.Replacement and Adjustment
122
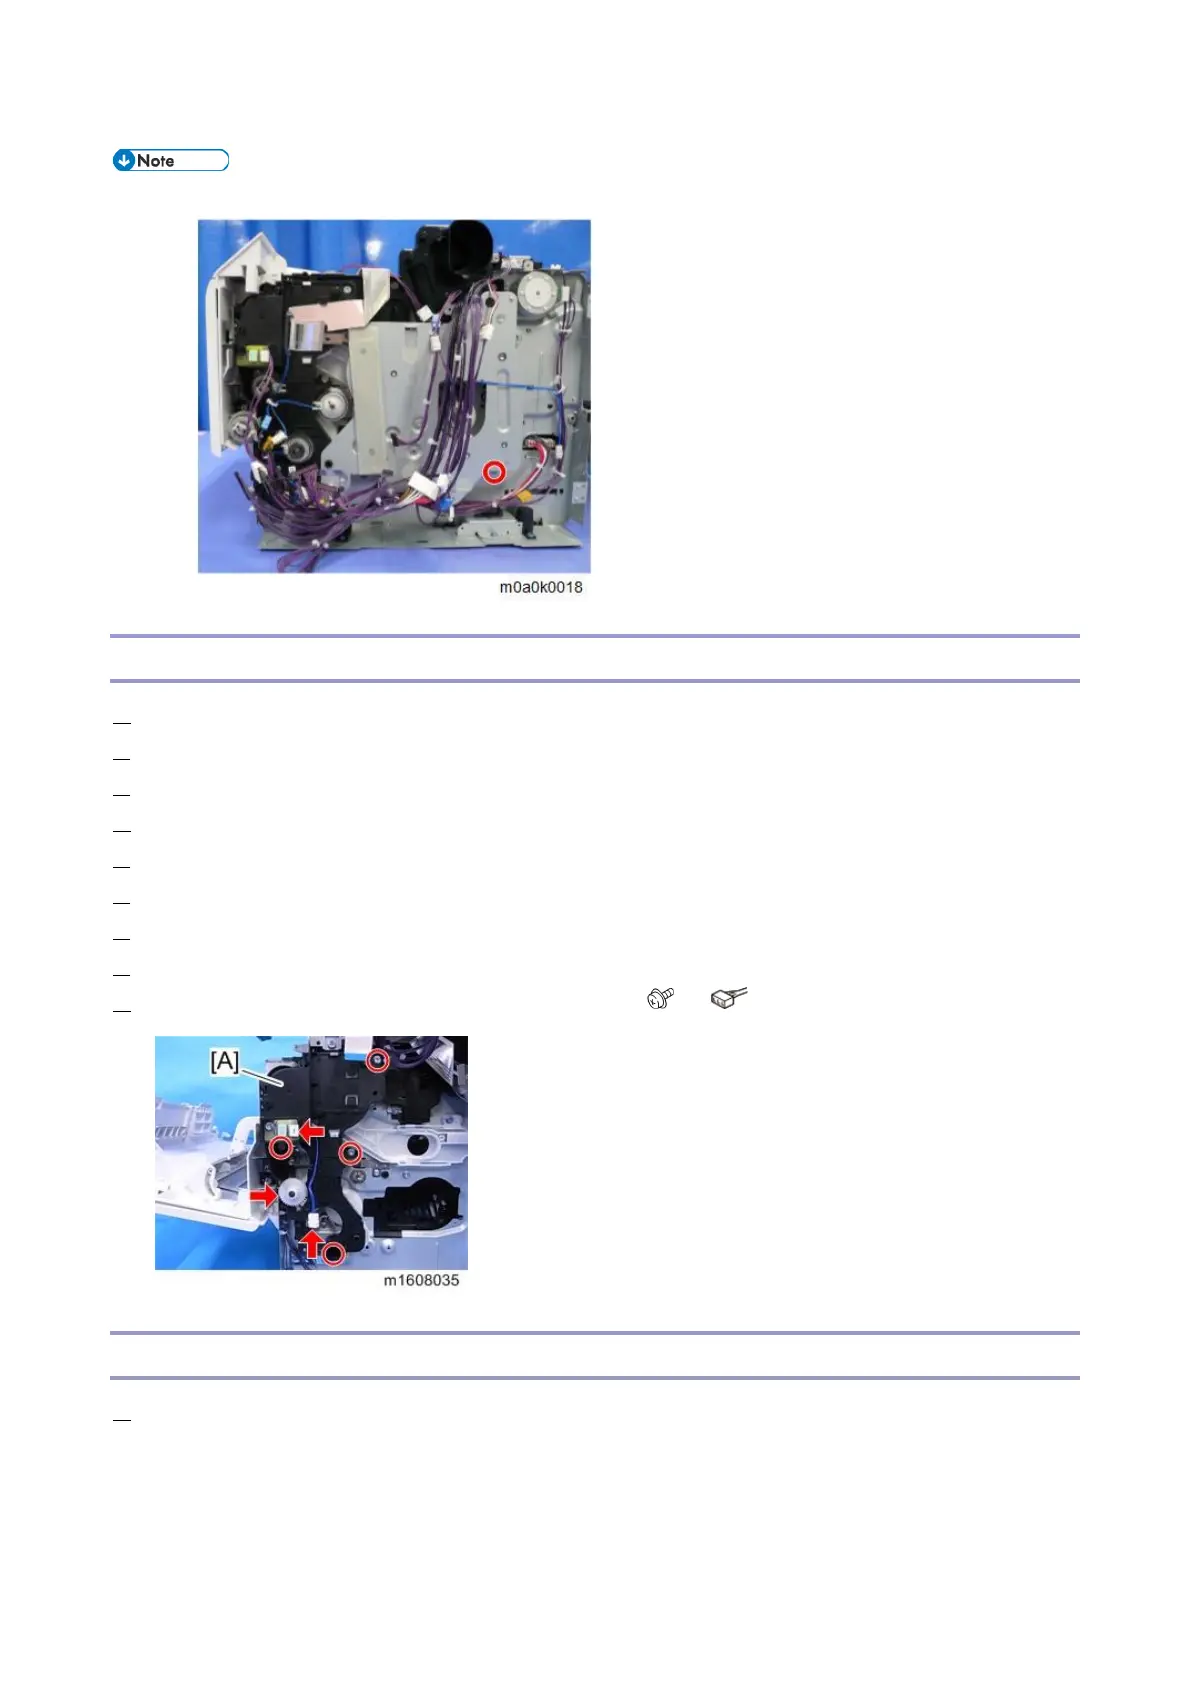
To mount the drive unit, use the rounded end screw (blue) at the position indicated in the figure below.
Gear Unit
1. Remove the drive unit (Drive Unit)
2. Remove the registration clutch. (Registration Clutch)
3. Remove the bypass-bottom plate clutch. (Bypass Bottom Plate Clutch)
4. Remove the paper feed clutch. (Paper Feed Clutch)
5. Remove the bypass feed clutch. (Bypass Feed Clutch)
6. Remove the duplex clutch. (Duplex Clutch)
7. Remove the paper size switch (Paper Size Switch)
8. Remove the temperature/humidity sensor. (Temperature/Humidity Sensor)
9. Release the FFC from the hook and remove the gear unit [A] ( x4, x2, Gear x1)
Bypass Feed Clutch
1. Remove the right cover. (Right Cover)