4.Replacement and Adjustment
149
The volume of the beeping sound is set to the same level as the speaker volume.
If the speaker volume is set to off, the volume of the beeping sound is set to its initial factory-set level.
If the machine does not beep, turn the main power OFF and then ON, and attempt data transfer again.
Try several times if necessary.
Be sure to check the transfer result after executing data transfer. If the transfer has failed, you need to
specify settings manually in the SP mode.
13. When "Ready" is displayed on the control panel, turn the power OFF, and remove the AC power plug from the
receptacle.
14. Disconnect the flat cable from both FCU boards.
15. Remove the old FCU board with bracket from the controller box.
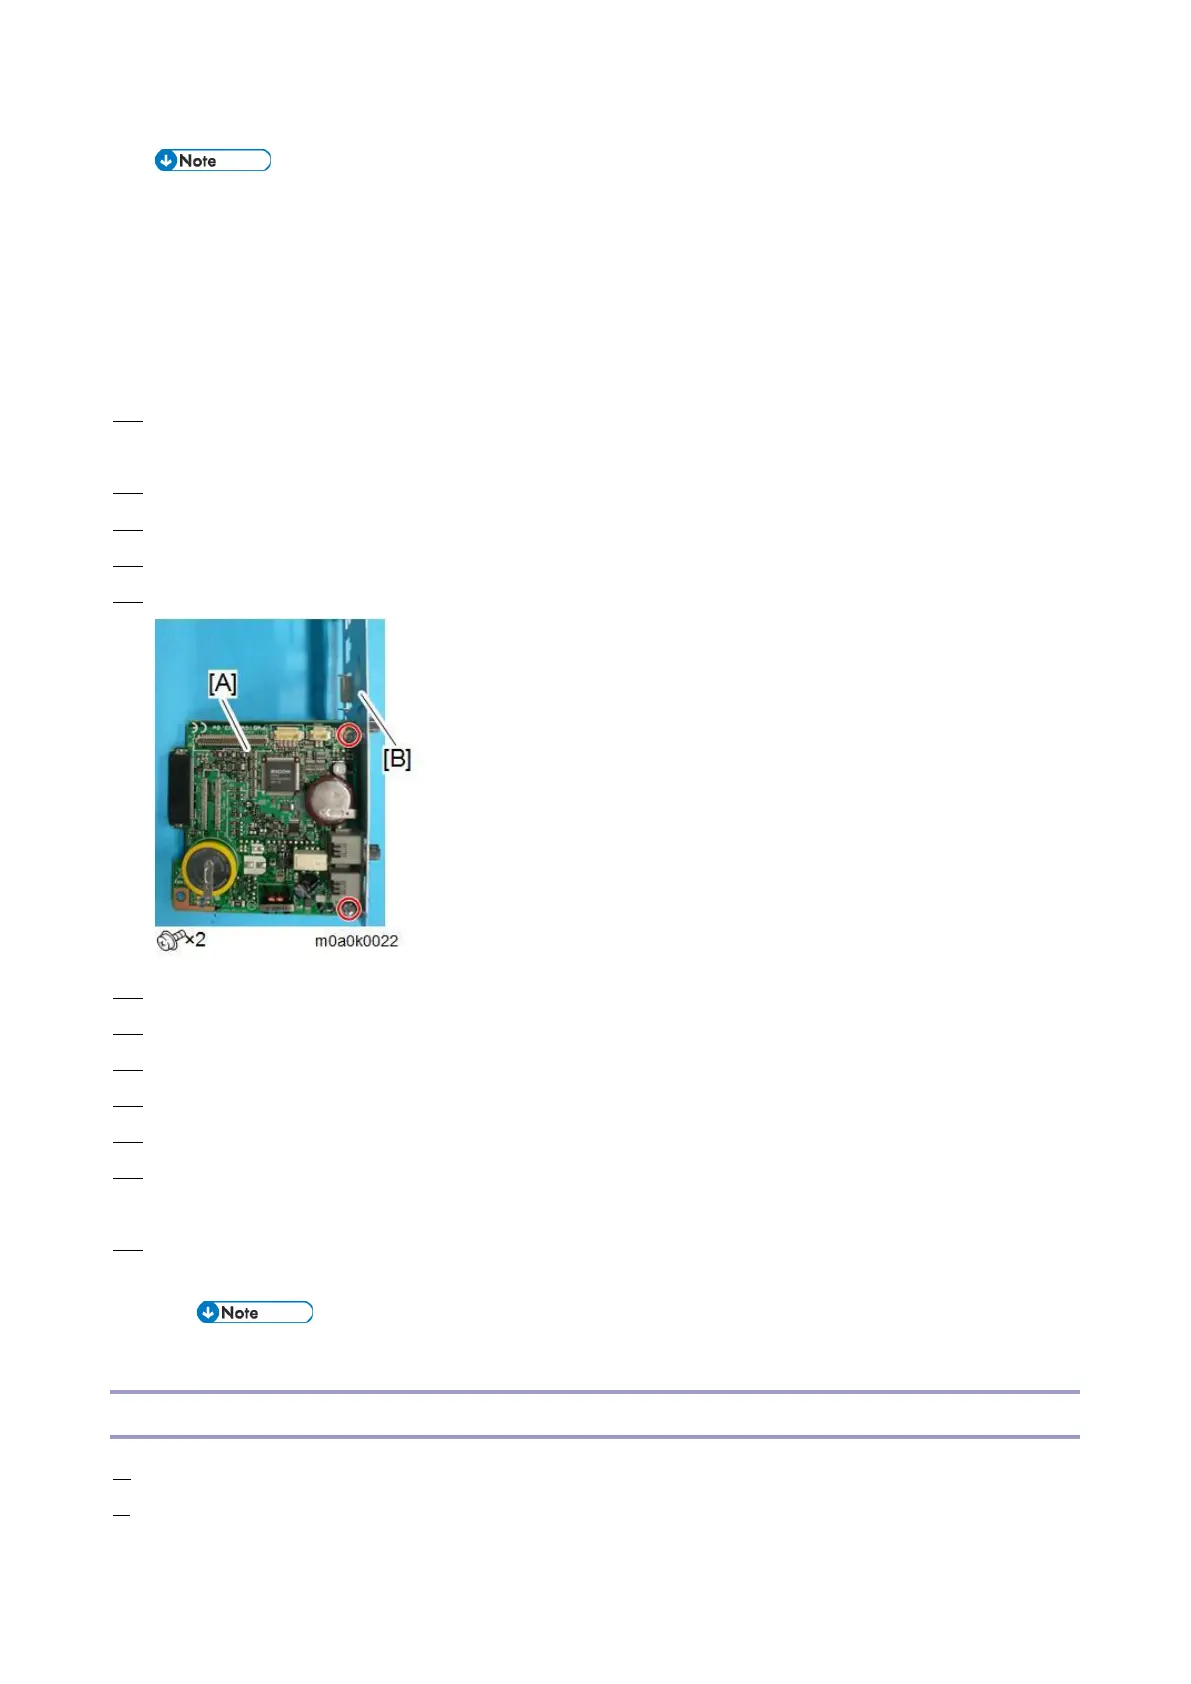
16. Disconnect the speaker connector and remove the new FCU board [A] from the machine.
17. Remove the bracket [B] from the old FCU board [A] and attach the bracket to the new FCU board.
18. Mount the new FCU board in the machine and connect the speaker connector to the new FCU board.
19. Reattach the controller box cover.
20. Reattach the cover.
21. Turn the main power ON.
22. Enter the SP mode.
23. Print the system parameter list from SP6-101 in the Fax SP menu, and then check the list to see whether the SRAM
data has been transferred correctly.
24. Set the correct date and time from the [User Tools].
User Tools > Machine Features > System Settings > Timer Setting > Set Date/Time
If any of the SRAM data was not transferred, input those settings manually.
Speaker
1. Remove the right cover (Right Cover)
2. Remove the controller box cover [A]. (FCU Board)