Section 4: Tutorial
Euphonix CS3000/2000 Operation Manual 4 - 9
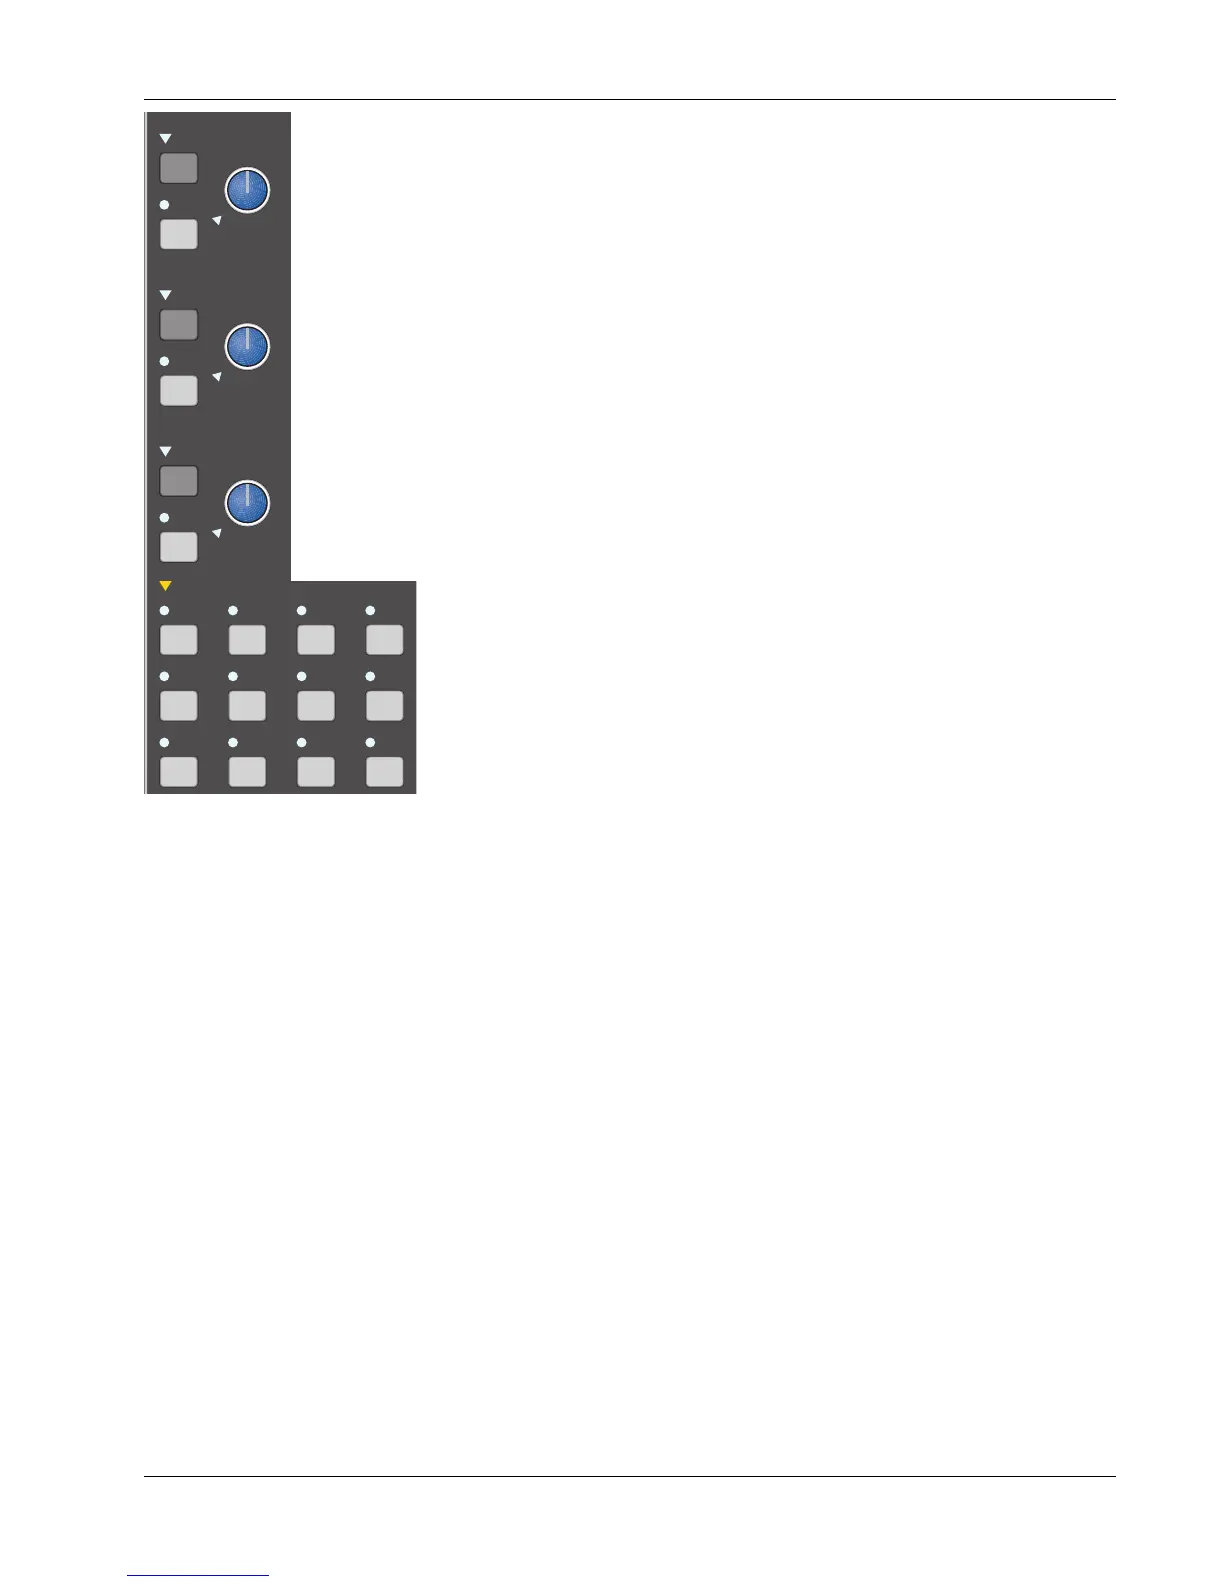
Left Right Stereo Mono
DIM
SET
C monitor
DIM
SET
B monitor
DIM
SET
A monitor
monitor SET
A1•2 A3•4 A5•6 A7•8
Ext 1 Ext 2 ST1 ST2
SOLO
A
B
C
Active
ST1
ST2
BU
D monitor
Solo
Ext—
C pre
Kill
Save That Console
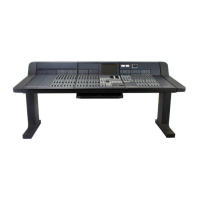
The CS3000/2000 is equipped with 3 monitor speaker outputs labelled A, B &
C. Each monitor section has its own Level control, DIM, and SET keys. We will
assume there are amplified speakers connected to the “A” Output. We will
listen to ST1 through Monitor A. First, turn Monitor A’s level control down
(fully counter-clockwise). Next, press A’s [SET] key and the Monitor Set area,
located below the monitor controls, will reflect A’s output selections. Press the
[ST1] key in the Monitor Set area. Now slowly turn Mon A’s level control up to
hear the audio. The 4 lower keys in this area determine the mode of the
selected monitor output; either (Left or Left to both), (Right or Right to both),
Stereo or Mono. Try toggling between them now while the sound source is
playing.
It is useful to note that the selections in the Monitor Set area are additive and
not intercancelling. This means that you can listen to both ST1 and ST2 out of
Monitor A. In fact, you could listen to a sum of all 8 monitor sources.
A1-A8 are the Aux buses and Ext1, Ext2 are external patchable inputs for tape
returns, reverse talkback, etc. Each EXT input is actually made up of three
stereo inputs which can be summed together. So on the Master patchbay
there are three stereo inputs for EXT1 labelled EXT1(A), EXT1(B) and EXT1(C).
There are three similarly labelled inputs to EXT2 (see page 5-12).
You will also notice that a menu comes up in the SmartDisplay when you press
the [SET] key. This menu allows you some additional options for each monitor
output. These options are detailed later in this section.
With any computer-based system, regular saving of work is essential. The
same is true with your Euphonix System. You may need to refer back to
Section 3 for details on snapshot store and recall procedures. Storing a
snapshot can be done from the DSC’s Assignable Keys section. Press the
[SnapShot] mode key, then the [Store] key, then name the snapshot if you
wish and press the Assignable Key for the snapshot location you wish to use.
For this example, try using snapshot location #10.
Remember that the red indicator next to the snapshot number on the screen
indicates it is not stored to disk yet. It will not be stored to disk until the next
time you save your title. After the title is saved, the indicator will turn green.
This concludes Exercise 1.
Monitor
Source
Selection