Probes and Biopsy
17-32 LOGIQ 7 Online Help
Direction 2392536-100 Rev. 1
Fixed Needle Guide Assembly
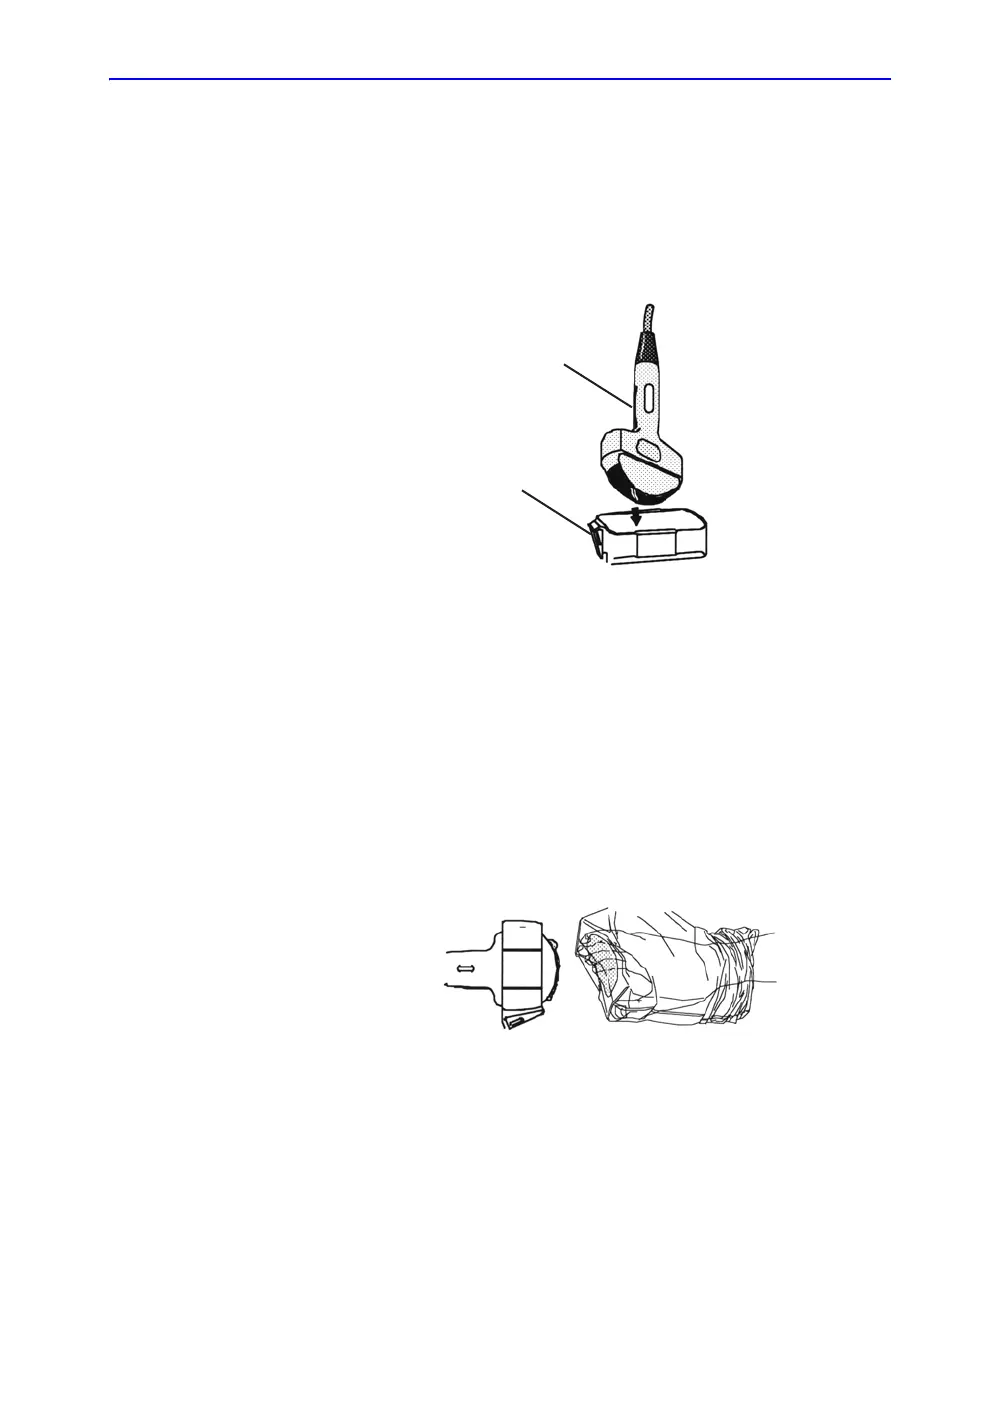
Identify the appropriate biopsy guide bracket by matching the
label on the bracket with the probe to be used.
Orient the bracket so that the needle clip attachment will be on
the same side as the probe orientation mark (ridge).
Figure 17-9. Probe/Bracket Alignment
1. Probe Orientation Mark
2. Bracket
Attach the biopsy bracket to the probe by sliding the bracket
over the end of the probe until it clicks or locks in place.
Place an adequate amount of coupling gel on the face of the
probe.
Place the proper sanitary sheath over the probe and biopsy
bracket. Use the rubber bands supplied to hold the sheath in
place.
Figure 17-10. Applying Sanitary Sheath
1
2

 Loading...


