Custom Report Pages
LOGIQ 7 Basic User Manual 14-19
Direction 2392206-100 Rev. 1
Display Fields
Logos
Inserting a Logo 1. Insert a table for the logo to the desired location.
2. Move the cursor to the table and press Set.
3. Move the cursor to the Insert menu and select Logo. Press
Set.
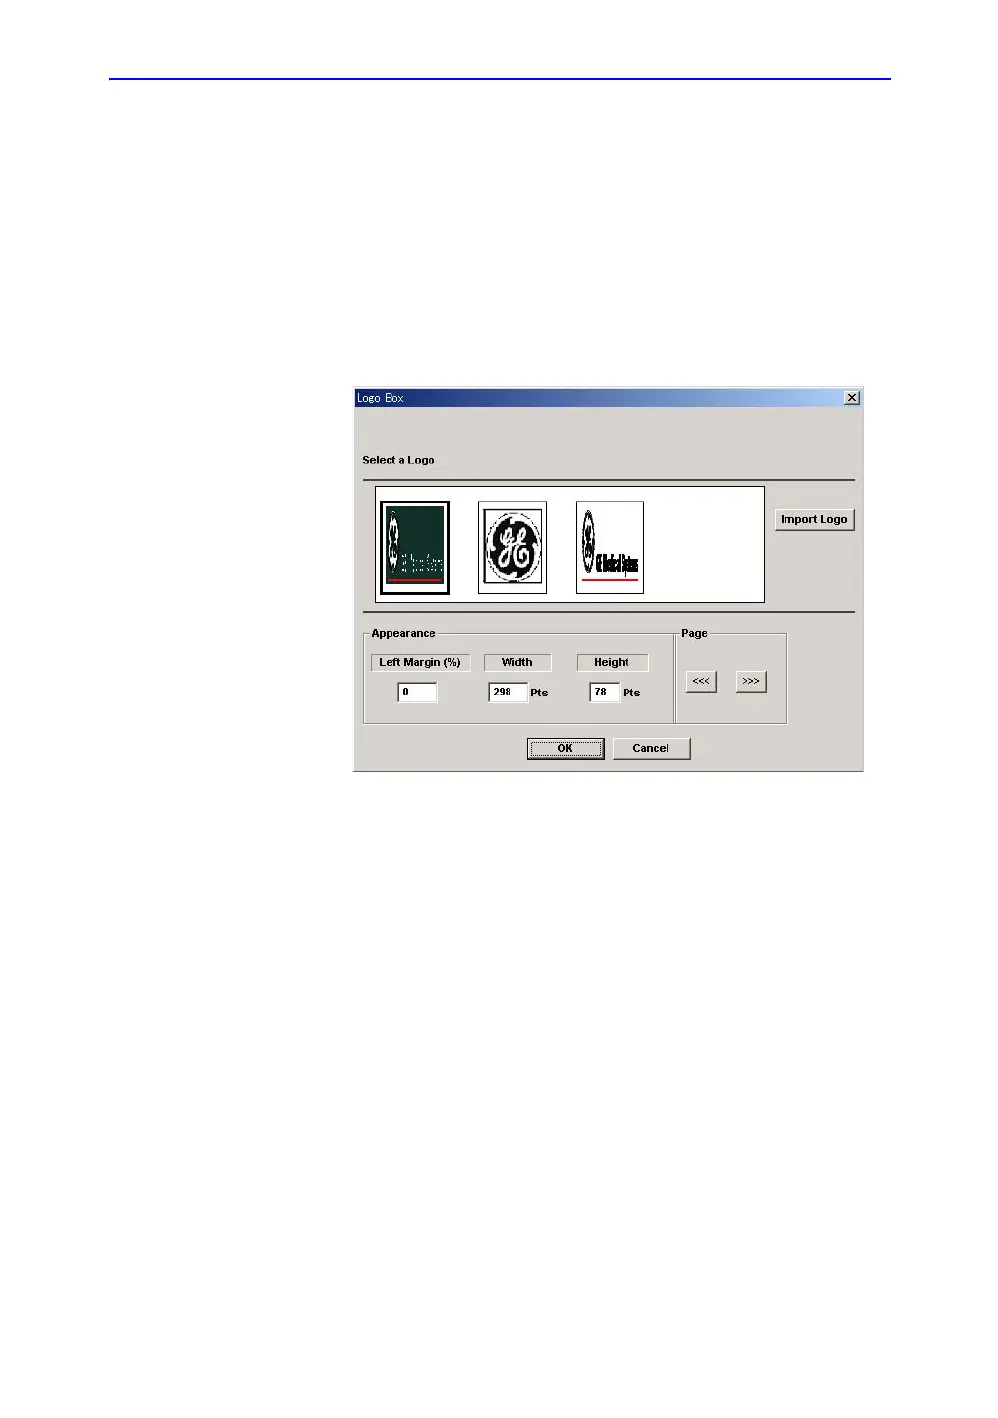
4. The Logo Box displays.
Figure 14-13. Logo Box
5. Select a logo. If the desired logo is not shown, select Import
Logo to import the desired logo.
6. Specify the appearance.
7. Select OK or Cancel.
NOTE: Use the “Page” arrow buttons to scroll through the pages of
logos, if applicable.
Changing a Logo 1. Move the cursor to the logo to be changed and press Set
twice.
2. The Logo Box displays.
3. Select another logo. If the desired logo is not shown, select
Import Logo to import another logo.
4. Specify the appearance.
5. Select OK or Cancel.

 Loading...


