7. Install the hard disk drive. See “Replacing the disk drive” on page 107.
8. Install the service controller. See “Replacing the service controller” on page 85.
9. Replace the top cover. See “Replacing the top cover” on page 72.
10. Place the node in the rack. See “Replacing the SAN Volume Controller in a rack” on page 48.
11. Reconnect the fibre-channel and Ethernet cables. Ensure that you replace the fibre-channel and
Ethernet cables in the same ports from which they were removed.
12. Turn on the node.
Replacing the SAN Volume Controller 2145-8G4 disk-drive backplane
To replace the SAN Volume Controller 2145-8G4 disk-drive backplane, including the SATA back plate,
complete the following steps.
1. Connect the power cable to the replacement back plate.
2. Slide the back plate into the mounting channels
2
, which are shown in Figure 131 on page 127,
making sure not to trap or pinch any nearby wires or cables.
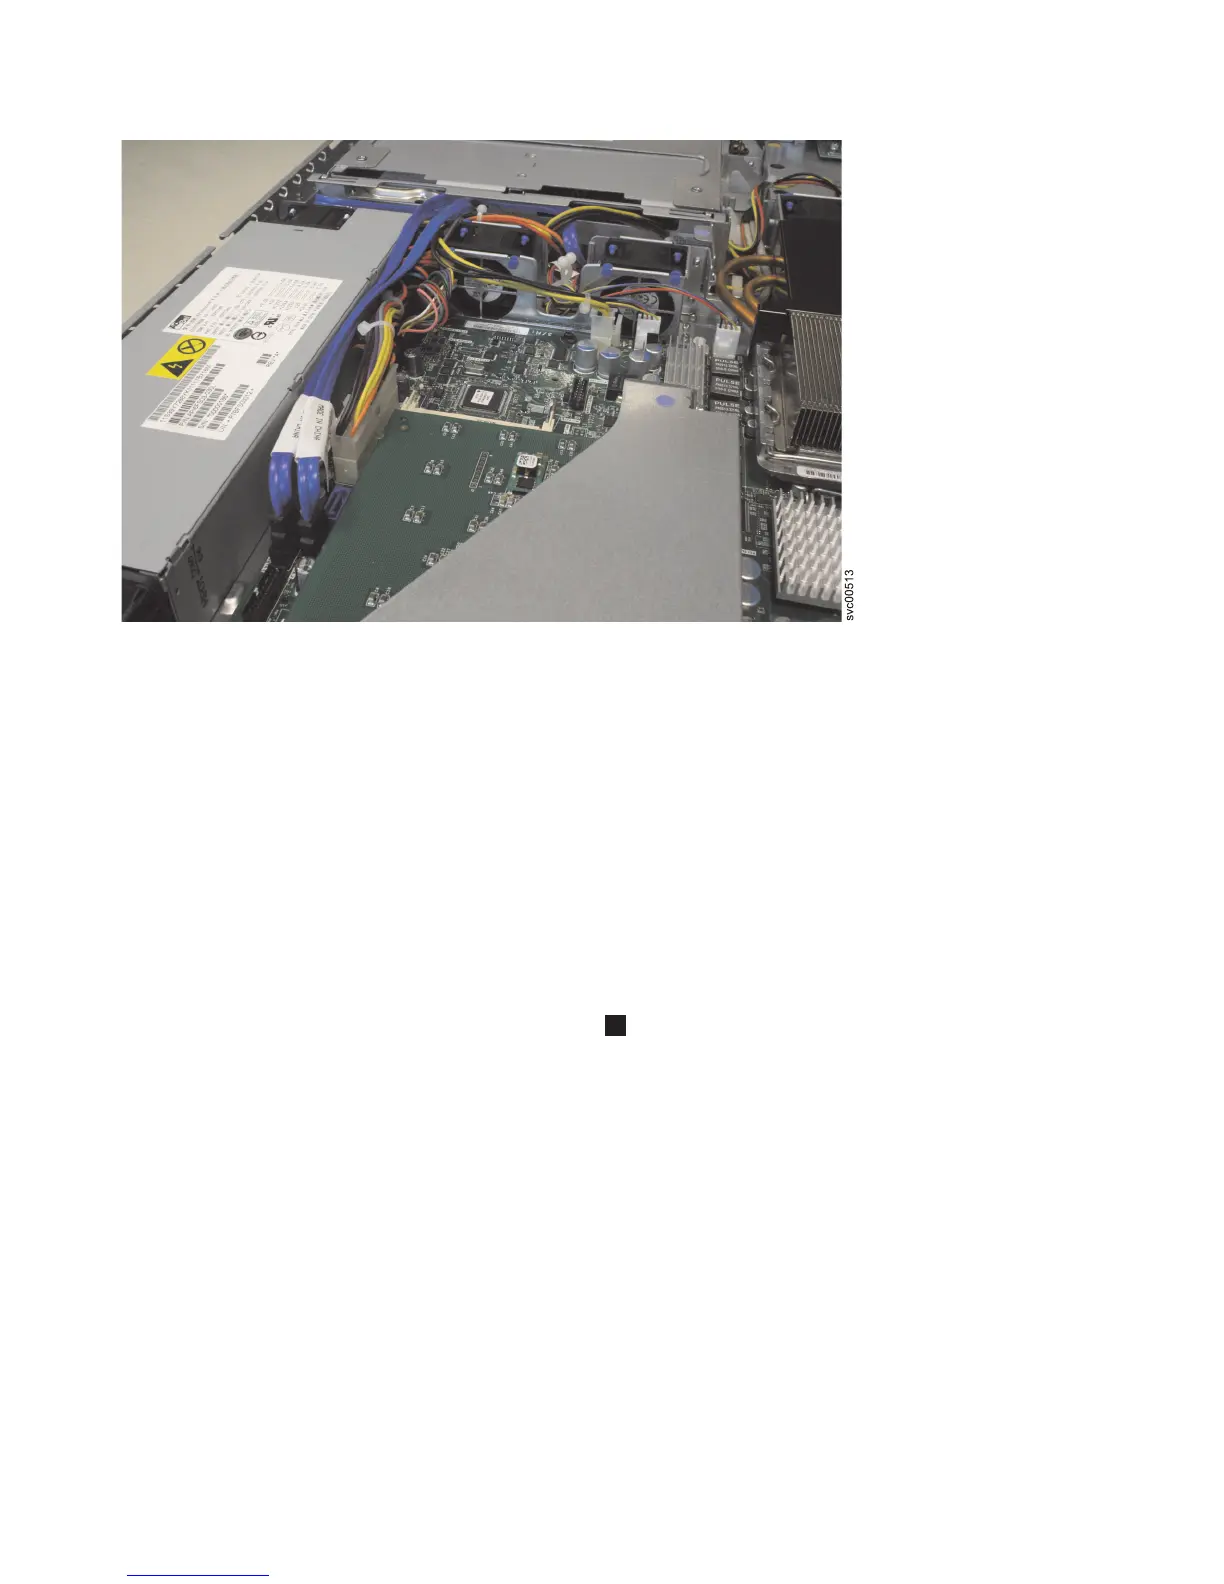
Figure 130. SAN Volume Controller 2145-8A4 SATA cables
126 IBM SAN Volume Controller Hardware Maintenance Guide