Note: The node will restart as soon as the serial number has been written to it.
Replacing the SAN Volume Controller 2145-8G4 system board
All the components that were removed when you removed the system board are reused during the
installation of the new system board.
There are two versions of the SAN Volume Controller 2145-8G4. The original version (Rev 1) has two
microprocessors and eight 1 GB memory modules. The second version (Rev 2) has one microprocessor
and four 2 GB memory modules.
Perform the following steps to install the system board:
1. Lower the right side into place with the system board positioned slightly towards the front of the
box. Lower the left edge of the system board into place and then push the system board towards the
back of the box until it engages in place and the screw holes line up. Take care to ensure that the
Ethernet ports on the rear of the system board engage in the frame cutouts.
2. Replace the six screws on the system board, as shown in Figure 284 on page 261, to secure the
system board to the chassis.
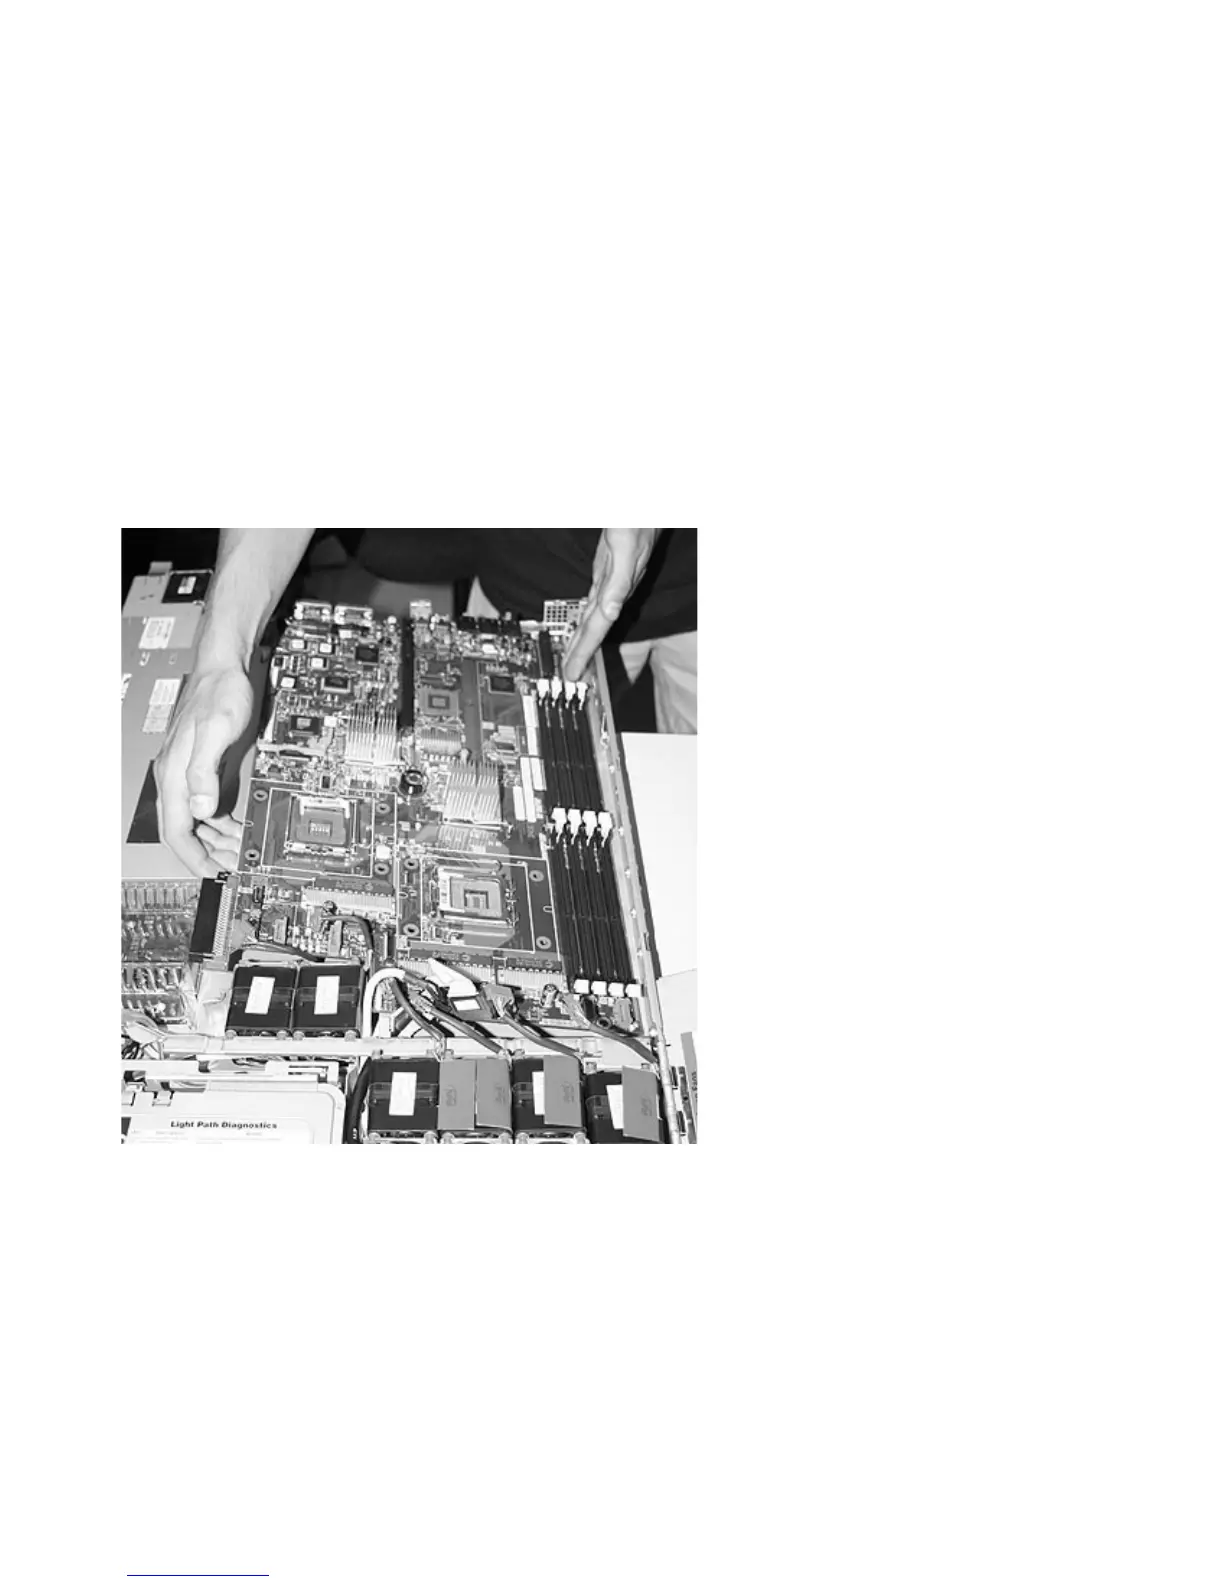
svc00382
Figure 283. SAN Volume Controller 2145-8G4 system board
260 IBM SAN Volume Controller Hardware Maintenance Guide