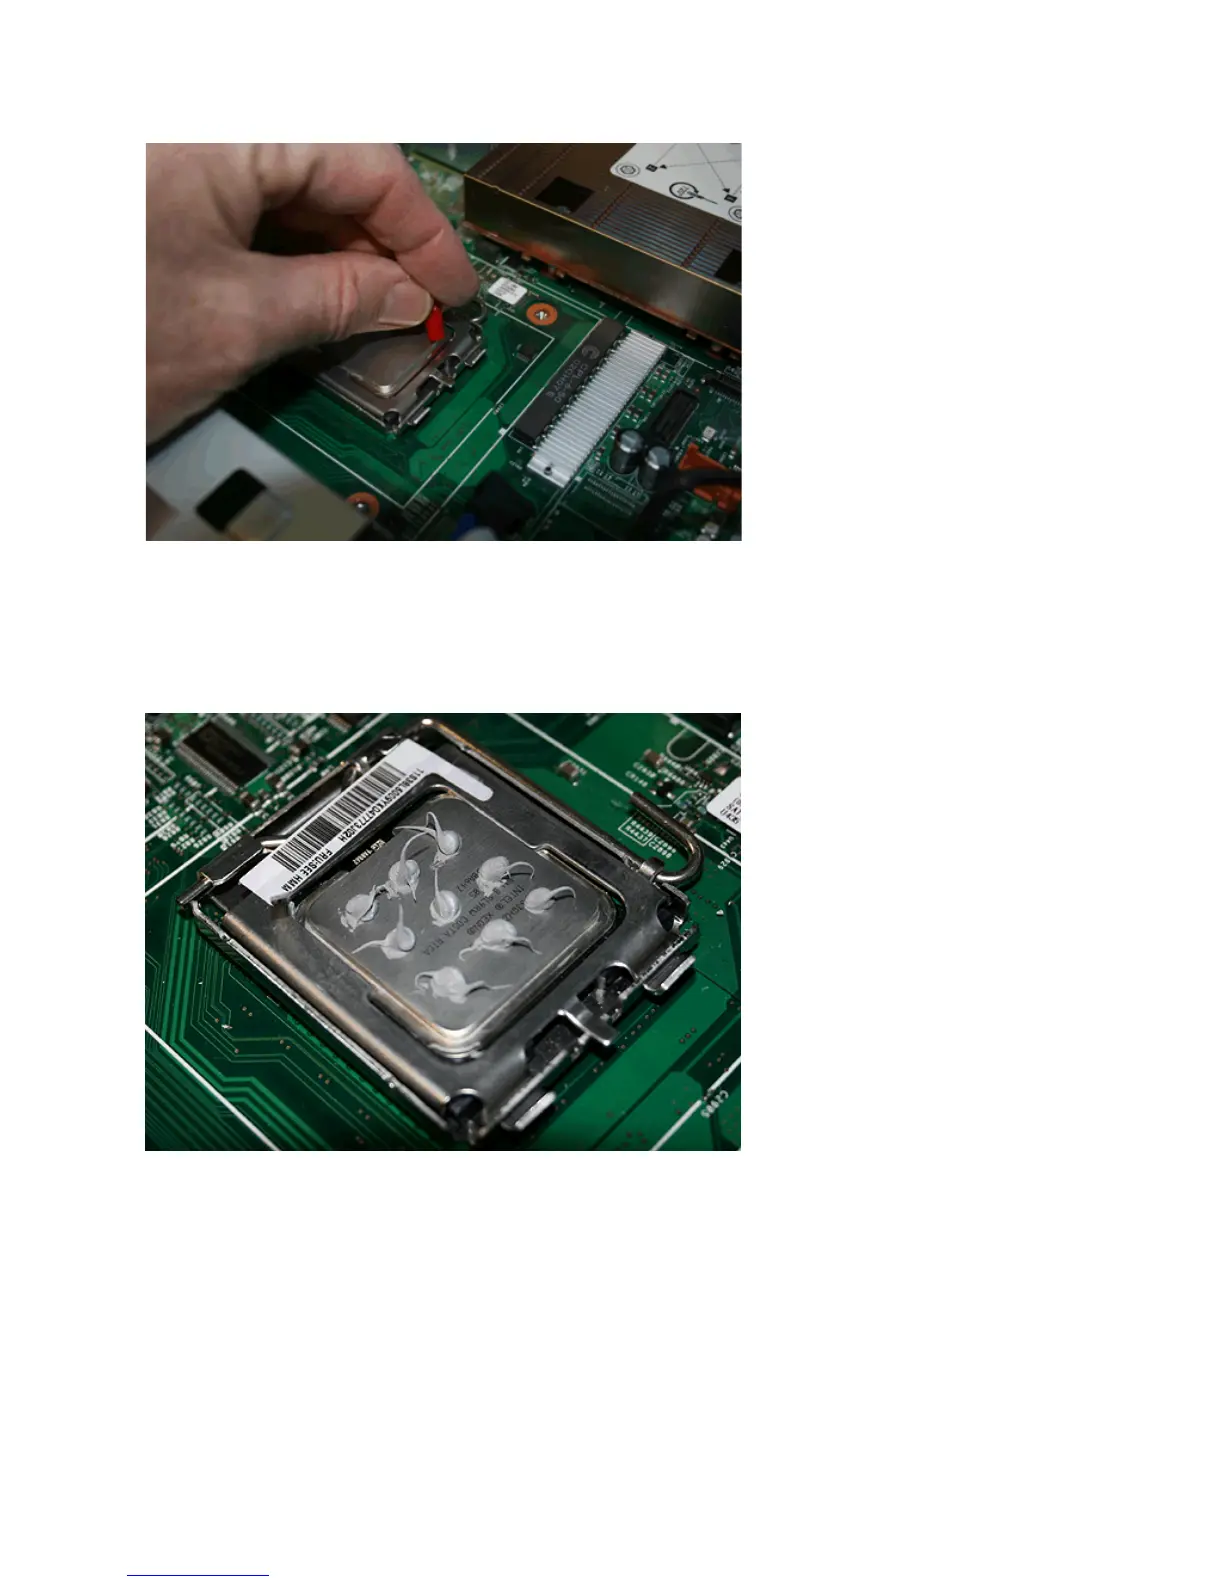
b. For each dot of thermal grease, use two divisions on the syringe scale, which is 0.02 ml of grease.
You will use about half the syringe contents for the nine dots. Figure 288 shows how the
microprocessor appears with the nine dots of grease.
c. Install the heat sink by gently squeezing it down onto the thermal grease and then tightening the
four retaining screws alternately and evenly.
7. If this is a Rev 1 node, repeat steps 5 on page 261 and 6 on page 262 for the second microprocessor
and heat sink. If this is a Rev 2 node, continue with the next step.
8. Replace either eight memory modules for the Rev 1 node or four memory modules for the Rev 2
node. See “Replacing the memory modules (DIMM)” on page 98.
9. Replace the right air baffle, which is shown in Figure 289 on page 264.
a. Locate the pin on the bottom of the air baffle in the locating hole on the system board.
b. Push the baffle backwards to locate it in place.
svc00413
Figure 287. Estimating the position of the thermal grease dots
svc00414
Figure 288. Complete set of nine thermal grease dots on the microprocessor
Chapter 2. Removing and replacing parts 263