3. If you removed the power cords, replace the power cords and the cable-retention brackets, as
described in “Replacing the cable-retention bracket” on page 34.
4. Position the cover on top of the SAN Volume Controller 2145-CF8.
Important: Before you slide the cover forward, make sure that all the tabs on both the front, rear, and
side of the cover engage the chassis correctly. If all the tabs do not engage the chassis correctly, it will
be very difficult to remove the cover later.
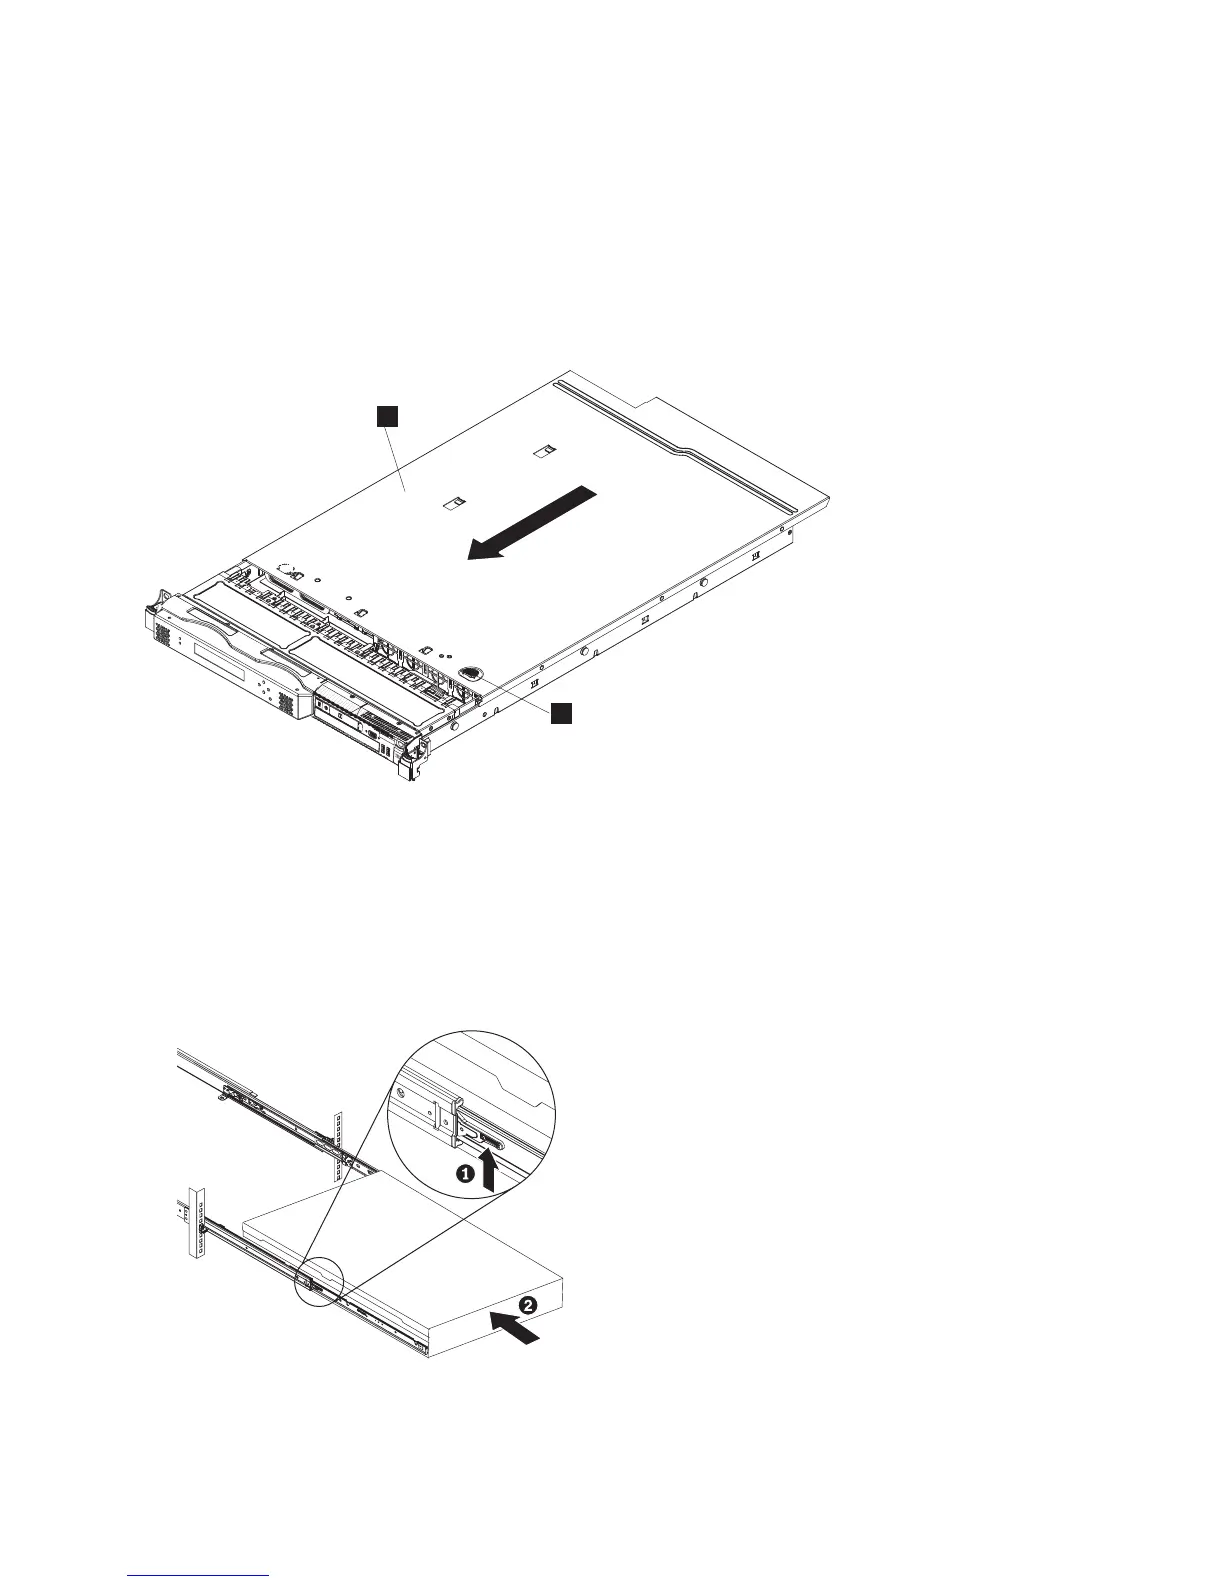
5. Slide the cover toward the front of the node, as shown in Figure 72.
1 Cover
2 Blue locking tab
6. Verify that the cover correctly engages all the inset tabs on the node.
7. Lift the locking levers (1 in Figure 73) on the slide rails and push the server 2 all the way into the
rack until it clicks into place.
8. If you turned off the node during the service procedure, turn on the node.
1
2
Figure 72. Replacing the SAN Volume Controller 2145-CF8 cover
svc_bb1ka055
Figure 73. Raising the SAN Volume Controller 2145-CF8 locking levers of the slide rails of the rack
Chapter 2. Removing and replacing parts 73