Chapter 4: Creating and Editing Messages
Linx 4900 Operating Manual 84 MP65492–1
4. At the MESSAGE TYPE menu, press the Down [ ] and Up [ ]
arrow keys to scroll through the menu options until the menu cursor
() rests at 16 Quality.
5. Press the [enter] key.
The EDIT MESSAGE screen is displayed.
4.13.2 To Create a Text Field
In this example, you add the text field ‘LINX’ using 16-high characters.
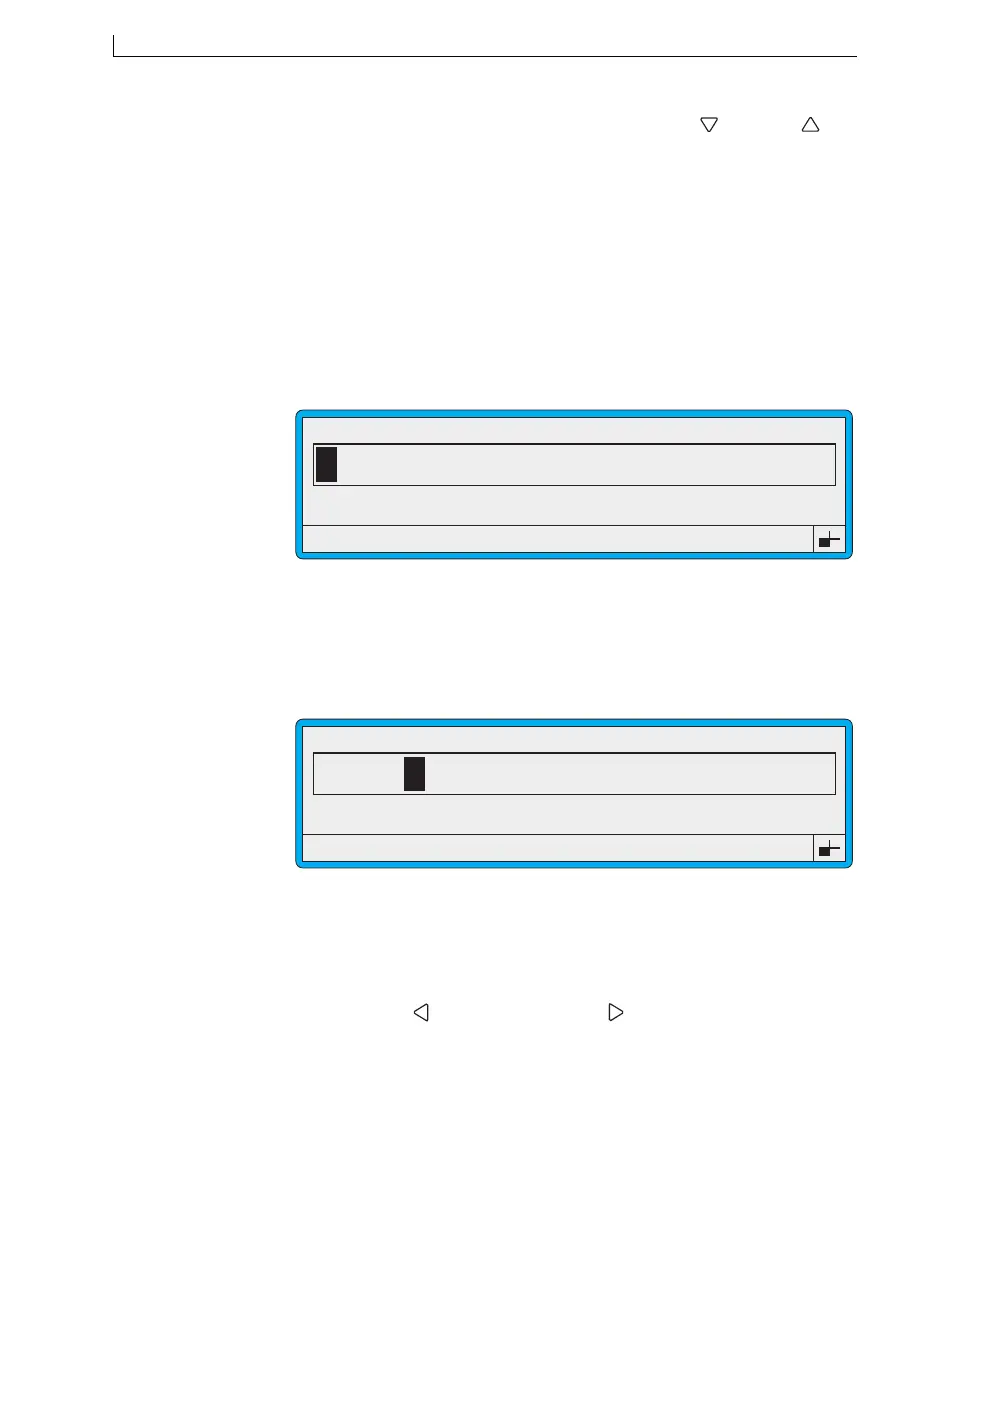
1. At the EDIT MESSAGE screen, press the [F1] function key to step
through the Size options until 16 FH (Caps) is displayed:
Figure 4-44 Edit Message Screen: Size 16 FH (Caps)
Note how the message cursor size changes to reflect the height of the
selected character size.
2. Type in LINX:
Figure 4-45 Edit Message Screen: LINX
3. Press the [enter] key. This action turns the text into a field.
NOTE: Pressing any one of the following control keys changes the text
you are entering into a field: [enter] key, [esc] key, [F1] function
key, Left [ ] arrow key or Right [ ] arrow key.
>
49108
F1 : Size 16 FH (Caps)
F3 : Field Type
F2 : Bold Off
F4 : Save & Exit
EDIT MESSAGE : MESSAGE 1
49109
F1 : Size 16 FH (Caps)
F3 : Field Type
F2 : Bold Off
F4 : Save & Exit
EDIT MESSAGE : MESSAGE 1
LINX
4900 Op Manual.book Page 84 Tuesday, September 9, 2003 12:32 PM