Chapter 4: Creating and Editing Messages
MP65492–1 85 Linx 4900 Operating Manual
4.13.3 To Insert a Sell-by Date
In this example, you add a text field ‘Sell by’, and a date in the format ‘dd
mmm yy’ (using 7-high characters).
1. Set the character size:
(a) At the EDIT MESSAGE screen, press the [F1] function key to
step through the Size option until 7 FH (Caps) is displayed:
Figure 4-46 Edit Message Screen: Size 7 FH (Caps)
Note how the message cursor changes in size to reflect the height
of the selected character size.
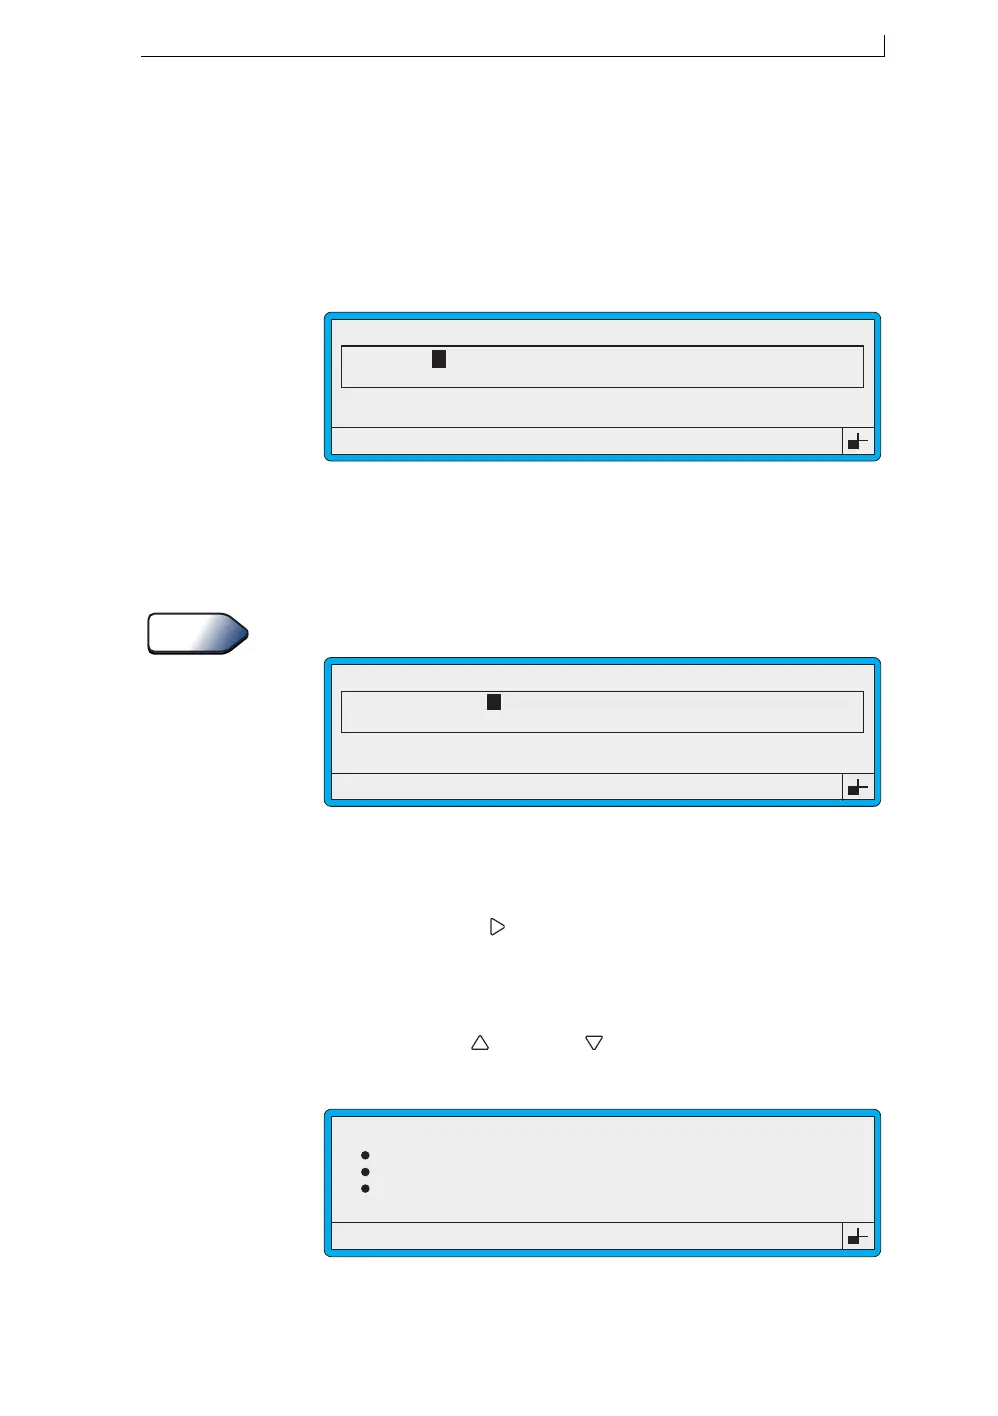
2. Type in Sell by, then press the [enter] key.
To type lower-case characters, press and hold the [shift] key.
Figure 4-47 Edit Message Screen: Sell-by Text
3. Insert the date, with an offset period of 60 days from the current date.
To do this:
(a) Press the Right [ ] arrow key once to create a space after the Sell
by text field.
(b) Press the [F3] function key. The SELECT FIELD TYPE menu
is displayed.
(c) Press the Up [ ] or Down [ ] arrow key to move the menu
cursor to the Date option:
Figure 4-48 Select Field Type Menu: Date Option
49110
F1 : Size 7 FH (Caps)
F3 : Field Type
F2 : Bold Off
F4 : Save & Exit
EDIT MESSAGE : MESSAGE 1
LINX
Tip
49111
F1 : Size 7 FH (Caps)
F3 : Field Type
F2 : Bold Off
F4 : Save & Exit
EDIT MESSAGE : MESSAGE 1
Sell by
LINX
>
49302
SELECT FIELD TYPE
Time
Timed Message
Sequential No.
Date
4900 Op Manual.book Page 85 Tuesday, September 9, 2003 12:32 PM