Chapter 5: Changing the System Setup
Linx 4900 Operating Manual 96 MP65492–1
5.3.2 To Adjust the Message Width
You can adjust the width of the current message by increasing or
decreasing the Print Width value. This value is proportional to the time
delay between the printed characters, or, if you are operating with a shaft
encoder (Shaft Encoder option set to On), the Print Width value is
equivalent to the shaft encoder pulses between rasters—if this is the case,
refer to the next section ‘To Set the Print Width Value: Shaft Encoder’ on
page 97 for details.
NOTE: Changing the Print Width setting can also affect the Print Delay
setting, so you may need to make an adjustment to the Print
Delay setting value to achieve the precise print registration (see
‘To Set the Print Delay’ on page 98 for further details).
To adjust the message width:
1. At the CURRENT MESSAGE screen, press the [F4] function key.
The SETUP menu is displayed.
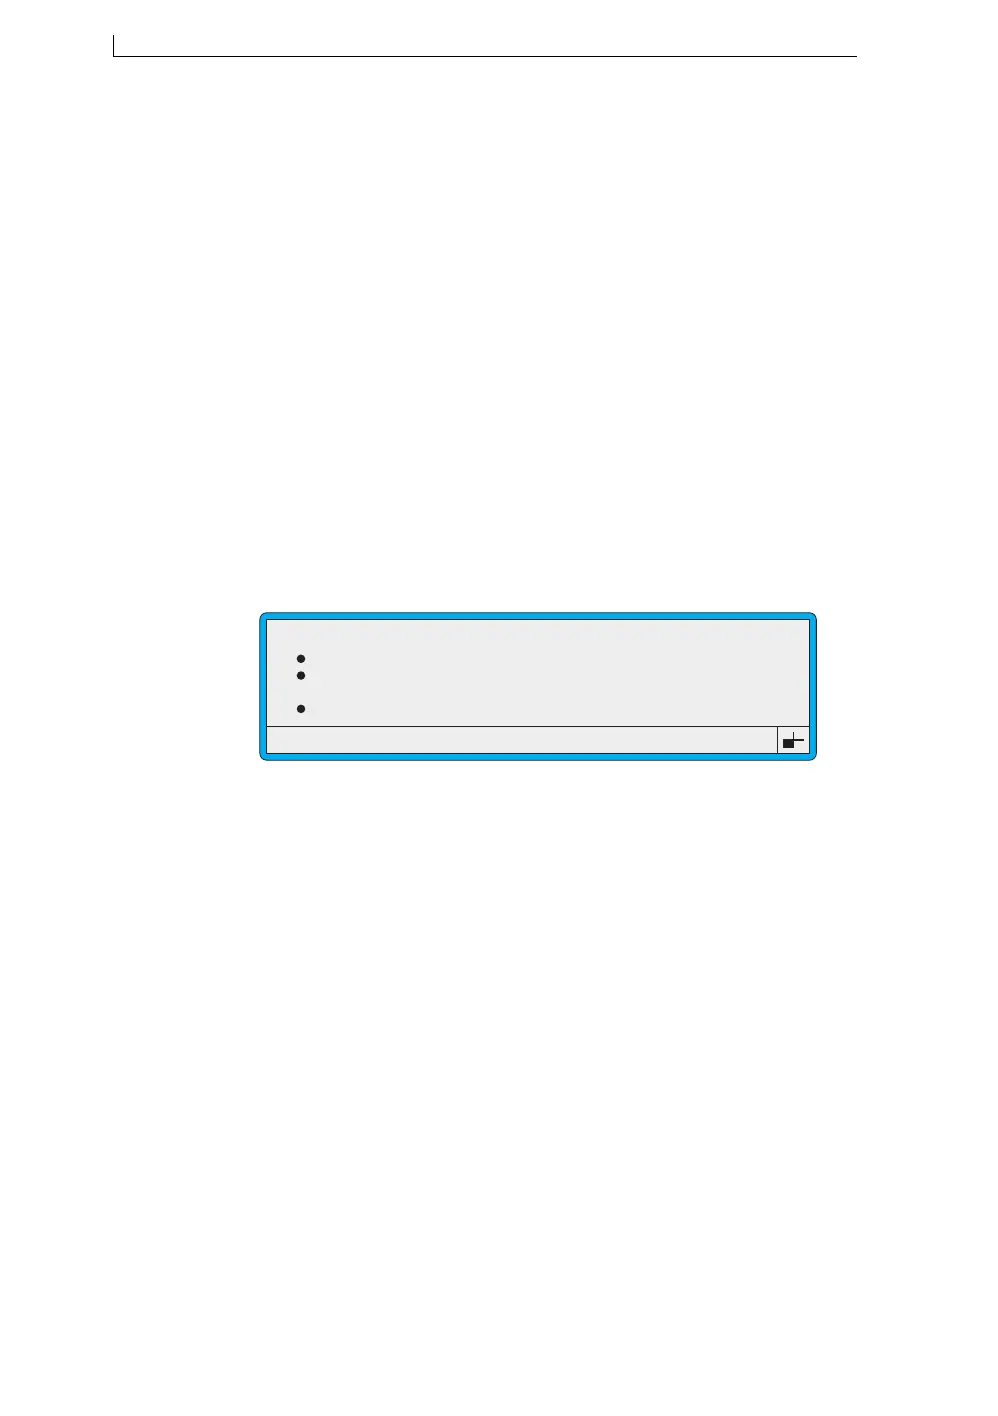
2. Scroll through the menu options until the cursor rests at the Print
Width option, as shown below:
Figure 5-5 Setup Menu: Print Width Option
3. Press the [enter] key.
4. At the Print Width setting, type in the value to adjust the message
width, then press the [enter] key.
5. Press the [esc] key to exit.
>
49279
SETUP
Password
Print Height
Print Width
Print Delay
: Off
: Normal
: 8
: 16
4900 Op Manual.book Page 96 Tuesday, September 9, 2003 12:32 PM