Chapter 5: Changing the System Setup
MP65492–1 99 Linx 4900 Operating Manual
5.3.5 Defining the Bold Ratio
The Bold Ratio option allows you to define the ratio of bold that can be
applied to a new message field when creating a message.
Applying bold to a new message field makes the printed characters appear
heavier. As an example, a 7 High character is created with a matrix of 7x5
when the bold factor is set to x1 (standard print). With a bold factor of x2,
the same character is formed on a matrix of 7x10, making it the same
height but twice as wide.
See Chapter 4, ‘Creating and Editing Messages’for details about applying
bold to a new field as you create a message.
To define the bold ratio:
Note that printing must be stopped to change the Bold Ratio option.
1. At the CURRENT MESSAGE screen, press the [F4] function key.
The SETUP menu is displayed.
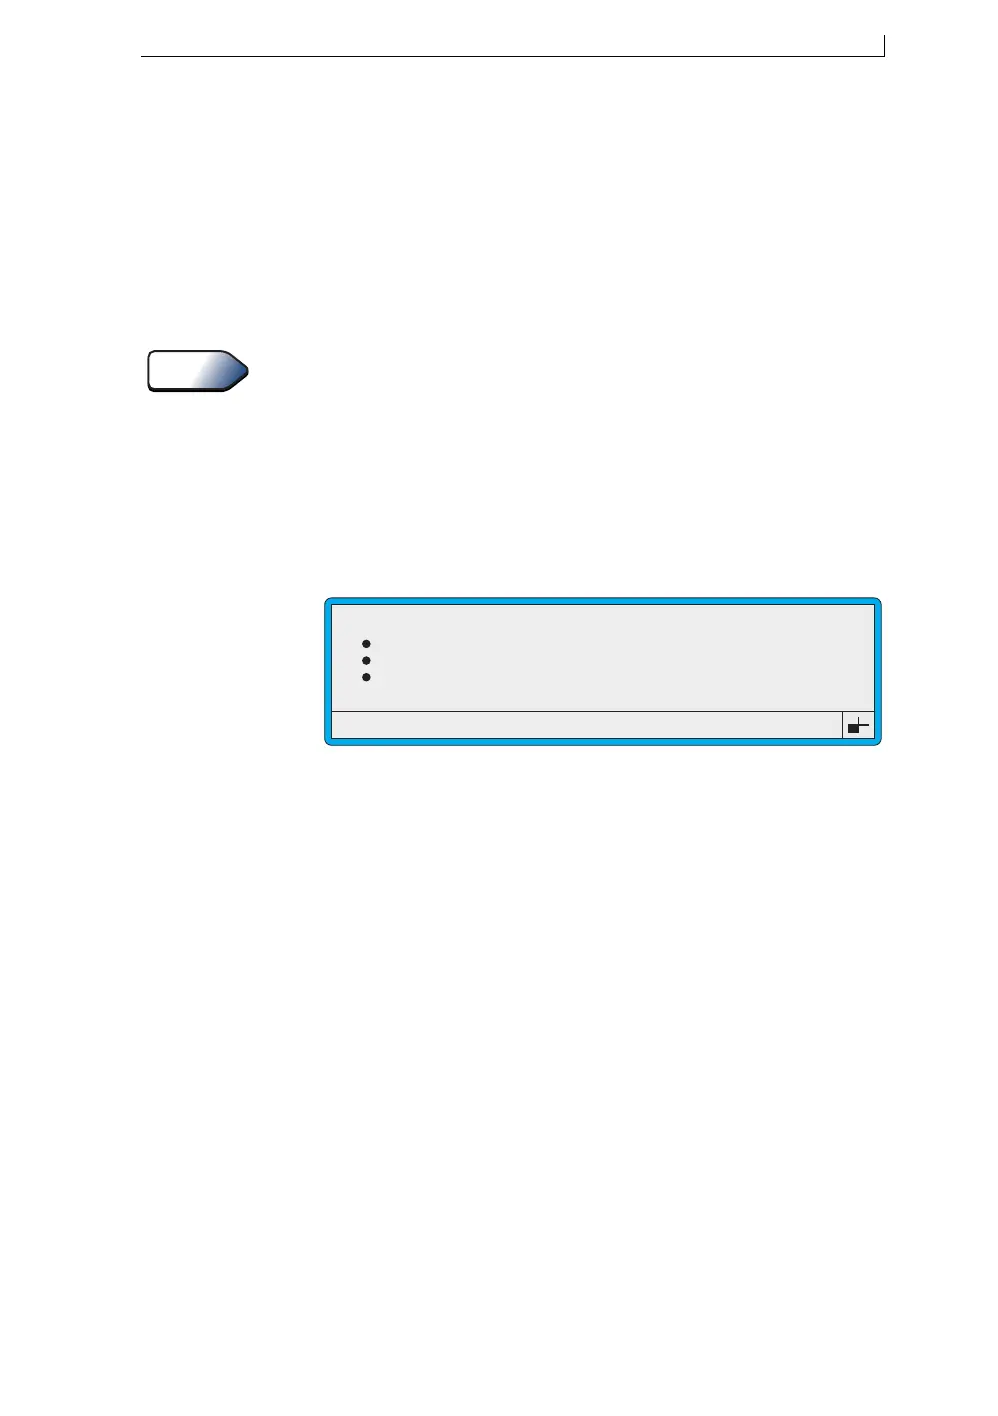
2. Scroll through the menu options until the cursor rests at the Bold
Ratio option, as shown below:
Figure 5-8 Setup Menu: Bold Ratio Option
3. Press the [enter] key to select the option.
4. At the Bold Ratio option setting, type in the ratio within the range of
1–9 (1 is standard print), then press the [enter] key to save the setting.
5. Press the [esc] key to exit.
See Also
Print Delay
Print Count
Reverse Message
Bold Ratio
49068
SETUP
: 16
: 9
: Off
: 2
>
4900 Op Manual.book Page 99 Tuesday, September 9, 2003 12:32 PM