Chapter 4: Creating and Editing Messages
MP65492–1 89 Linx 4900 Operating Manual
4.13.5 To Insert a Timed Message
In this example you create a timed message field made up of these two text
messages:
• Day Shift to print from 08:00 through to 17:59
• Night Shift to print from 18:00, and continue through to 07:59
To create a timed message field:
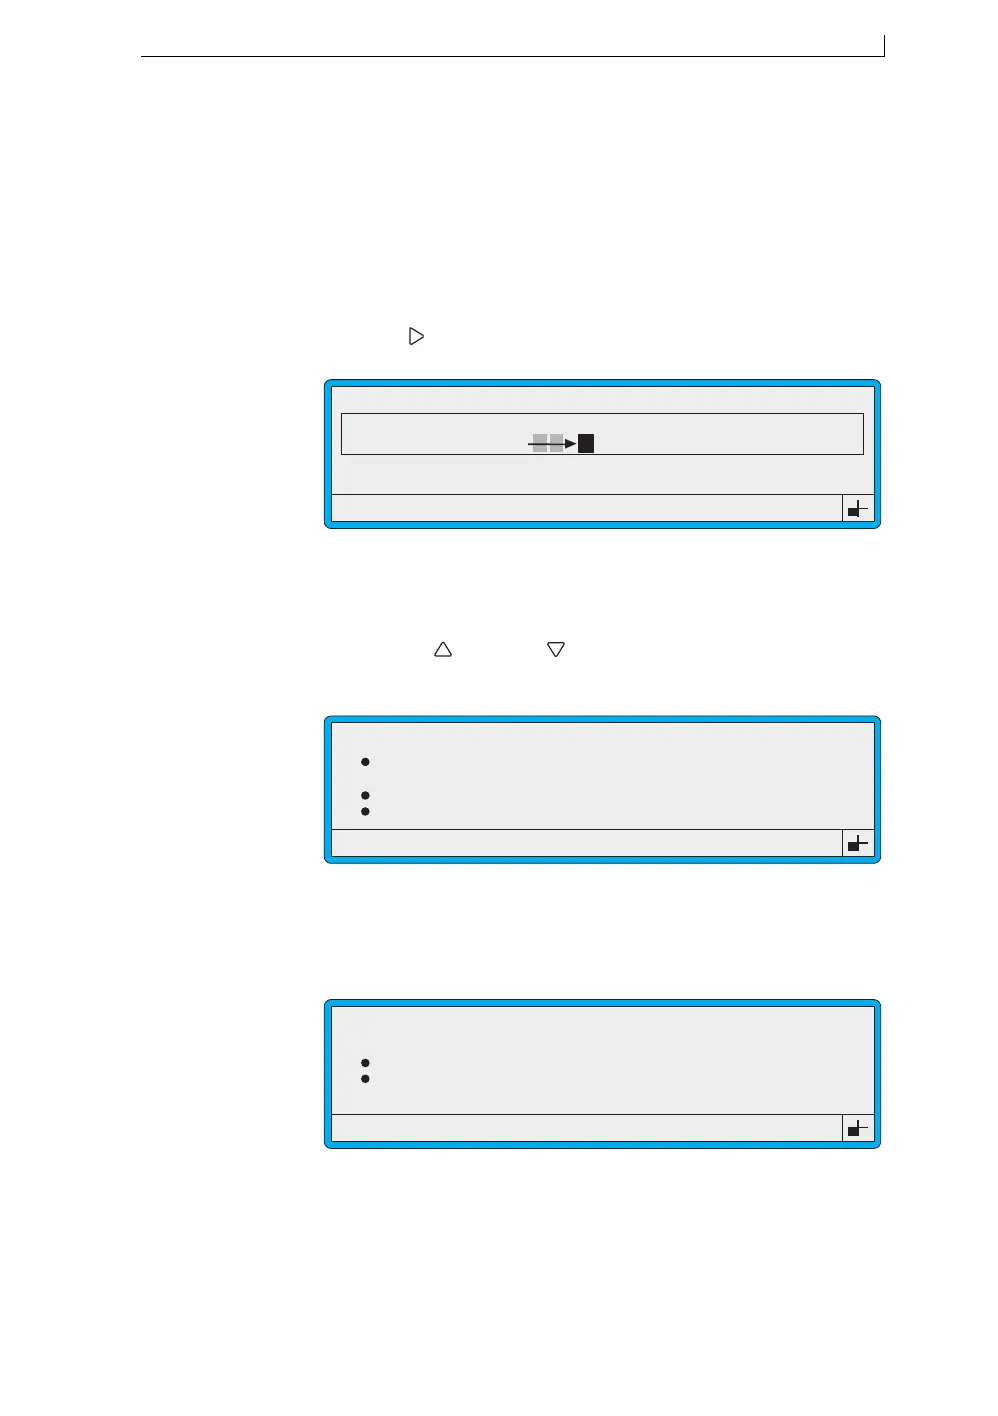
1. Position the cursor at the start position of the field. To do this, press
the Right [ ] arrow key as follows:
Figure 4-58 Moving the Cursor to the Start Position
2. Press the [F3] function key. The SELECT FIELD TYPE menu is
displayed.
3. Press the Up [ ] or Down [ ] arrow key to move the menu cursor to
the Timed Message option:
Figure 4-59 Select Field Type Menu: Timed Message Option
4. Press the [enter] key.
The TIMED MESSAGE menu is displayed:
Figure 4-60 Timed Message Menu
49132
F1 : Size 7 FH (Caps)
F3 : Field Type
F2 : Bold Off
F4 : Save & Exit
EDIT MESSAGE : MESSAGE 1
Sell by dd mmm yy
BATCH 9999
LINX
>
49307
SELECT FIELD TYPE
Time
Timed Message
Sequential No.
Date
>
49130
TIMED MESSAGE
Next Message
Time
Message
:
:
4900 Op Manual.book Page 89 Tuesday, September 9, 2003 12:32 PM