Chapter 4: Creating and Editing Messages
Linx 4900 Operating Manual 80 MP65492–1
4.12 Inserting a Logo Field
A set of Arabic logos are installed in your printer as standard. Additional
logos are only available if your printer software has been configured with
logos. For further information, contact your local Linx distributor.
Logos can then be used with any message by inserting a logo field.
To insert a logo field:
1. In the Message Display Area of the EDIT MESSAGE screen,
position the cursor at the required start position of the field.
NOTE: To maximize the space available for a logo within the
message and the range of logos available, ensure that the
cursor is positioned at the outside edge of the Message
Display Area. If the cursor is moved inside the perimeter of
the Message Display Area, the logos available will be limited
to those that fit within the area.
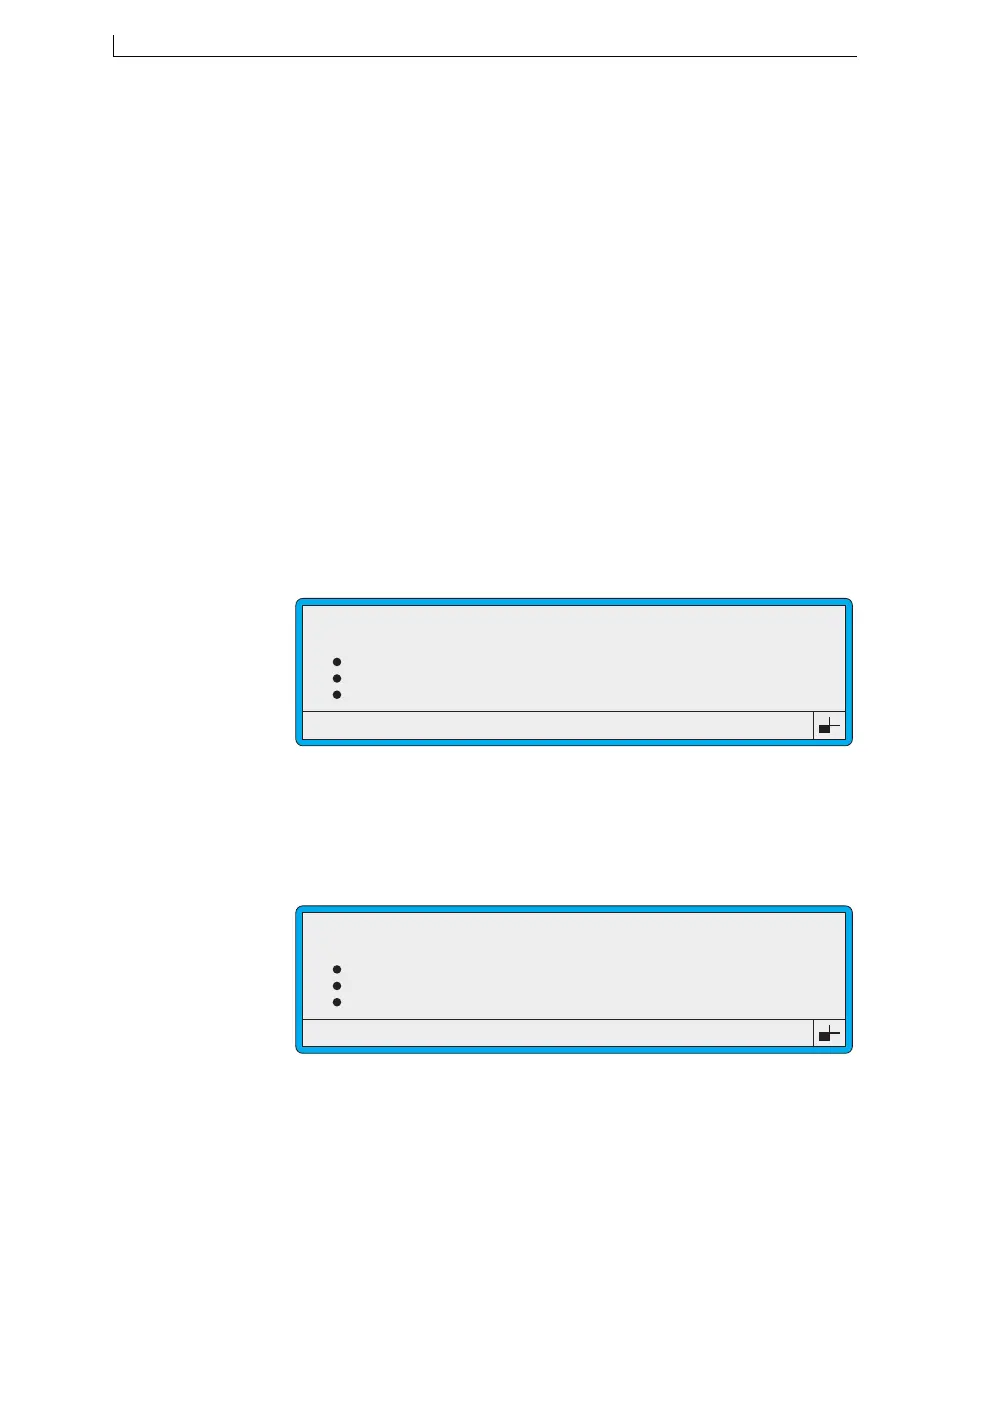
2. Press the [F3] function key. The SELECT FIELD TYPE menu is
displayed:
Figure 4-37 Select Field Type: Logo
3. Scroll to the Logo option (as shown in Figure 4-37 above), then press
the [enter] key.
The LOGO menu is displayed showing a list of available logos:
Figure 4-38 Logo Menu
NOTE: Only logos that fit within the message you are creating or
editing are available (displayed). See Note at Step 1 above.
4. At the LOGO menu, scroll to the logo you want, then press the [enter]
key.
>
49312
SELECT FIELD TYPE
Logo
Time
Timed Message
Sequential No.
>
49313
LOGO
ArabE7
ArabP7
Exp. 7 (Arab)
Man. 7 (Arab)
4900 Op Manual.book Page 80 Tuesday, September 9, 2003 12:32 PM