Chapter 4: Creating and Editing Messages
MP65492–1 71 Linx 4900 Operating Manual
NOTE: Do not exit from the screen until all the messages are set up.
You cannot add messages to an existing timed message field.
5. When you have finished, press the [esc] key to save the messages and
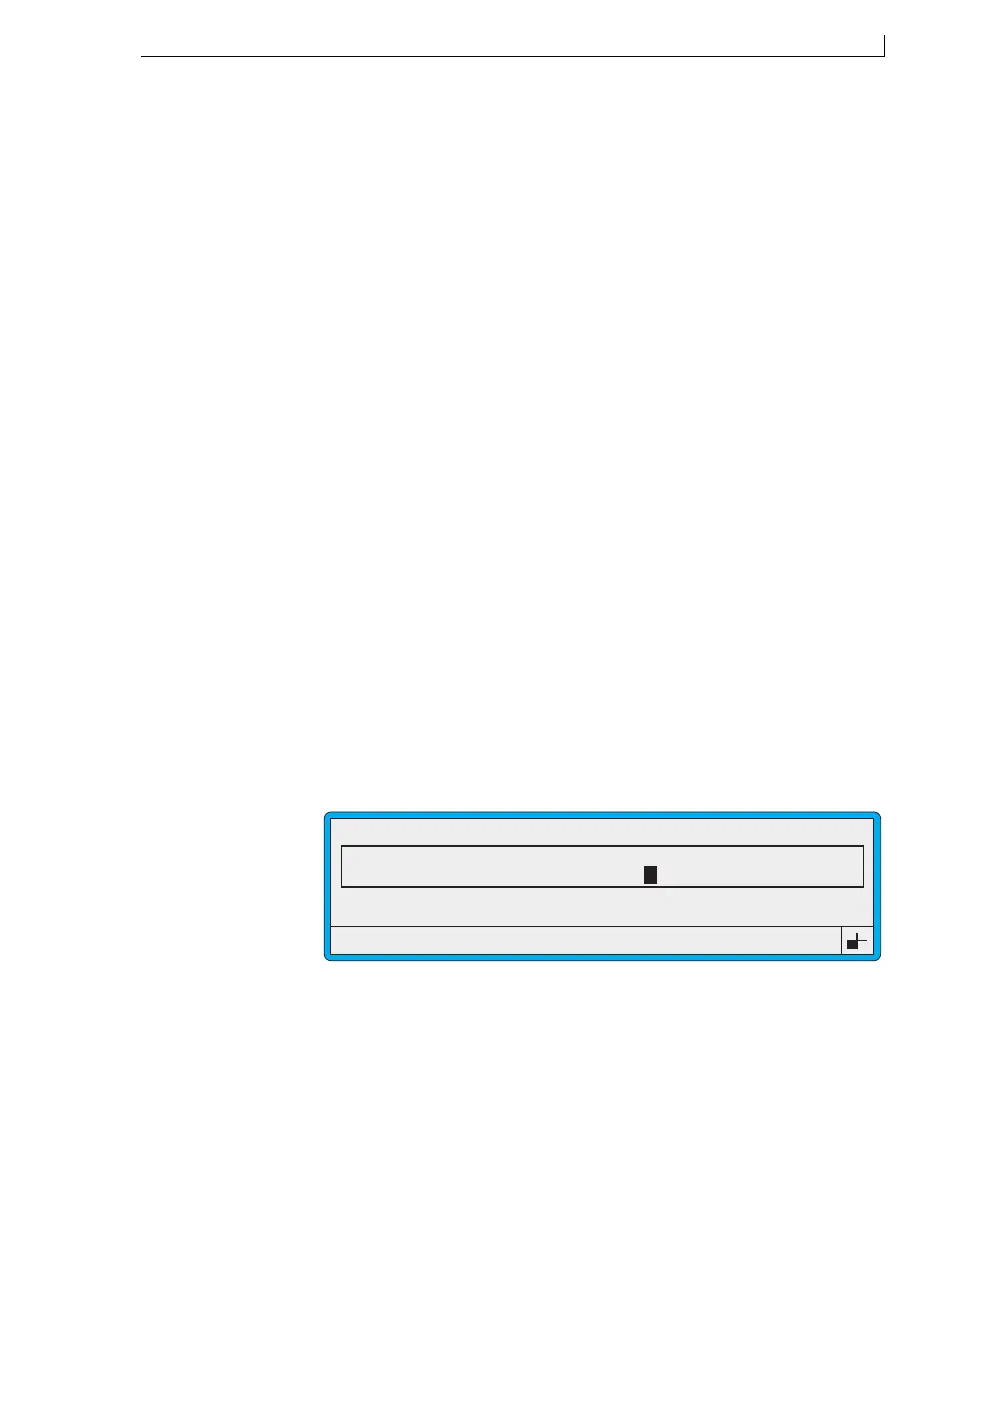
return to the EDIT MESSAGE screen:
Figure 4-25 Edit Message Screen: Timed Message
Note that the last message created is displayed in the message area. At
the time of printing (at the CURRENT MESSAGE screen), the
appropriate message is displayed.
4.8.2 Editing a Timed Message Field
When you edit a timed message field, you can change the existing
messages (Time and Message text), however, you cannot add new
messages.
If you wish to add another message to the field, you must delete the field
and start again. To delete the field, at the EDIT MESSAGE screen select
the field and press [ctrl] + [del].
At this option... You can do this...
Next Message When creating a new field, press the [enter] key to
clear the screen ready to enter the first (or next)
timed message.
When editing an existing timed message field,
scroll through existing messages.
Time Type in the time to start printing the message, in the
24 hour format, for example 18:00.
You must enter either a space, or any one of the
separators (/ . : : ,) between the hours and the
minutes.
Message Type in the message text, then press the [enter] key.
Always create the timed message with the longest
text first. The length of the first timed message sets
the maximum length of all subsequent messages
specified for the field.
Note that up to 10 characters are displayed as you
type in the text, however, you can enter up to 99
characters.
49120
F1 : Size 7 FH (Caps)
F3 : Field Type
F2 : Bold Off
F4 : Save & Exit
EDIT MESSAGE : MESSAGE 1
Sell by dd mmm yy
BATCH 9999
Day Shift
LINX
4900 Op Manual.book Page 71 Tuesday, September 9, 2003 12:32 PM