Chapter 5: Changing the System Setup
MP65492–1 103 Linx 4900 Operating Manual
5.4.2 To Enable a Shaft Encoder
If you have a production line that runs at a variable speed, and you use a
shaft encoder to determine the line speed, the Shaft Encoder option allows
you to enable (or disable) the shaft encoder operation.
When enabled, pulses direct from the shaft encoder are used to control
print speed, and a value for the print width must be calculated and entered
in the Print Width setting. See ‘To Set the Print Width Value: Shaft
Encoder’ on page 97 for details.
For further information about line speed detection and how to connect a
shaft encoder, see Appendix A, ‘Installation and Setup’.
To enable a shaft encoder:
Note that printing must be stopped to change the Shaft Encoder option.
1. At the CURRENT MESSAGE screen, press the [F4] function key.
The SETUP menu is displayed.
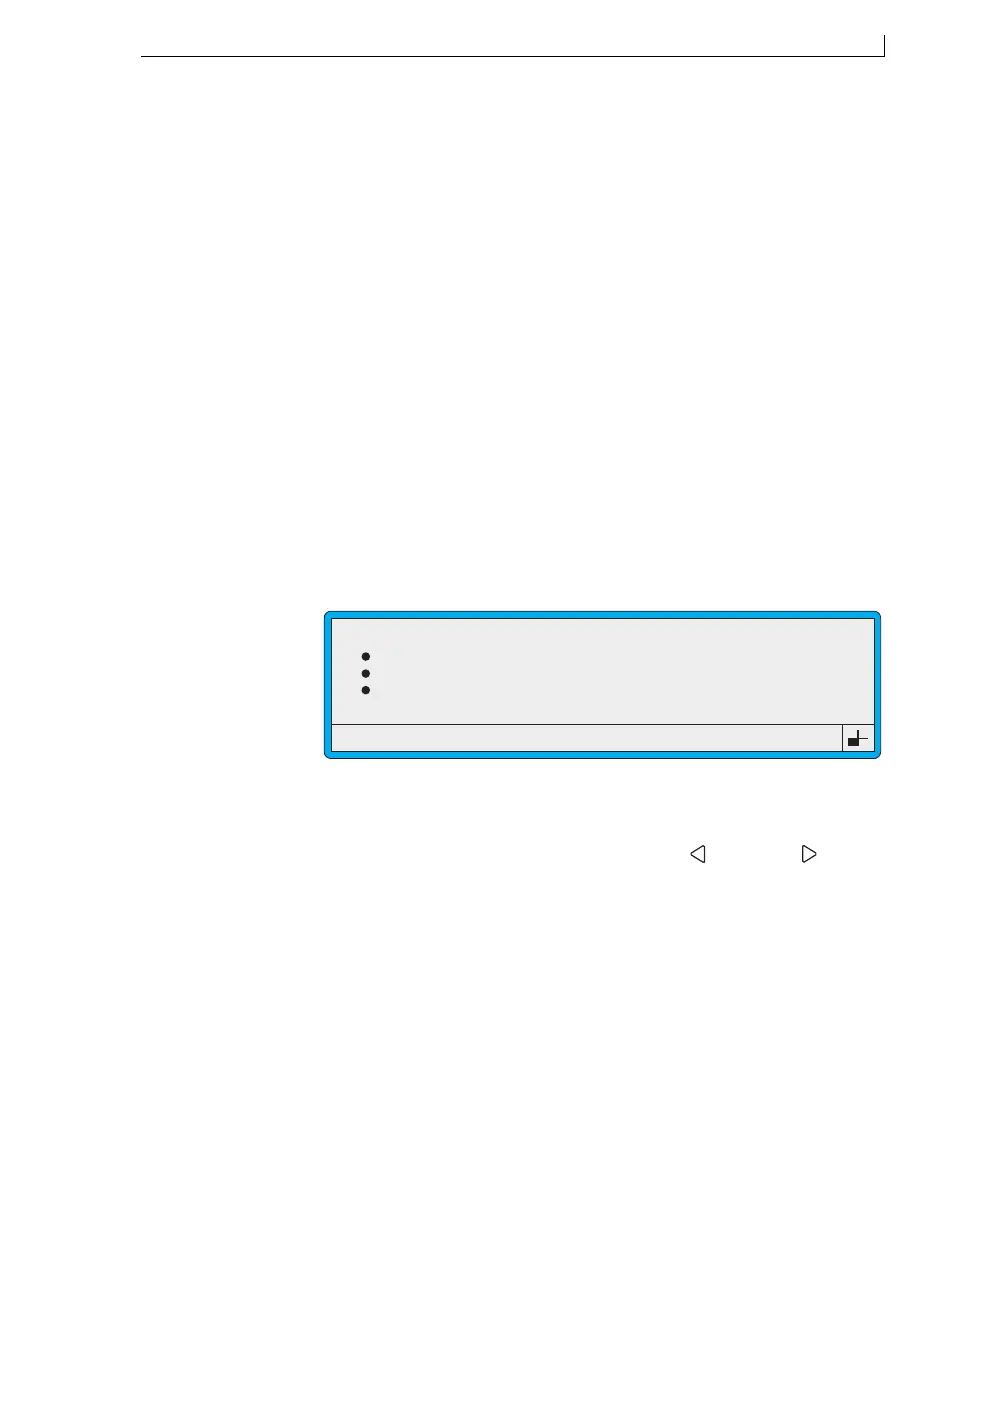
2. Scroll through the menu options until the cursor rests at the Shaft
Encoder option, as shown below:
Figure 5-11 Setup Menu: Shaft Encoder Option
3. Press the [enter] key to select the option.
4. At the Shaft Encoder setting, press the Left [ ] or Right [ ] arrow
key to toggle the setting On or Off, as follows:
• On
Select this setting to enable the shaft encoder operation.
• Off
Select this setting when a shaft encoder is not in use. The Print
Width option is used to determine the width of each message. See
‘To Set the Print Width Value: Shaft Encoder’ on page 97 for
details.
5. Press the [enter] key to save the setting.
6. Press the [esc] key to exit.
Set Date
Julian Date Format
Primary Trigger
Shaft Encoder
49074
SETUP
: 15:08:03
: European
: Leading Edge
: On
>
4900 Op Manual.book Page 103 Tuesday, September 9, 2003 12:32 PM