Chapter 4: Creating and Editing Messages
MP65492–1 61 Linx 4900 Operating Manual
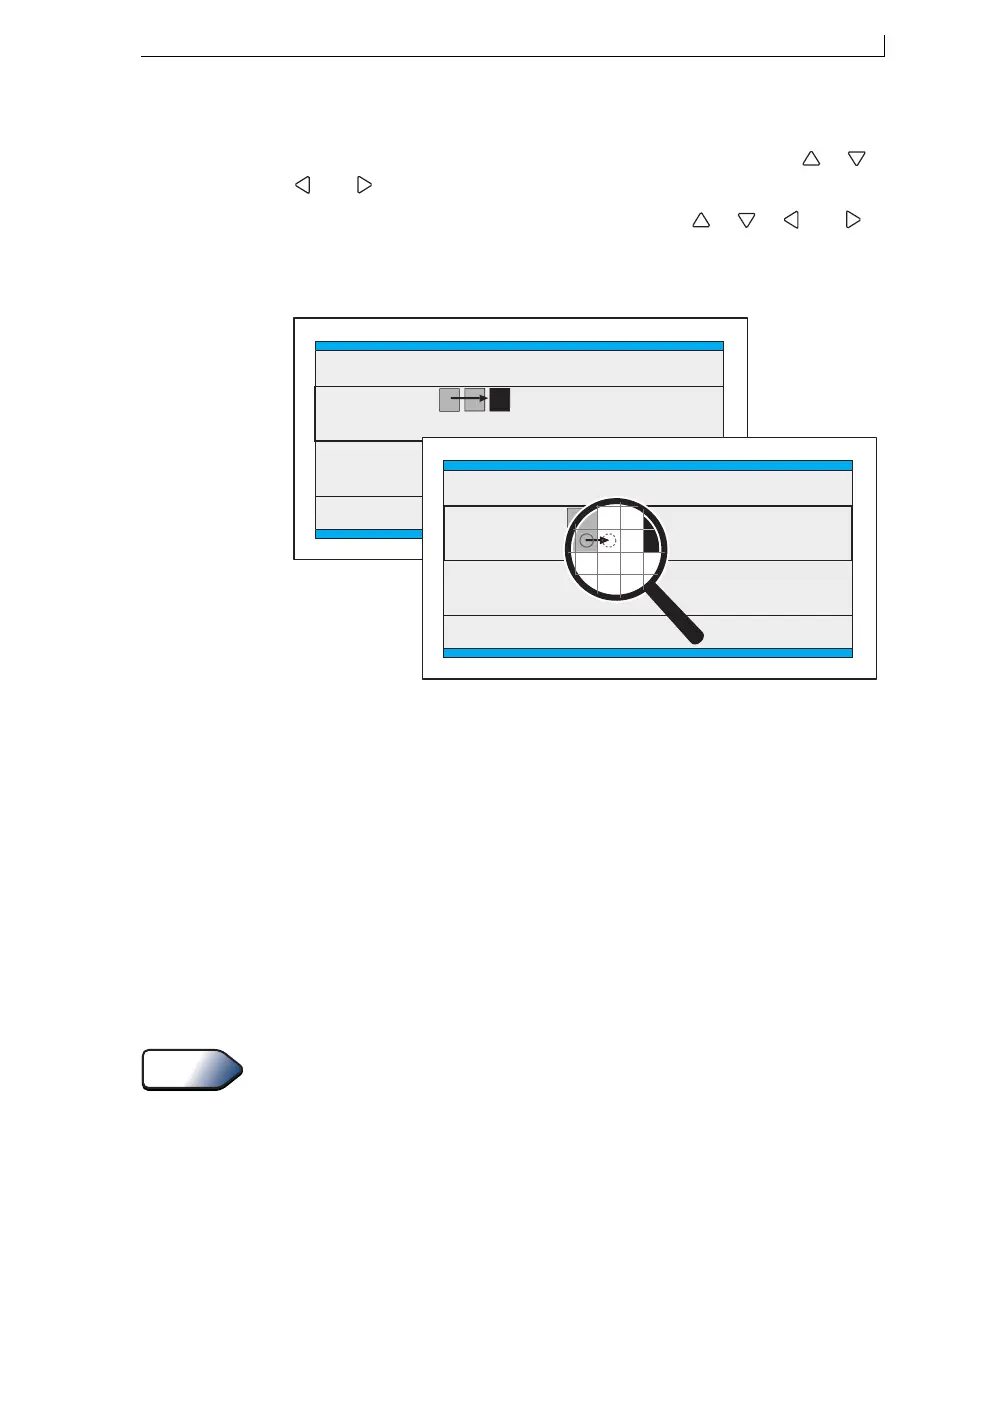
4.5.2 Fine Tuning the Field Start Position
To position the cursor where you want the field to start, use the [ ], [ ],
[ ] or [ ] arrow keys (see Example A in Figure 4-12 below).
By pressing the [ctrl] key in conjunction with the [ ], [ ], [ ] or [ ]
arrow keys, you can move the cursor just one drop at a time (see Example
B in Figure 4-12 below):
Figure 4-12 Positioning the Message Cursor
4.5.3 Applying Bold to a Field
You can switch the Bold option to On to apply bold to a message field as
you create it; this makes the printed characters appear heavier.
The ratio of bold applied to the field is determined by the Bold Ratio value
defined in the SETUP menu. See also ‘Defining the Bold Ratio’ on
page 99.
To apply the defined bold ratio to a field:
1. At the EDIT MESSAGE screen, press the [F2] function key to toggle
the Bold setting to On.
2. Continue creating the field as required.
For multiple field messages, create the emboldened field before you create
the other fields in the message because once a bold ratio is applied to the
field, the width of the field increases.
49291
Message
ssage
F2 : Check Status
F4 : Change Setu
SSAGE : MESSAGE 1
LINX
Example A
Message
ssage
F2 : Check Status
F4 : Change Setu
SSAGE : MESSAGE 1
LINX
Example B
Tip
4900 Op Manual.book Page 61 Tuesday, September 9, 2003 12:32 PM