237
Change the installer PIN code: * + 6
Enter the previous PIN code (default 0000).
Press the Status key . A long audio signal is audible.
Enter a new 4-digit PIN code.
Press the hash key #.
The new PIN code is saved.
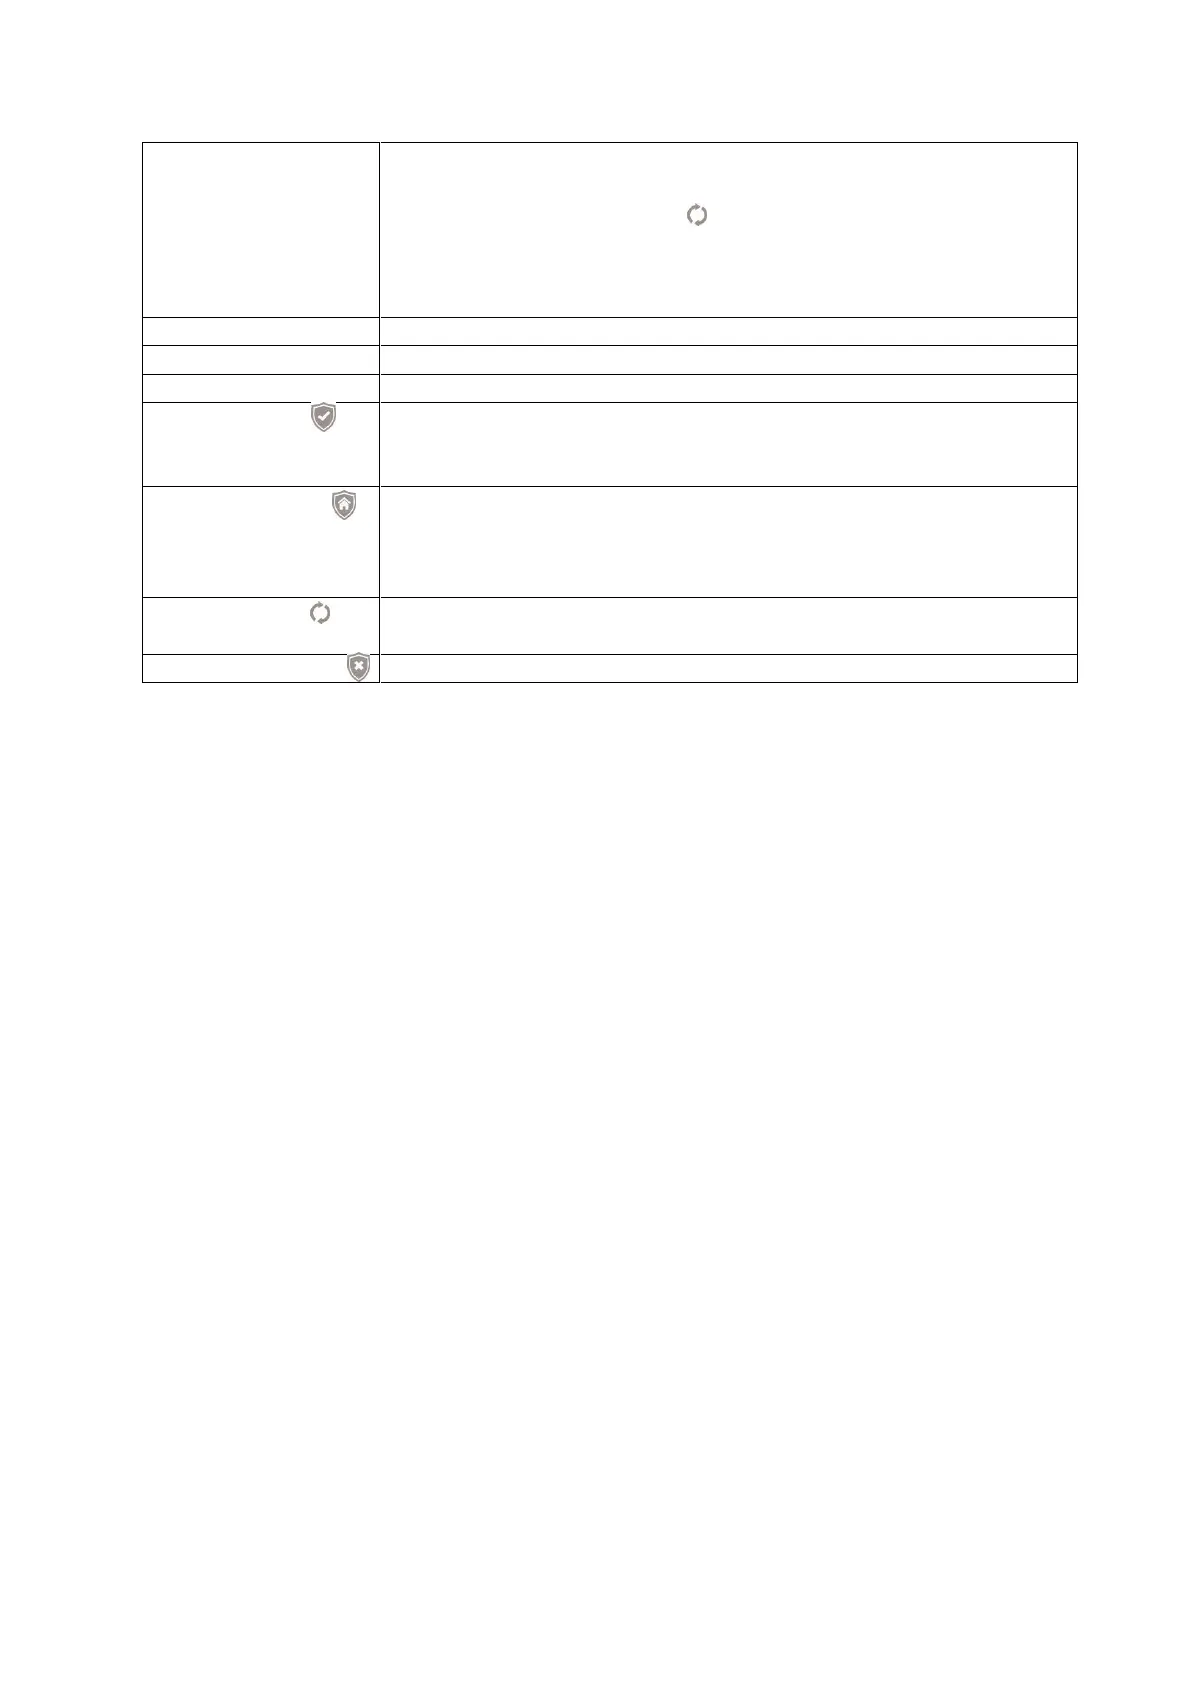
Add outdoor keypad to the alarm panel / range test
Enable Arm/Home without PIN or tag
Enable Arm/Home/Disarm (only) with PIN or tag
Constant status illumination (Home or Arm mode), if power
supplied by mains adapter, activate (default, one long beep)/
deactivate (three short beeps)
Check PIN Code and Tag for mode change
(arm/home/disarm). First, PIN code needs to be entered. Then,
tag needs to be used.
Requires at least second generation outdoor keypad.
Activate/deactivate PIN code or tag legitimization for use of F
keys (default activated):
PIN code protection:
If the “PIN-code protection” is active (“Alarm system” “Settings” “General settings”)
and the PIN code is entered incorrectly five times within ten minutes, the keypad is
blocked, irrespective of whether the correct PIN code is entered afterwards. At first, the
LEDs light up purple, the error LED lights up red, and several loud beeps are emitted to
inform you that the outdoor keypad is blocked. Afterwards, you cannot make any inputs
in the outdoor keypad for fifteen minutes. After this time has elapsed, a long beep sounds
and you can make inputs in the outdoor keypad again.
Note:
The entry of the installer code is always protected, irrespective of whether the PIN code
protection is enabled or not. If the installer code is entered incorrectly five times within ten
minutes, the keypad is blocked.
Reset / factory settings:
Resetting restores the factory default settings of the outdoor keypad and deletes all
learned tags and user PINs. The installer code is “0000” again and the keypad must be
deleted separately from the sensor list.
1. Remove the power supply (battery + mains adapter). Remove the keypad from the
mount.
2. Verify that the tampering contact is open.
3. Reestablish the power supply.
4. Activate the keypad by placing your hand on its front.
5. Press 0000 + #, before the keypad enters the standby mode again.
6. If successful, the keypad beeps three times and is reset to the default values. If
unsuccessful, start again with step 1.
Note:
The keypad can control both areas, depending on which PIN code (for area 1 or
2) is used.