215575 144 Revision B
$
%
&
'
(
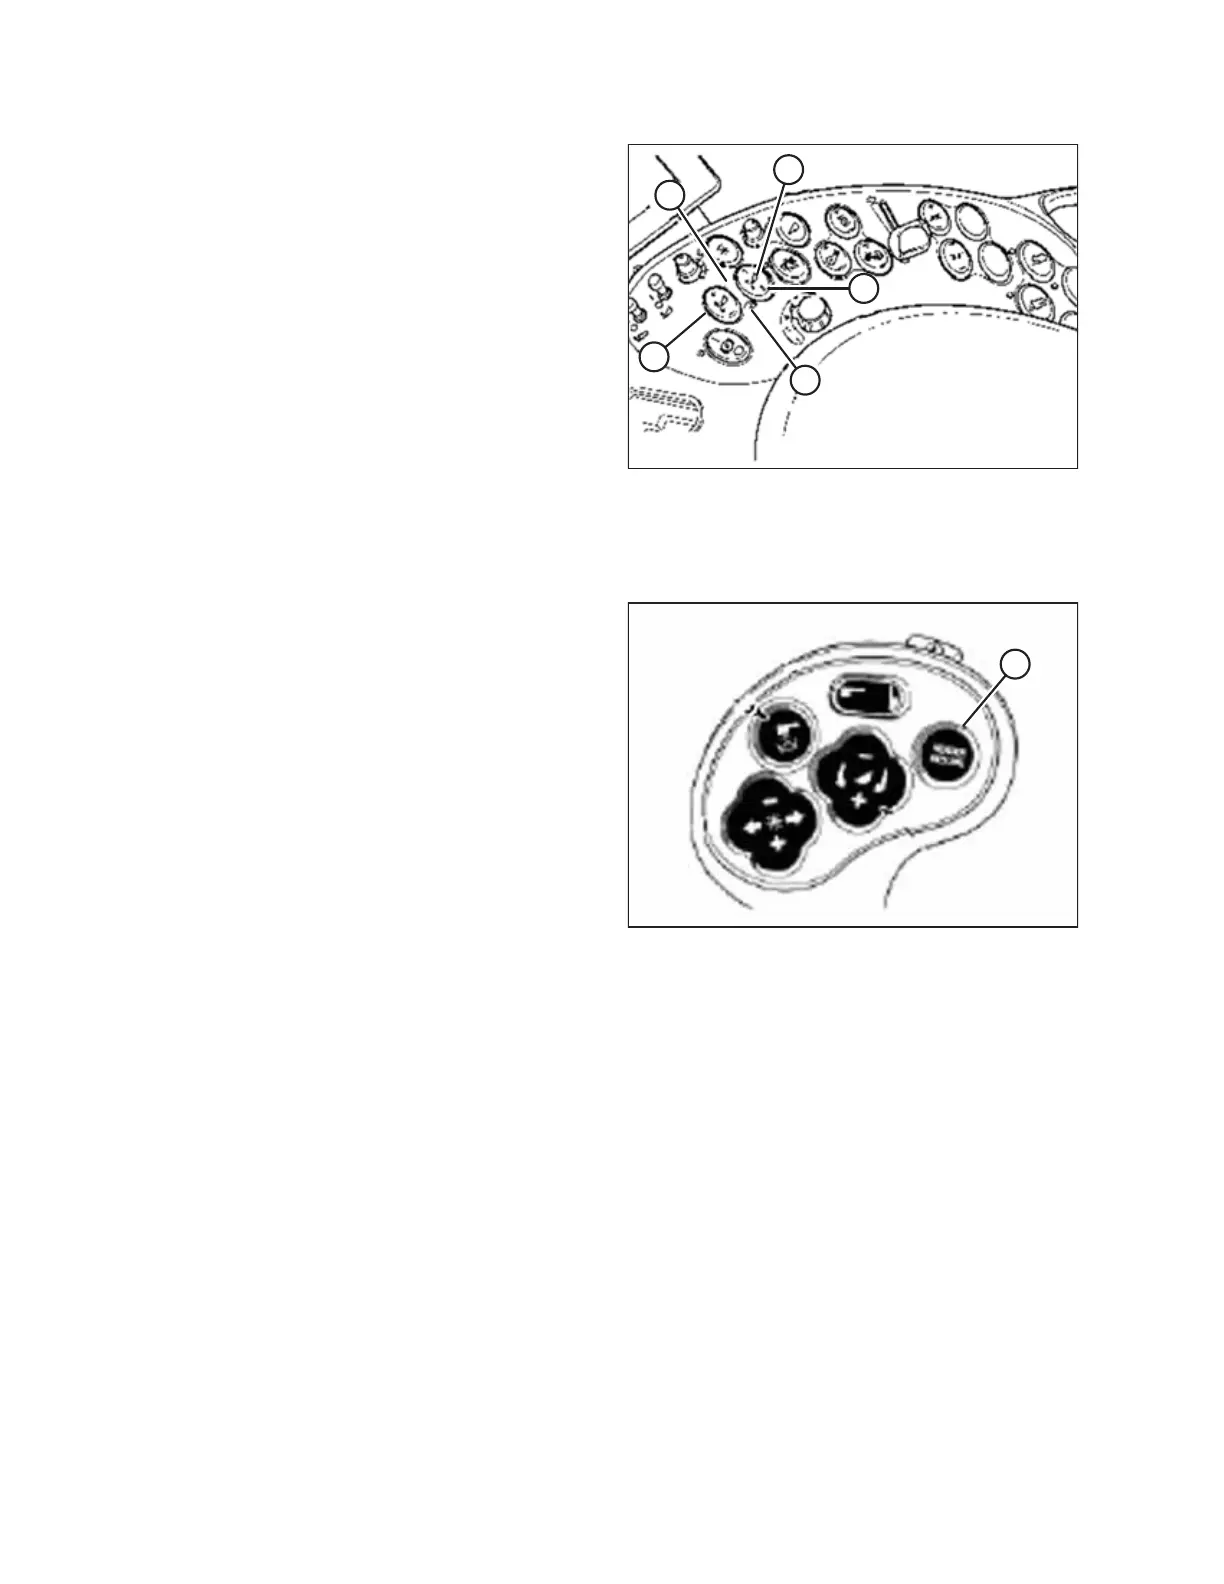
Figure 4.86: Case Combine Controls
A - Set #1 Switch B - Set #2 Switch
C - Header Height Mode Light D - Header Height Mode Light
E - Fine Adjust Switch
1. Engage the separator and the header.
2. Manually raise or lower the header to the desired cutting
height.
3. Press SET #1 switch (A). HEADER HEIGHT MODE light (C)
(next to SET #1 switch) turns on.
4. Manually raise or lower the header to a second desired
cutting height.
5. Press SET #2 switch (B). HEADER HEIGHT MODE light (D)
(next to SET #2 switch) turns on.
$
Figure 4.87: Case Combine Controls
6. To swap between these header height presets, press
HEADER RESUME (A).
7. To pick up the header, press HEADER RESUME (A) twice. To
lower the header, press HEADER RESUME (A).
NOTE:
You can adjust these set points by using FINE ADJUST
switch (E) in Figure 4.86, page 144.
NOTE:
Pressing the HEADER RAISE/LOWER switch will disengage
AUTO HEIGHT mode. Press HEADER RESUME to re-engage
that mode.
AUTO HEADER HEIGHT CONTROL