4535 612 10261 HD11 Service Manual Page 250
CSIP Level 1 Disassembly and Reassembly: Disassembly Procedures
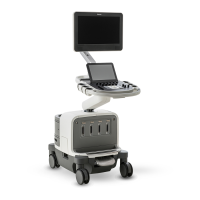
Figure 10-63 Disconnecting the Rear Vent and Rear I/O
Assembly
5
5
Torx screws (2 plcs)
6
Torx screws (2 plcs)
7
Torx screws (2 plcs)
7
8
5. Using a Torx-end screwdriver, insert
the screwdriver into the two access
holes in the rear vent assembly (indi-
cated by the green arrows) and
loosen both screws. Do not remove
these two screws.
6. Remove the two Torx screws secur-
ing the bottom of the rear vent
assembly.
7. Remove the four Torx screws (two
each side) securing the top of the
rear vent assembly.
8. Slide the rear vent (with Rear I/O
assembly attached) out of the cart
frame. Proceed to step 9.