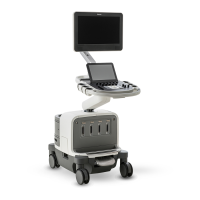
4535 612 10261 HD11 Service Manual Page 83
CSIP Level 1 Installation: Powering On and Configuring the System
Powering On
and Config-
uring the
System
When physical installation is complete, it is necessary and important to verify that the system is
properly configured. After the system has been inspected and properly assembled as instructed
in this section, plug the system power cord into a proper AC outlet and switch the system
power on.
Basic initial configuration is addressed in the following sections. For detailed information and
instructions for configuring and operating the system, invoke the on-system Help feature (press
? Help on the soft key panel) after you have the system running.
• The HD11 system boots to a Caps Lock = on default condition (the Caps Lock “on” indica-
tion is an (A) at the bottom right of the display; no (A) shows when Caps Lock is switched
off). This can confuse password entries if forgotten.
• At power on, the system conducts a check of the tranducer connector modules and the TR
boards to determine if they are the correct type for the system: If one (or more) of these
boards is not the correct type for the system, an “Incompatible hardware shutdown” error
message is displayed and the system is prevented from imaging. If you encounter this error,
see “Incompatible Hardware Shutdown Error” on page 176.
Setting Up the
Monitor
The monitor signal input voltage must be set to 0.7 V. Verify the monitor signal input voltage by
following the instructions in “To verify the monitor signal input voltage setting” on page 162.