Removal and replacement of ADU modules
8-74 Chapter 8: Service & maintenance 98-137654-A
8.5.10.2 Inserting a new LNB
To insert a new LNB follow the instructions above in reverse order.
You may need to slide the drive belt on after the LNB is mounted
with its three screws.
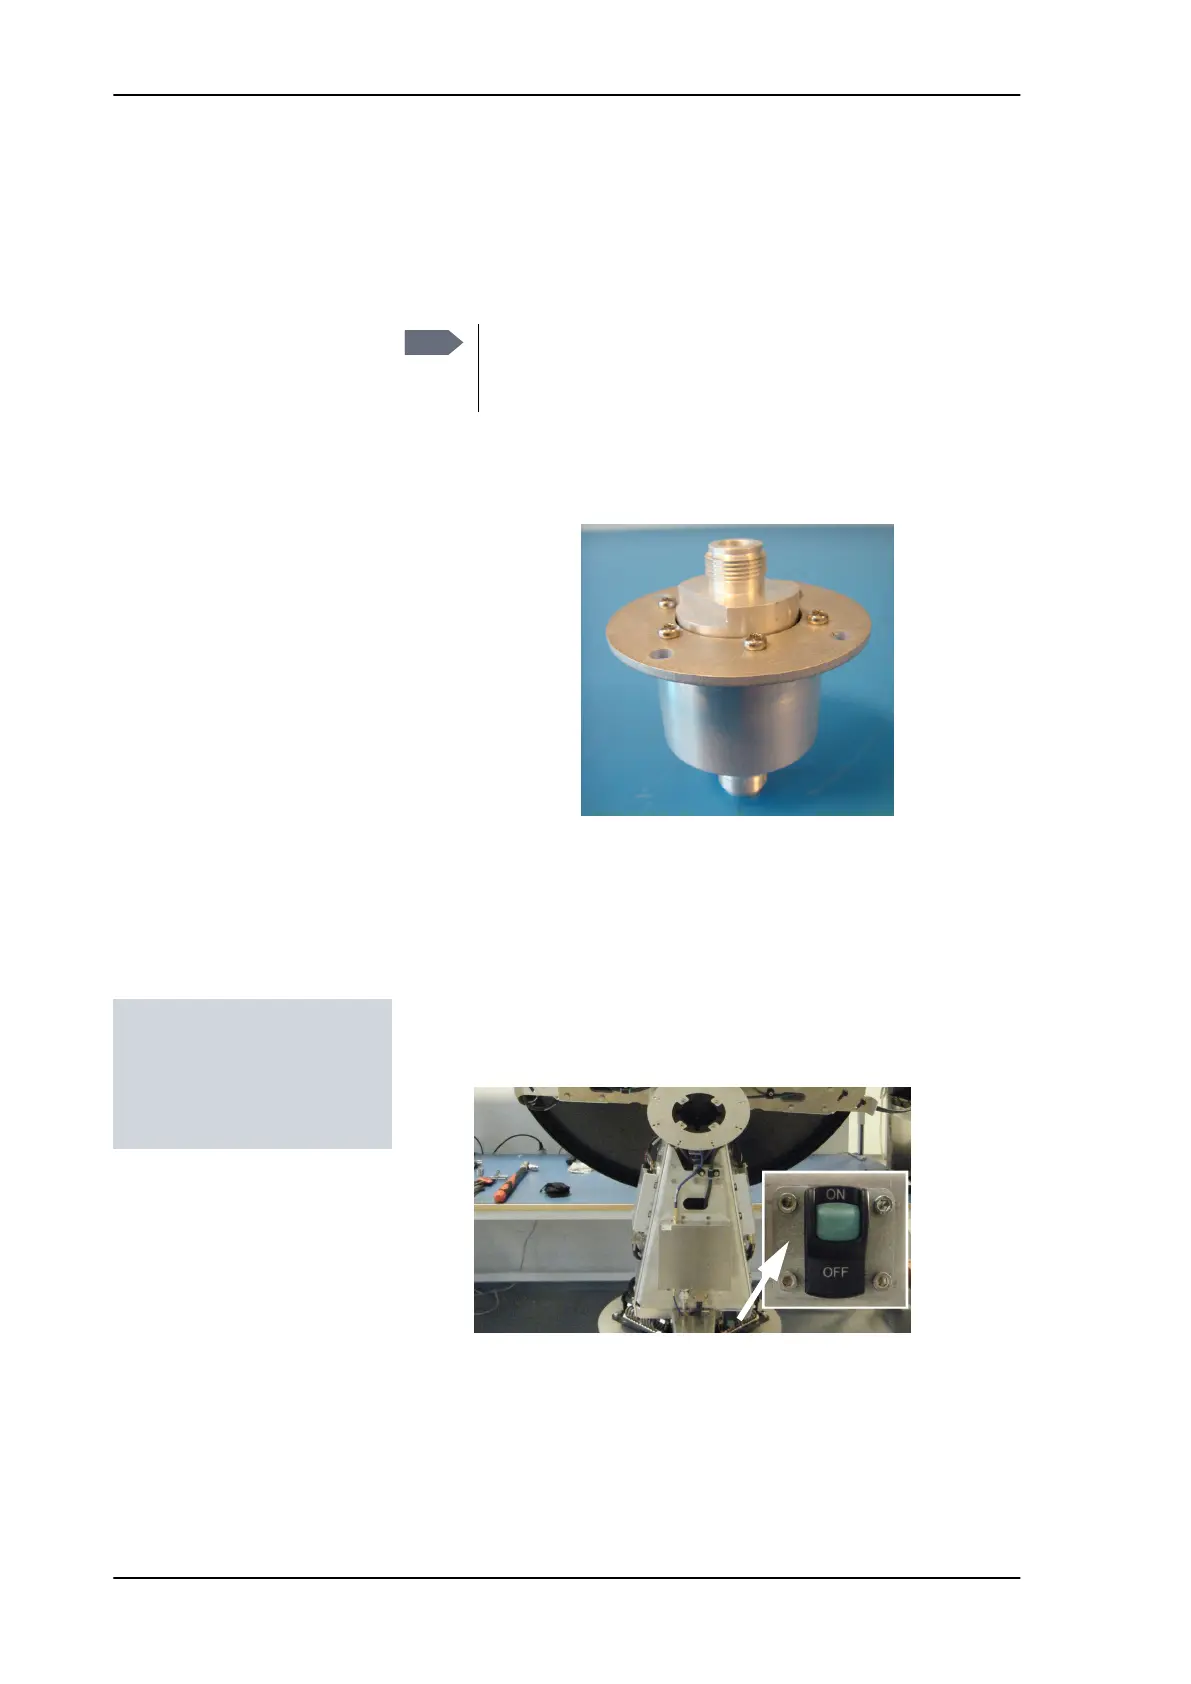
8.5.11 Replacing the rotary joint
8.5.11.1 Removing the rotary joint
1. Open the service hatch by releasing the two latches with Torx
screws.
2. Switch off the power to the antenna on the service switch.
3. Rotate the antenna pedestal so that the Azimuth DDM faces the
service hatch.
4. Rotate the Antenna Dish to top position.
Note
When tightening the 3 screws holding the LNB it is
important that you alternate between the 3 when
tightening them. Do not tighten one at a time!
Figure 8-96: Rotary joint
Tools needed:
• 4 x 150 mm Allen key
(located inside the
service door of the ADU)
SAILOR100TM.book Page 74 Tuesday, January 29, 2013 2:44 PM