Removal and replacement of ADU modules
8-76 Chapter 8: Service & maintenance 98-137654-A
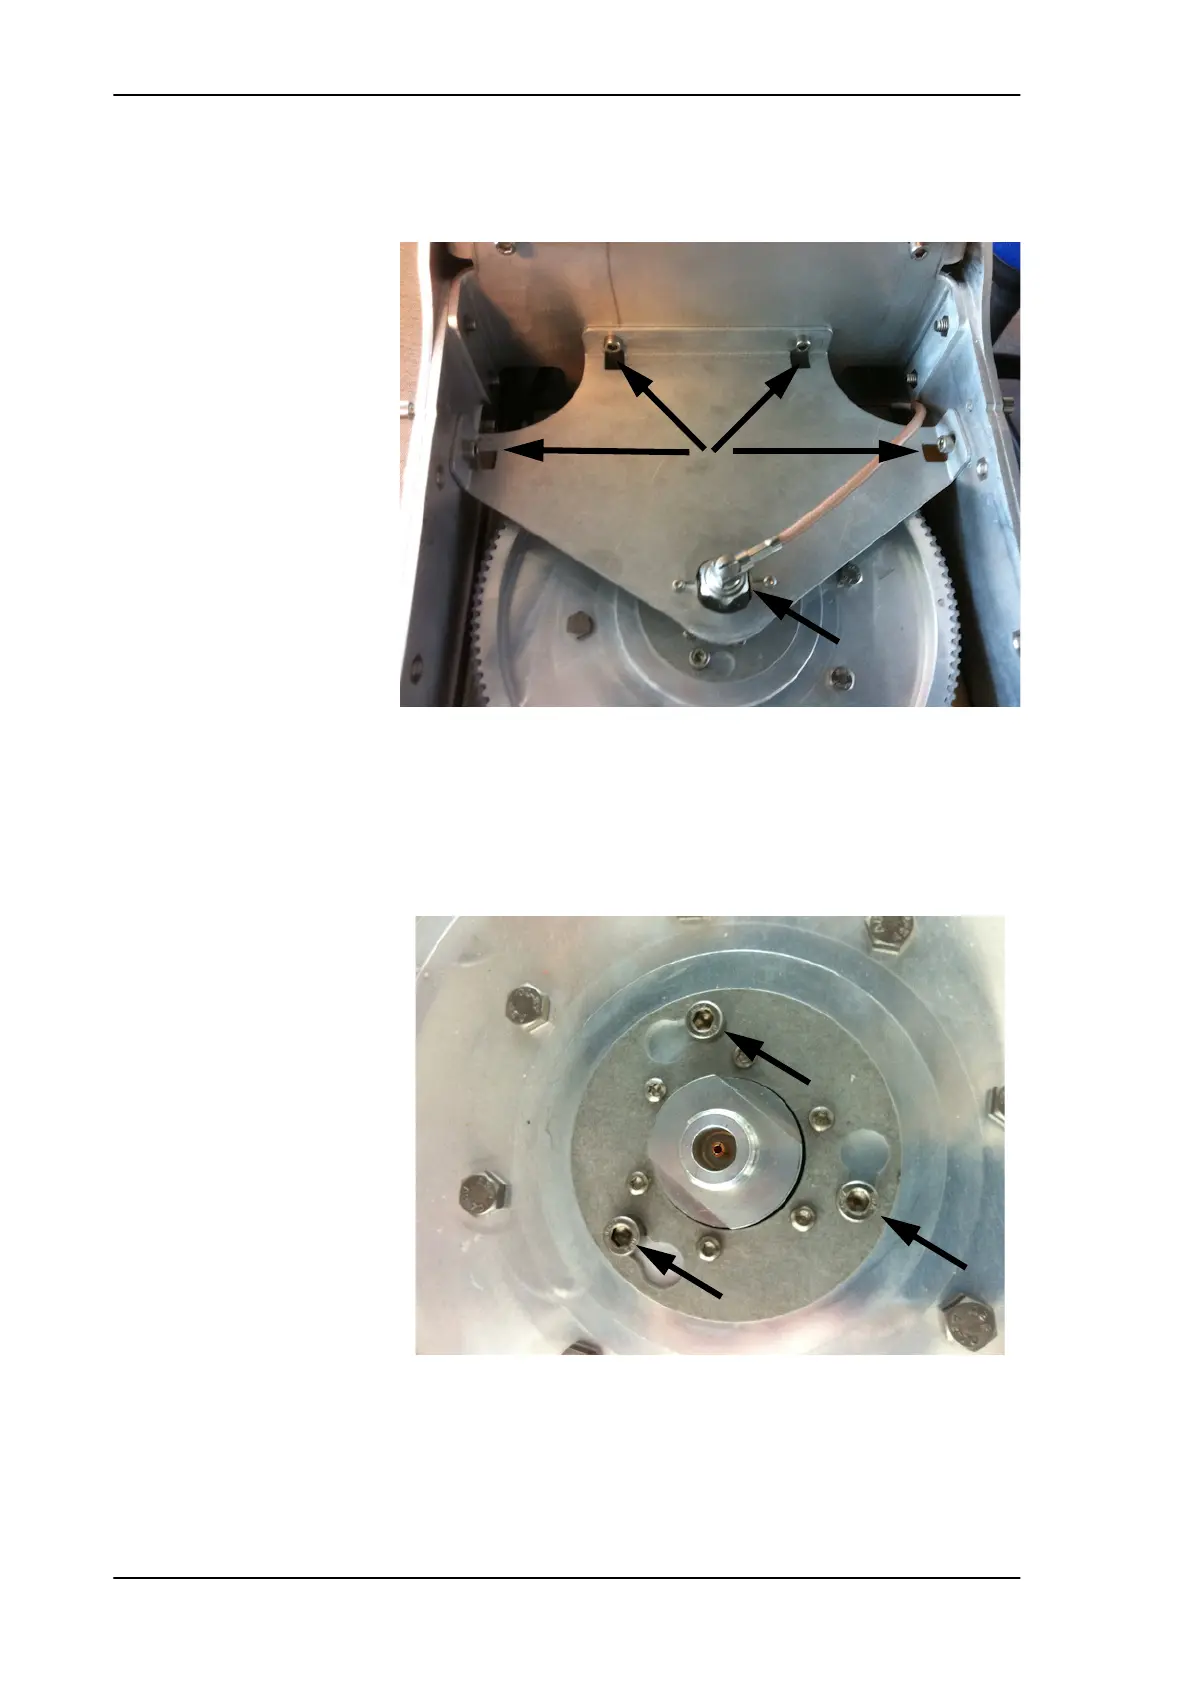
7. Remove the RF connector (N-type, finger nut) from the Rotary
Joint.
8. Loosen the 4x4 mm Allen screws (thread size M5) from the cover
plate over the azimuth drive wheel.
9. Remove the cover plate.
10. Loosen the 3x4 mm Allen screws.
11. Rotate the rotary joint on the key holes and lift it carefully up.
12. Disconnect the RF connector (N-type, finger nut) from the bottom
end of the rotary joint.
Figure 8-98: Getting access to the azimuth drive wheel
Figure 8-99: Rotary joint (in place)
Step 7
Step 8
SAILOR100TM.book Page 76 Tuesday, January 29, 2013 2:44 PM