48 Installing and Removing the I/O-IPC WAGO-I/O-SYSTEM 750
758-874/000-131 WAGO-I/O-IPC-C6
Manual
Version 1.0.0
Pos: 36.17 /Serie 758 ( Funk, IPC und PFC)/Montieren/ Demontage 758-87x al lgemein 1 @ 10\mod_13124397872 58_21.doc @ 75849 @ 2 @ 1
6.6 Dismounting the I/O-IPC
To replace an I/O-IPC (e.g., in the event of version change), proceed as described
in the following section.
Pos: 36.18 /Serie 758 ( Funk, IPC und PFC)/Wic htige Erläuterungen/Sic herheitshinweise/Si cherheitshinwei se 758-87x Heiße Oberseite PI KTOGRAMM @ 10\mod_13151 99932690_21.doc @ 78103 @ @ 1
CAUTION
Hot surface!
The I/O-IPC housing may become hot during operation. If the I/O-IPC has been
in operation, allow it to cool off before moving it.
Pos: 36.19 /Serie 758 ( Funk, IPC und PFC)/Montieren/ Demontage 758-87x Hand lung allgemein @ 10\mod_131 5199590906_21.doc @ 78100 @ 3 @ 1
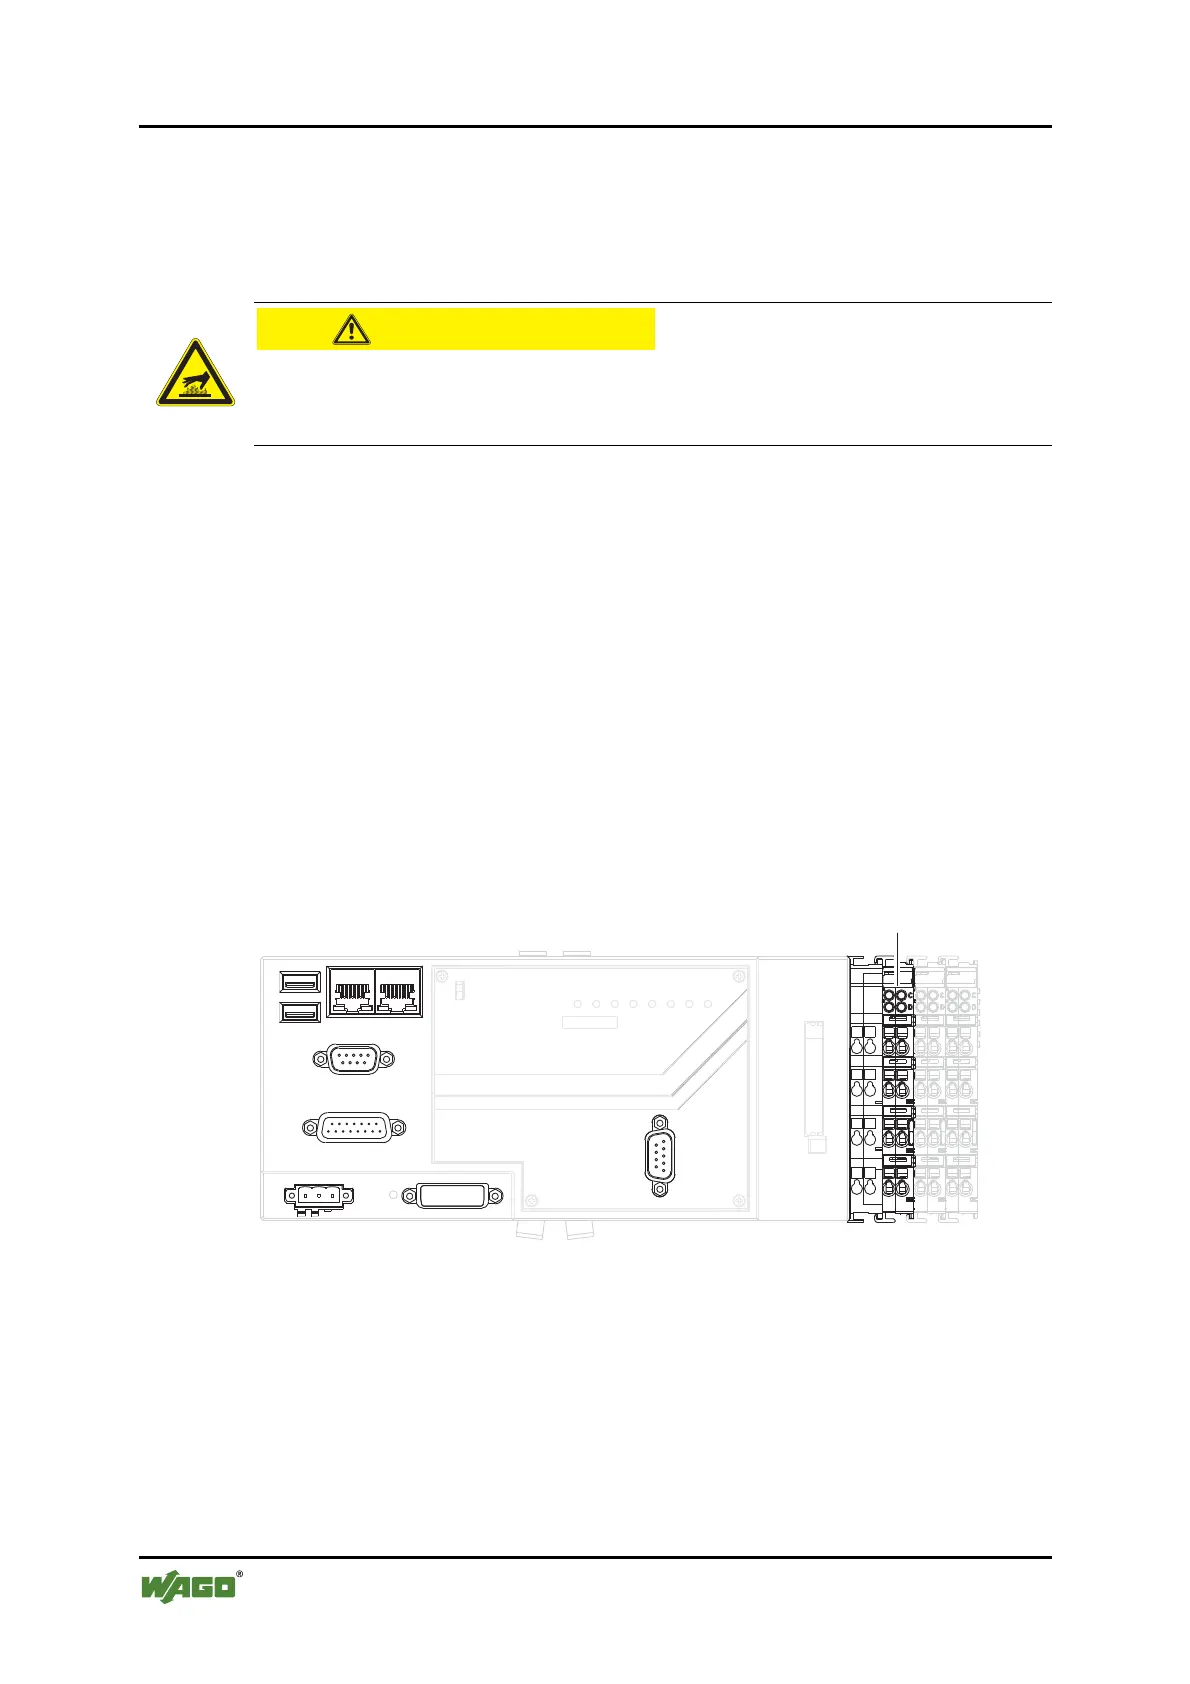
6.6.1 Disconnecting Cables and Conductors
To remove the cables and conductors, proceed as follows:
1. Disconnect from the power supply those parts of the system on which you
have mounted the I/O-IPC.
2. Disconnect the plugs/sockets from the I/O-IPC interfaces and remove the
data cables.
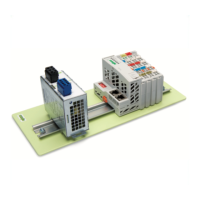
3 Remove the conductors from the first 750 Series I/O Module connected to
the I/O-IPC (A).
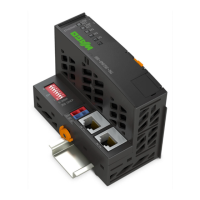
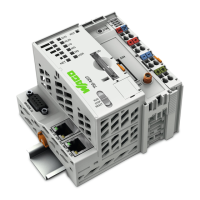
Pos: 36.20 /Serie 758 ( Funk, IPC und PFC)/Montieren/ Demontage 758-87x FB - Bild 1 @ 10\mod_131244087023 6_21.doc @ 75852 @ @ 1
Stop
Run
U1
IDE/PWR
IO
ERR
STA
RDY
RUN
U2
…
Figure 16: I/O-IPC interfaces
Pos: 36.21 /Dokumenta tion allgemein/Glied erungselemente/---Seitenwechsel--- @ 3\mod_1221108045078_0.doc @ 21810 @ @ 1
 Loading...