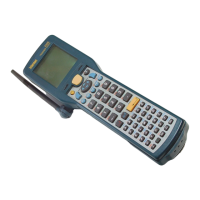
TRAKKER Antares 2420 and 2425 Hand-Held Terminal User’s Manual
nuggetf
code39
1-28
11. Press
to save the changes and exit the Radio screen.
Note: If the terminal is on a different IP subnetwork from the DCS 300 or host, you
must also configure the default router and subnet mask. Choose the Advanced
Network command to set these parameters. For help, see Chapter 4, “Operating
the Terminal in a Network.”
12. For TCP/IP networks, press
:
to choose the Advanced Network command and then
press
. The Advanced Network screen appears.
UDP Plus Advanced Network TCP/IP Advanced Network
ADVANCED NETWORK
Loopback: Disabled
Network Port: 05555
Subnet Mask:
255.255.255.0
Default Router:
0.0.0.0
Controllr Connect Chk
Send Timer:0035 sec
Recv Timer:0060 sec
Retries: 07
` more
242XU.181
ADVANCED NETWORK
Network Port: 00023
Subnet Mask:
255.255.255.0
Default Router:
0.0.0.0
TCP/IP Maximum
Transmit Timeout:
020 sec
OK CANCEL
Note: For UDP Plus networks, the Network Port default is 5555, which matches the
default value set on the DCS 300.
13. In the Network Port field, type a number from 1 to 65535 and then press
V
. The
default value is 23, which enables VT/ANSI Telnet communications. If you are not
using Telnet communications, enter the port number used by your application.
14. Press
?
to exit the Communications Menu. The Configuration Menu appears.
15. Press
?
to exit the Configuration Menu.
16. Press
to choose Yes and save the new configuration in RAM. Once the changes
are saved, the terminal uses the new configuration.
17. Press
?
to exit the TRAKKER Antares 2400 Menu System.