CHAPTER 11
Installing the Switch
•
Installing and Connecting an EX9208 Switch on page 161
•
Installing a Mounting Shelf in a Rack or Cabinet for an EX9208 Switch on page 162
•
Moving the Mounting Brackets for Center-Mounting an EX9200 Switch on page 164
•
Mounting an EX9200 Switch on a Rack or Cabinet Using a Mechanical Lift on page 165
•
Mounting an EX9208 Switch on a Rack or Cabinet Without Using a Mechanical
Lift on page 168
•
Installing and Removing EX9208 Switch Hardware Components on page 170
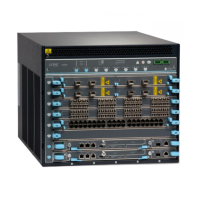
Installing and Connecting an EX9208 Switch
The EX9208 switch chassis is a rigid sheet-metal structure thathouses the other hardware
components such as Switch Fabric modules (SF modules), Routing Engine module (RE
module), line cards, power supplies, fan tray, and air filter. The switch is shipped in a
wooden crate. A wooden pallet forms the base of the crate.
To install and connect an EX9208 switch:
1. Follow instructions in “Unpacking the EX9200 Switch” on page 155.
2. Mount the switch by following instructions appropriate for your site:
•
Mounting an EX9200 Switch on a Rack or CabinetUsing a Mechanical Lift on page165
•
Mounting an EX9208 Switch on a Rack or Cabinet Without Using a Mechanical Lift
on page 168
3. Follow instructions in “Connecting Earth Ground to an EX Series Switch” on page 173.
4. Follow instructions for connecting power as appropriate for your site:
•
Connecting AC Power to an EX9208 Switch on page 179
•
Connecting DC Power to an EX9208 Switch on page 183
5. Perform initial configuration of the switch by following instructions in “Connecting
and Configuring an EX9200 Switch (CLI Procedure)” on page 198
6. Set the switch’s management options by following the appropriate instructions:
•
Connecting an EX9200 Switch to a Network for Out-of-Band Management on
page 191
161Copyright © 2017, Juniper Networks, Inc.

 Loading...