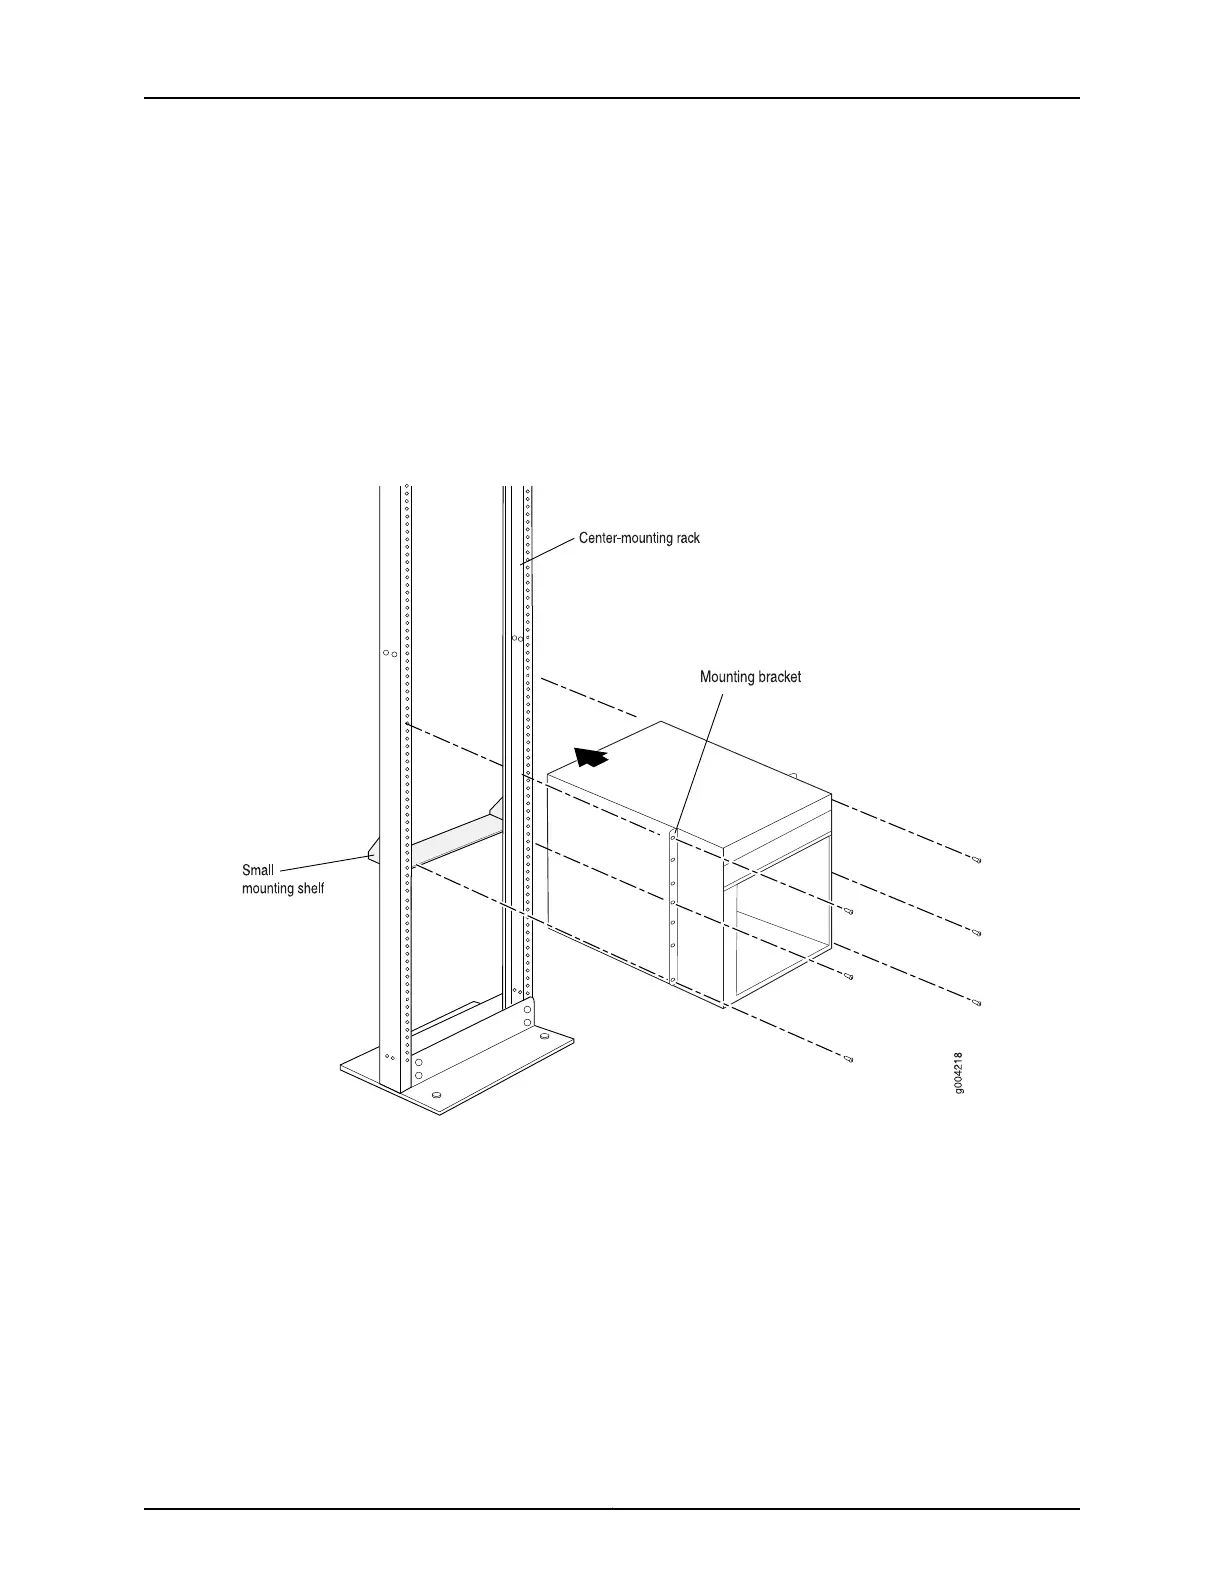
8. Slide the switch onto the mounting shelf until the mounting brackets contact the rack
rails. The shelf ensures that the holes in the mounting brackets of the chassis align
with the holes in the rack rails.
9. Install a mounting screw into each of the open mounting holes aligned with the rack,
starting from the bottom.
10. Visually inspect the alignment of the switch. If the switch is installed properly in the
rack, all the mounting screws on one side of the rack must be aligned with the mounting
screws on the opposite side and the switch must be level.
Figure 48: Installing the Switch in an Open-Frame Rack
After you install the mounting screws and securely bolt the chassis to the rack, reinstall
the components in the chassis. See:
•
Installing an SF Module in an EX9200 Switch on page 232
•
Installing a Fan Tray in an EX9200 Switch on page 209
•
Installing an AC Power Supply in an EX9208 Switch on page 215
•
Installing a DC Power Supply in an EX9208 Switch on page 218
Related
Documentation
Powering On an AC-Powered EX9200 Switch on page 182•
• Powering On a DC-Powered EX9200 Switch on page 188
169Copyright © 2017, Juniper Networks, Inc.
Chapter 11: Installing the Switch

 Loading...


