CAUTION: Before you slide the MIC into the slot, ensure that the MIC is
aligned correctly. Misalignment might cause the pins to bend, making the
MIC unusable.
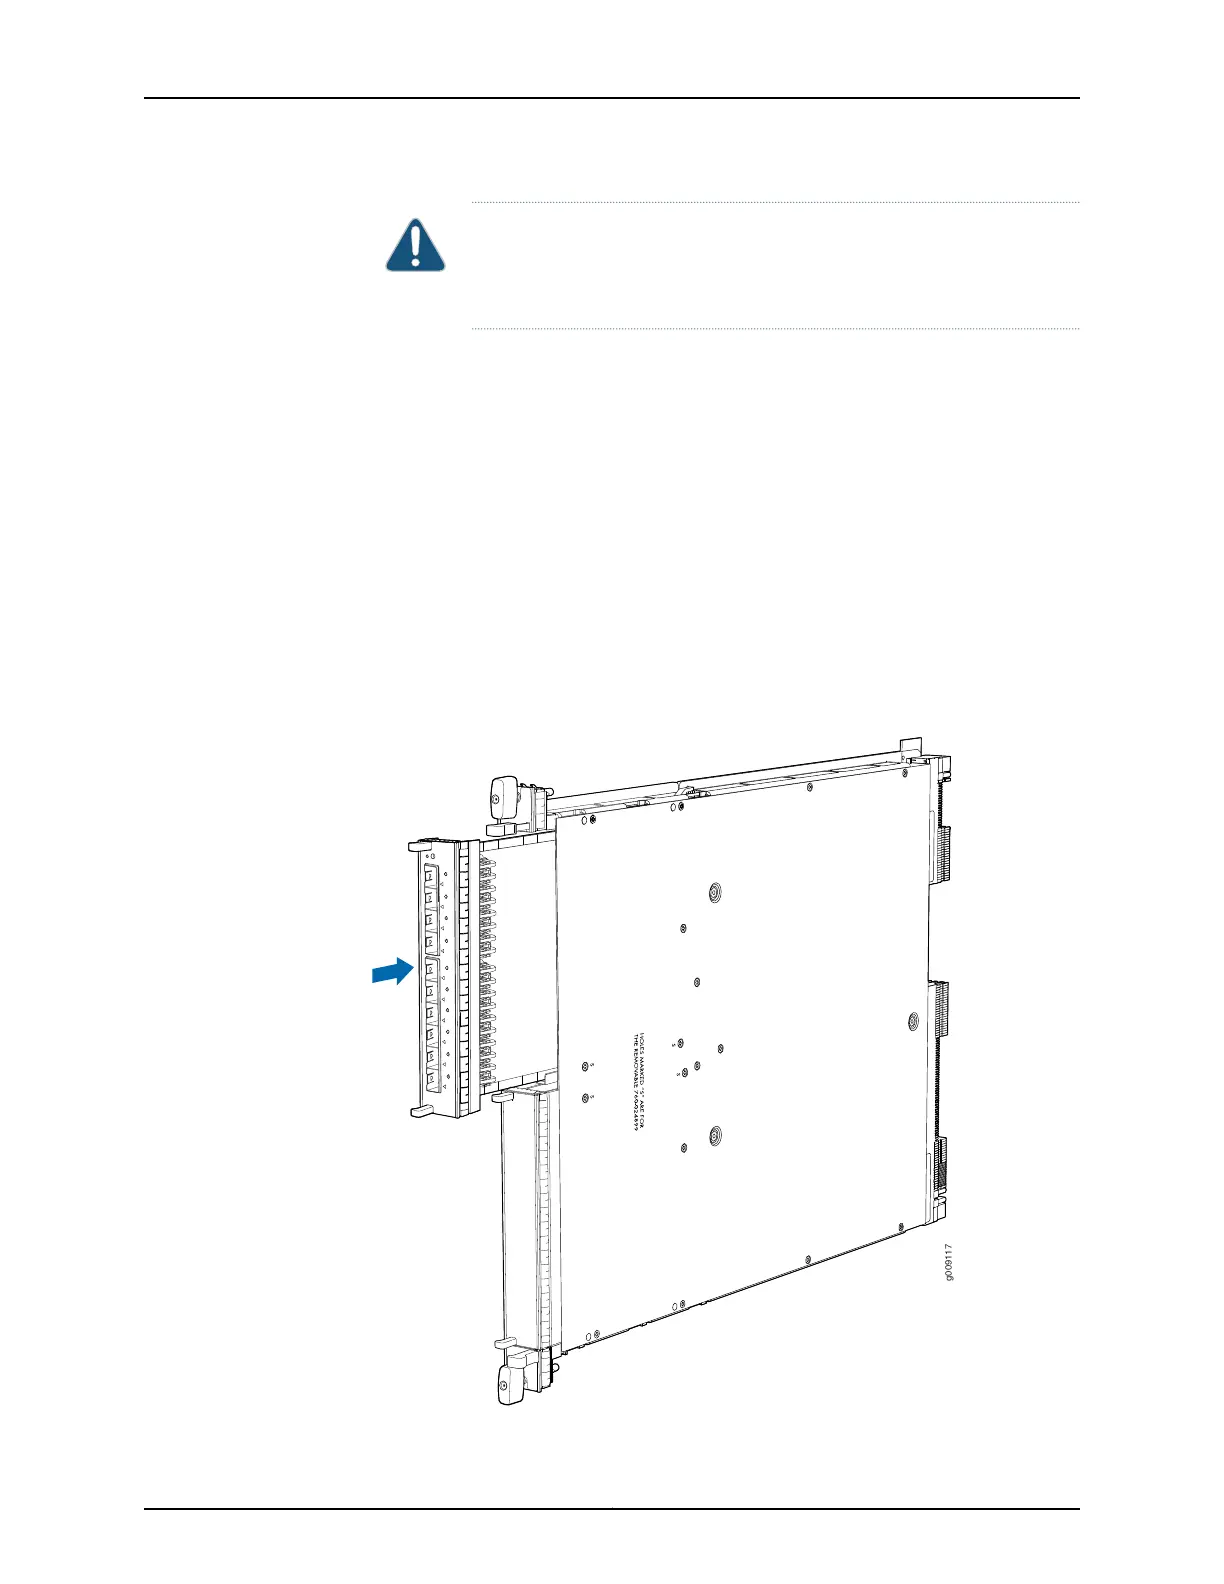
7. Slide the MIC into the slot gently until it is fully seated (see Figure 81 on page 250 or
Figure 82 on page 251).
8. Push the MIC ejector lever on the line card that is adjacent to the MIC slot in which
you are installing the MIC until the MIC is secured in position.
9. If you are installing only one EX9200-10XS-MIC or EX9200-20F-MIC, install a cover
panel over the empty MIC slot and secure it with the captive screws by using the
screwdriver. Do this to protect the interior of the chassis from dust or other foreign
substances and to ensure that the airflow inside the chassis is not disrupted.
10. Bring the MIC online by pressing the power button on the MIC until the OK/FAIL LED
on the MIC is lit green. You can also bring the MIC online by issuing the following CLI
command:
user@host> request chassis mic fpc-slot slot-number mic-slot slot-number online
Figure 81: Installing an EX9200-10XS-MIC or EX9200-20F-MIC
Copyright © 2017, Juniper Networks, Inc.250
EX9208 Switch Hardware Guide