1. Switch off the dedicated customer site circuit breaker for the power supply, and
remove the power cord from the AC power source. Follow the instructions for your
site.
2. Attach the ESD grounding strap to your bare wrist, and connect the strap to the ESD
point on the chassis.
3. Move the AC input switch next to the appliance inlet on the power supply to the Off
(O) position.
4. Remove the power cord from the power supply.
5. Remove the power cord from the ACappliance inlet on the AC power supply faceplate.
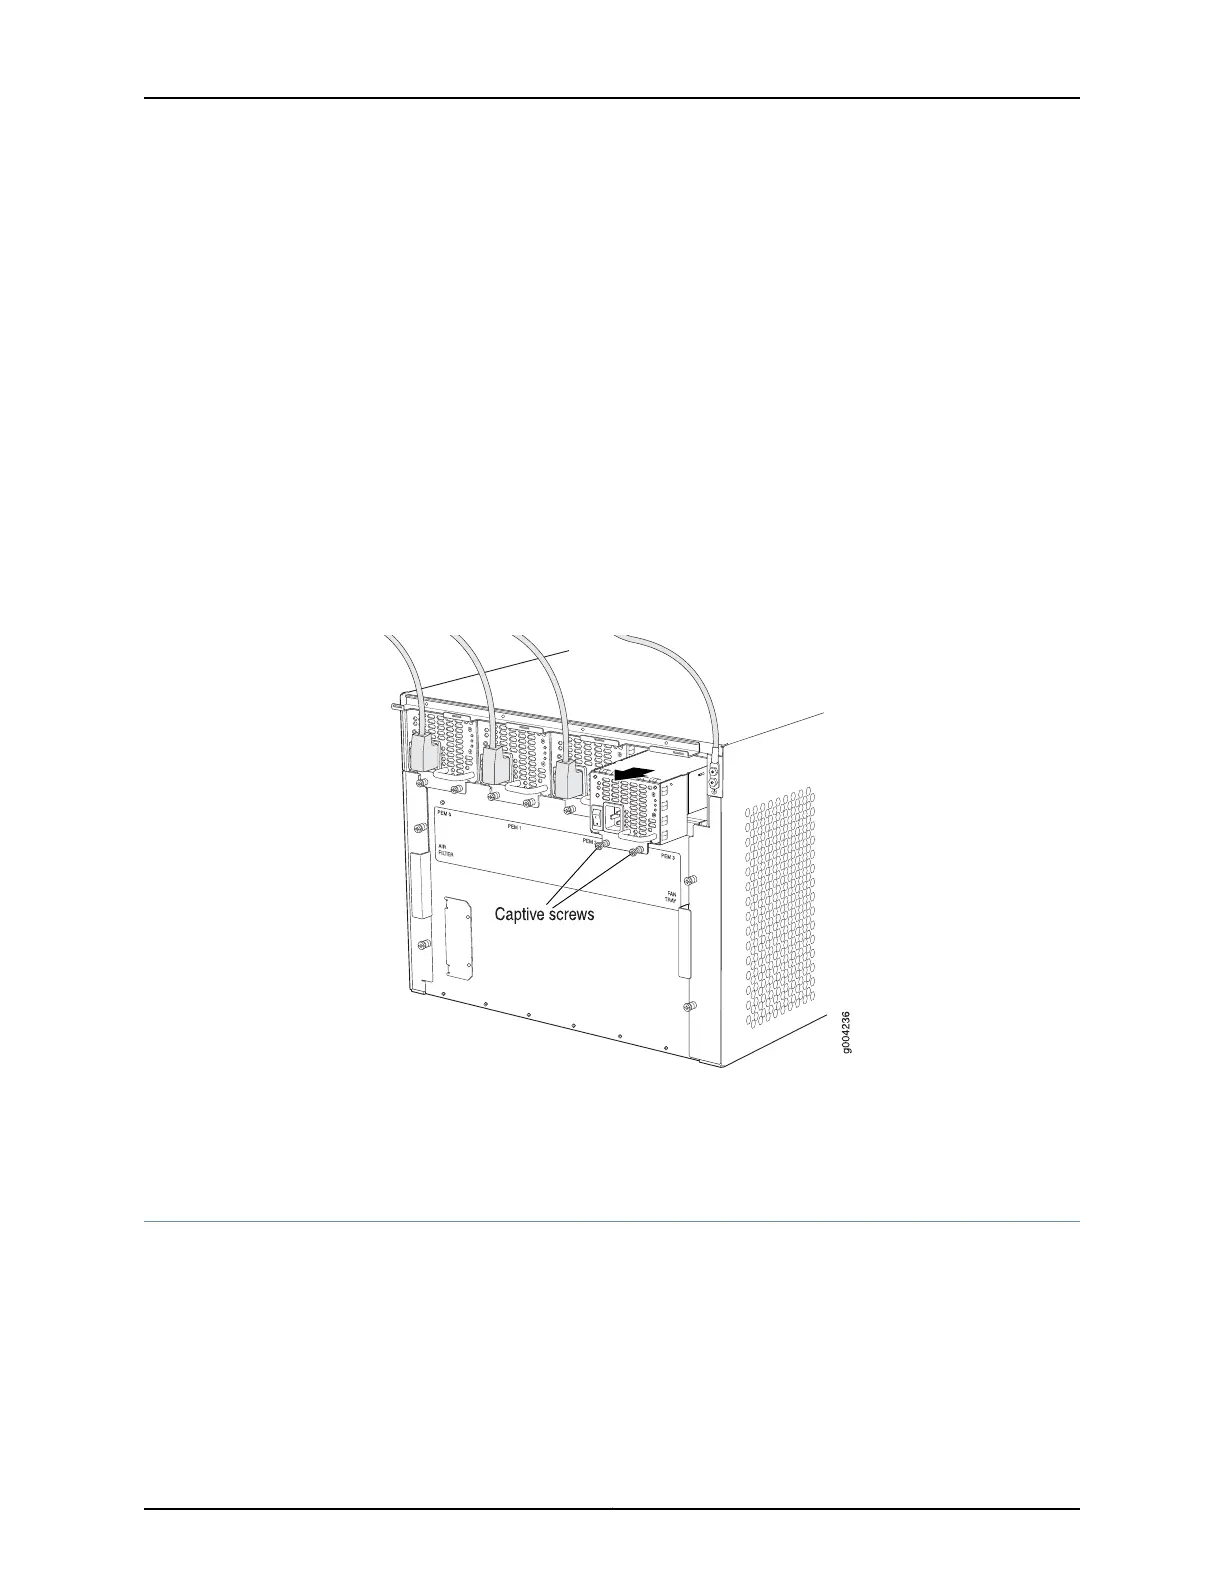
6. Unscrew the captive screws on the bottom edge of the power supply.
7. Pull the power supply straight out of the chassis.
Figure 66: Removing an AC Power Supply from an EX9208 Switch
Related
Documentation
Installing an AC Power Supply in an EX9208 Switch on page 215•
• AC Power Supply in an EX9208 Switch on page 43
Installing a DC Power Supply in an EX9208 Switch
The DC power supply in an EX9208 switch is a hot-removable and hot-insertable
field-replaceable unit (FRU). Up to four DC power supplies can be installed in an EX9208
switch. All DC power supplies install in the rear of the chassis in the slots provided at the
bottom.
Before you install a DC power supply in the switch:
Copyright © 2017, Juniper Networks, Inc.218
EX9208 Switch Hardware Guide

 Loading...


