215575 249 Revision B
Figure 5.66: Drive Sprocket
8. Remove drive sprocket (A), using a puller if necessary.
9. Clean and inspect the components. Replace any worn or
damaged parts.
Installing Drive Sprocket
Do not tension the chain until the drive sprocket is fully installed on the driveshaft.
Figure 5.67: Drive Sprocket
1. Apply anti-seize compound to driveshaft (B) and the splines
of drive sprocket (A).
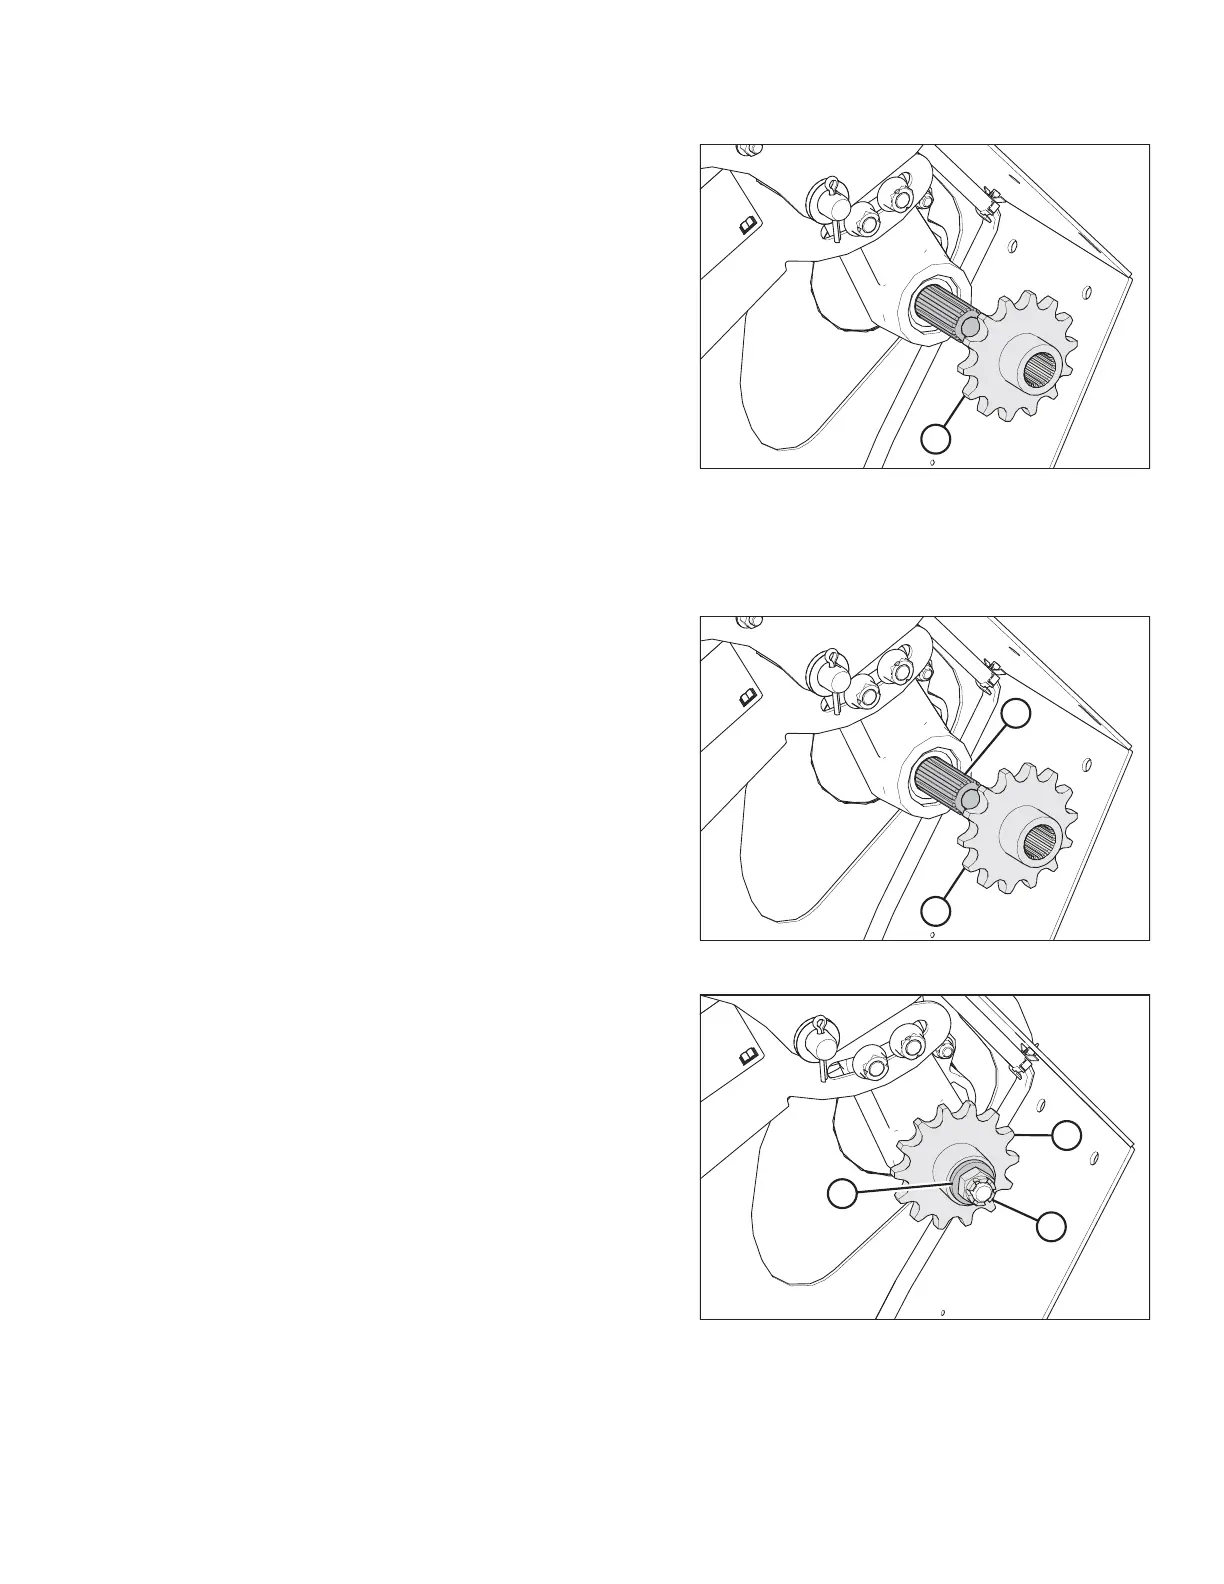
Figure 5.68: Drive Sprocket
2. Install drive sprocket (A), washer (B), and castle nut (C)
onto the driveshaft.
3. Reinstall the drive chain, but do NOT fully tension it yet. For
instructions, refer to Installing Auger Drive Chain, page 243.
MAINTENANCE AND SERVICING