CS193/CS173/CS163 12-53
Utility mode
12
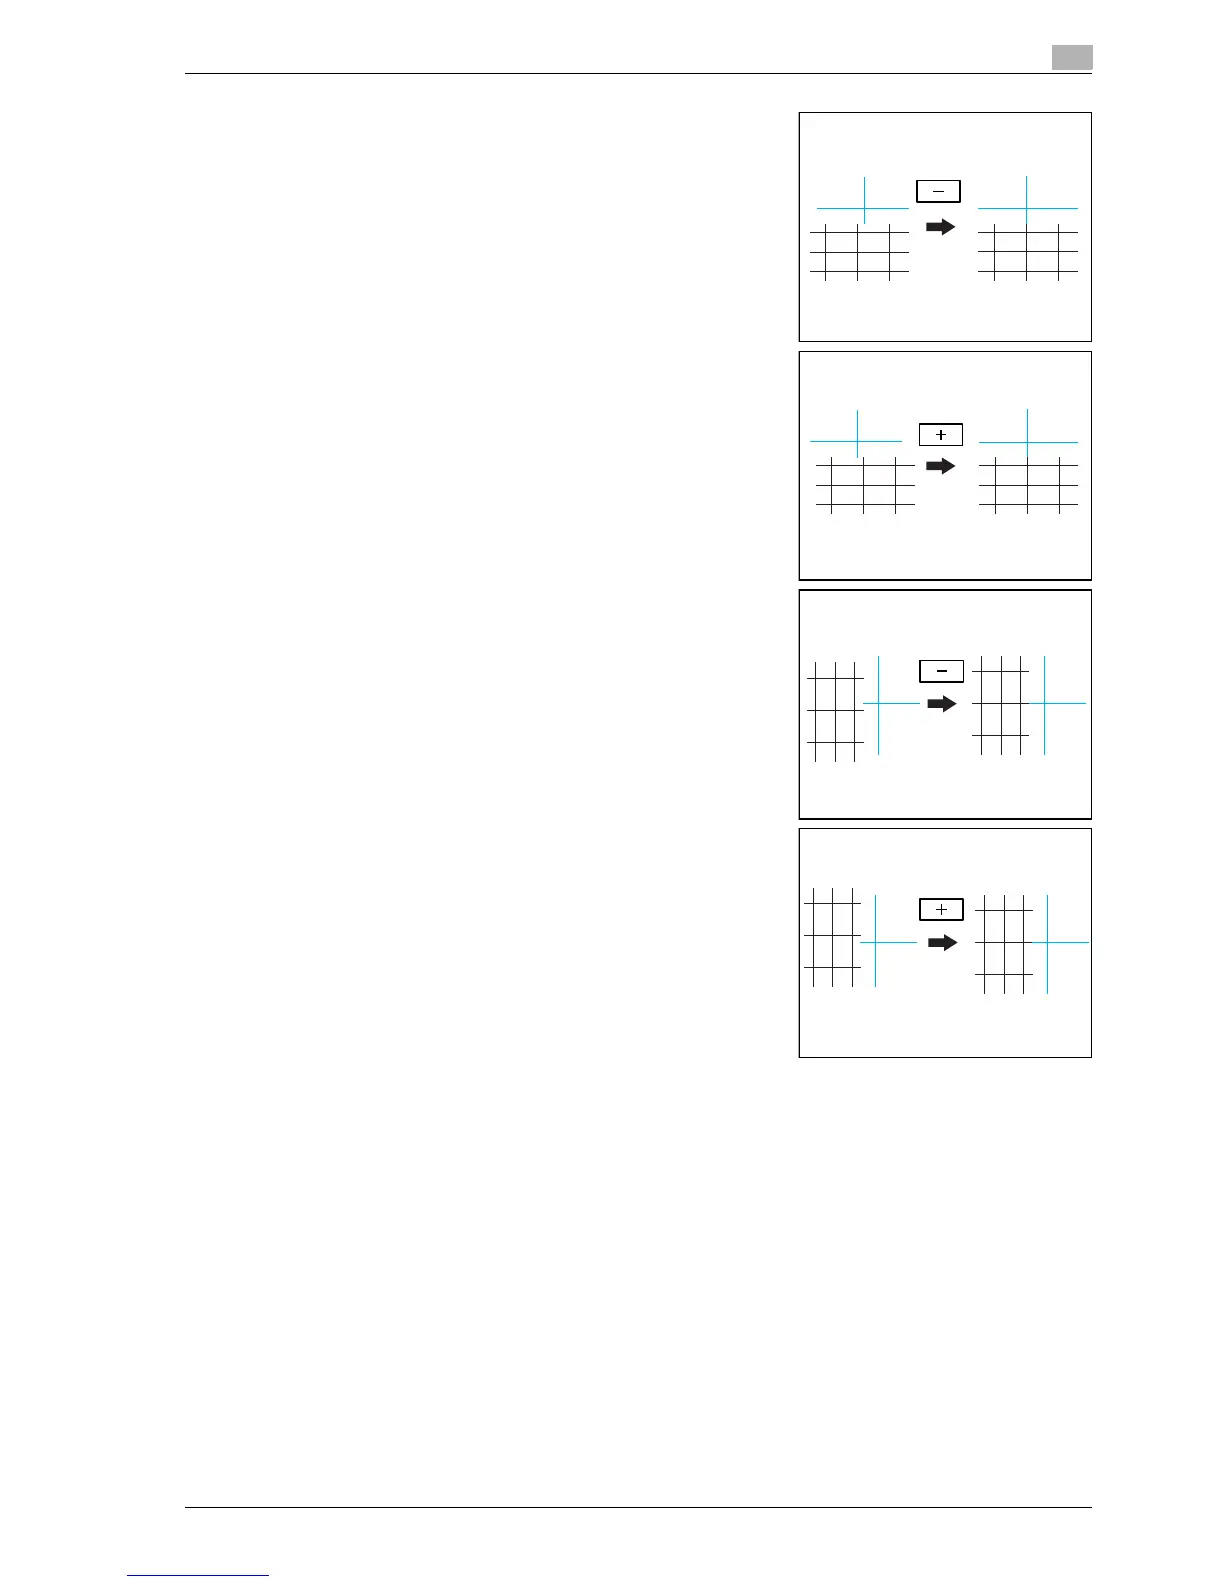
– If the lines are shifted in the X direction as shown below,
touch [-] under "X" to reduce the adjustment (between -1
dot and -6 dots).
– Each time [+] or [-] is touched, the value is increased or
decreased by one increment.
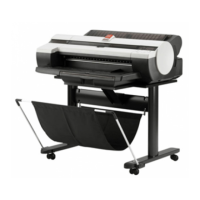
– If the lines are shifted in the X direction as shown below,
touch [+] under "X" to increase the adjustment (between 1
dot and 6 dots).
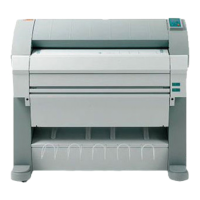
– If the lines are shifted in the Y direction as shown below,
touch [-] under "Y" to reduce the adjustment (between -1
dot and -6 dots).
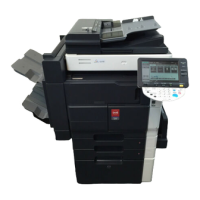
– If the lines are shifted in the Y direction as shown below,
touch [+] under "Y" to increase the adjustment (between 1
dot and 6 dots).
– If the lines are not shifted from the reference lines, continue with step 10.
9 Press the [Start] key.
– The adjustment is applied when the [Start] key is pressed. To cancel the adjustment, press the
[Reset] key instead of pressing the [Start] key.
The adjusted test pattern is printed.
10 Check the print result.
– If there is no shift between the black and cyan lines, continue with step 11.
– If more adjustment is necessary, repeat steps 8 and 9.
11 Touch [OK].
– To cancel the setting and select the default, press the [Reset] key.