10/00
4-48
Phaser 790/DocuColor 2006
REP 6.16, REP 6.17
Initial Issue
Repairs and Adjustments
CAUTION
The PWB components are highly susceptible to damage from electrostatic discharge (ESD)
and extreme care should be used when handling these components. Use of the ESD Field
Service Kit is required.
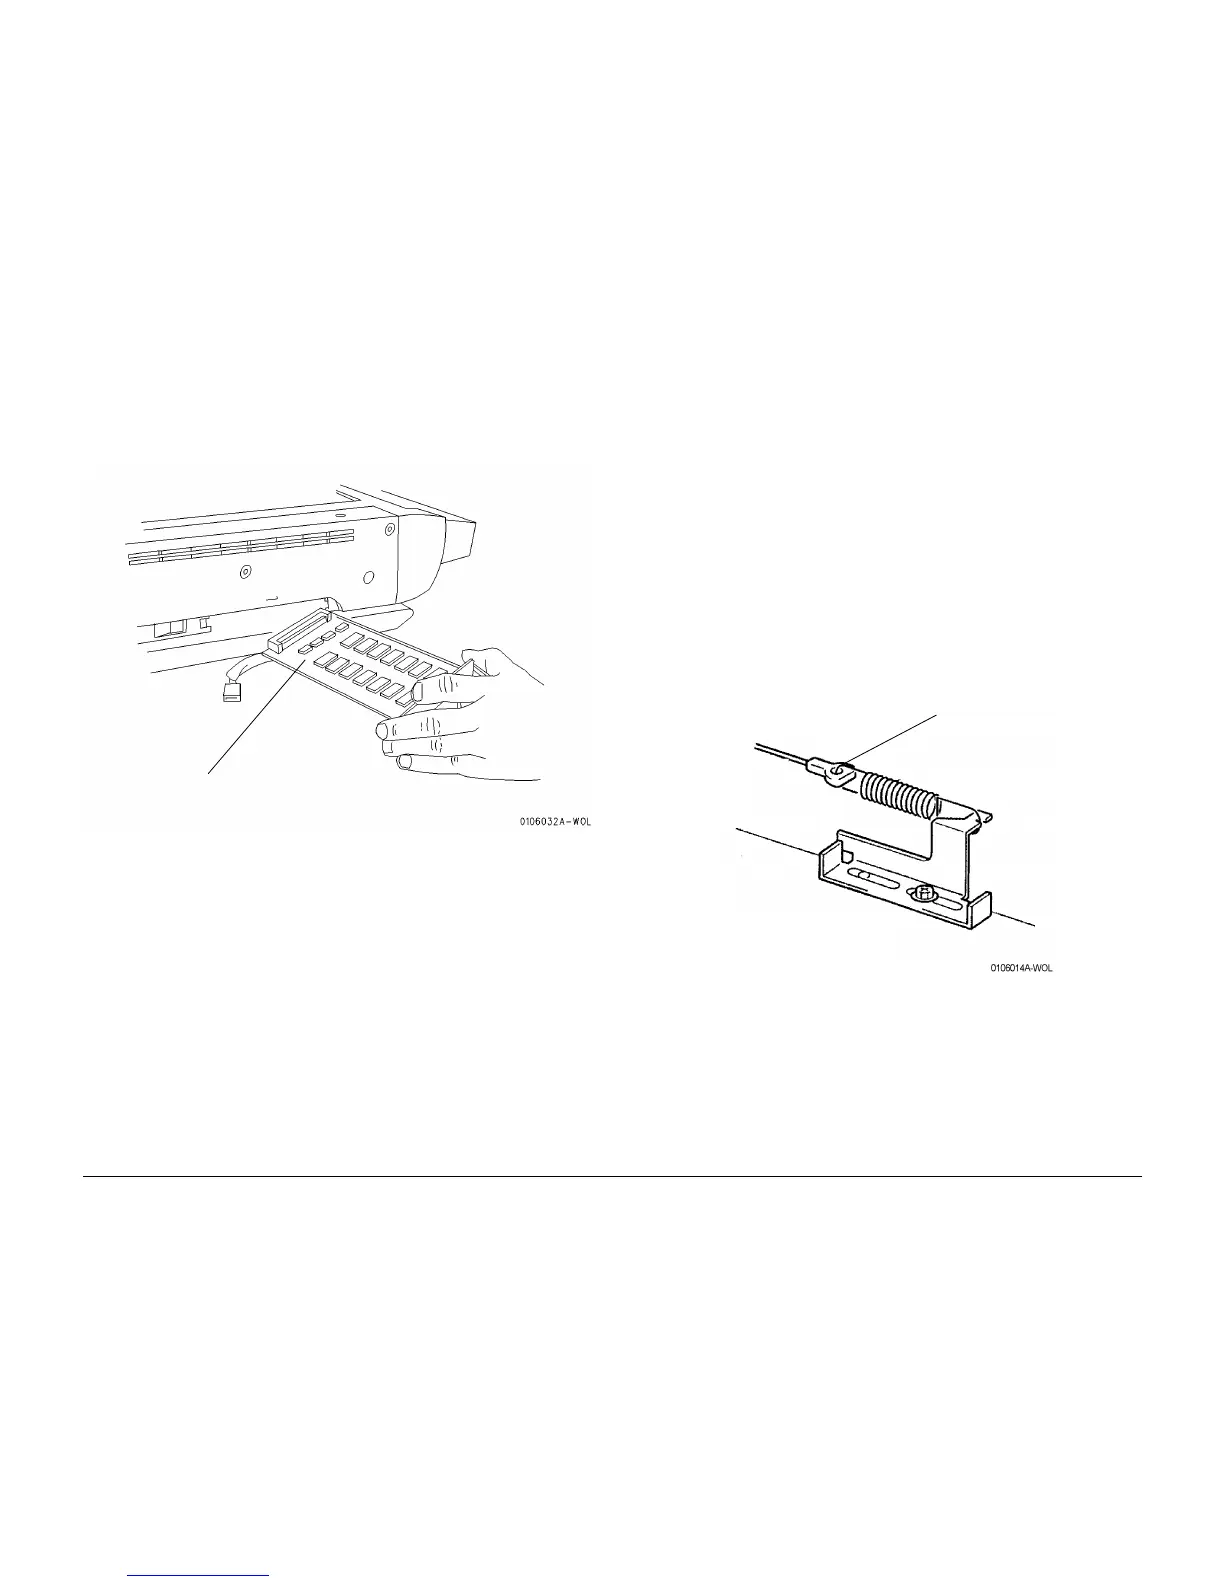
3. Remove the Advanced Features Memory PWB (Figure 2).
Figure 2 Removing the Advanced Features Memory PWB
Replacement
1. Perform the procedure for removal in reverse.
REP 6.17 Front / Rear Cable Assembly
Parts List on PL 16.4
Removal
WARNING
To avoid personal injury or shock, do not perform repair activities with the power switch
on or electrical power applied to the machine.
1. Switch off the machine power and disconnect the machine Power Cord.
NOTE: The front and rear Cable Assemblies are mirror-image. Therefore, this procedure is
used for the removal / replacement of either of the assemblies.
2. Remove the Platen Glass (REP 6.1).
3. Remove the Right Cover. (REP 6.2).
4. Remove the Left Cover (REP 6.3).
5. Remove the Rear Cover (REP 6.4).
6. Remove the Control Panel Assembly (REP 6.23).
7. Remove the Full-Rate Carriage (REP 6.21).
8. Remove the Front / Rear Cable Assembly (Figure 1).
Figure 1 Removing the Front / Rear Cable Assembly
1
Remove the Advanced Features
Memory PWB
1
Unhook the Spring
and remove the
Cable Assembly