2.
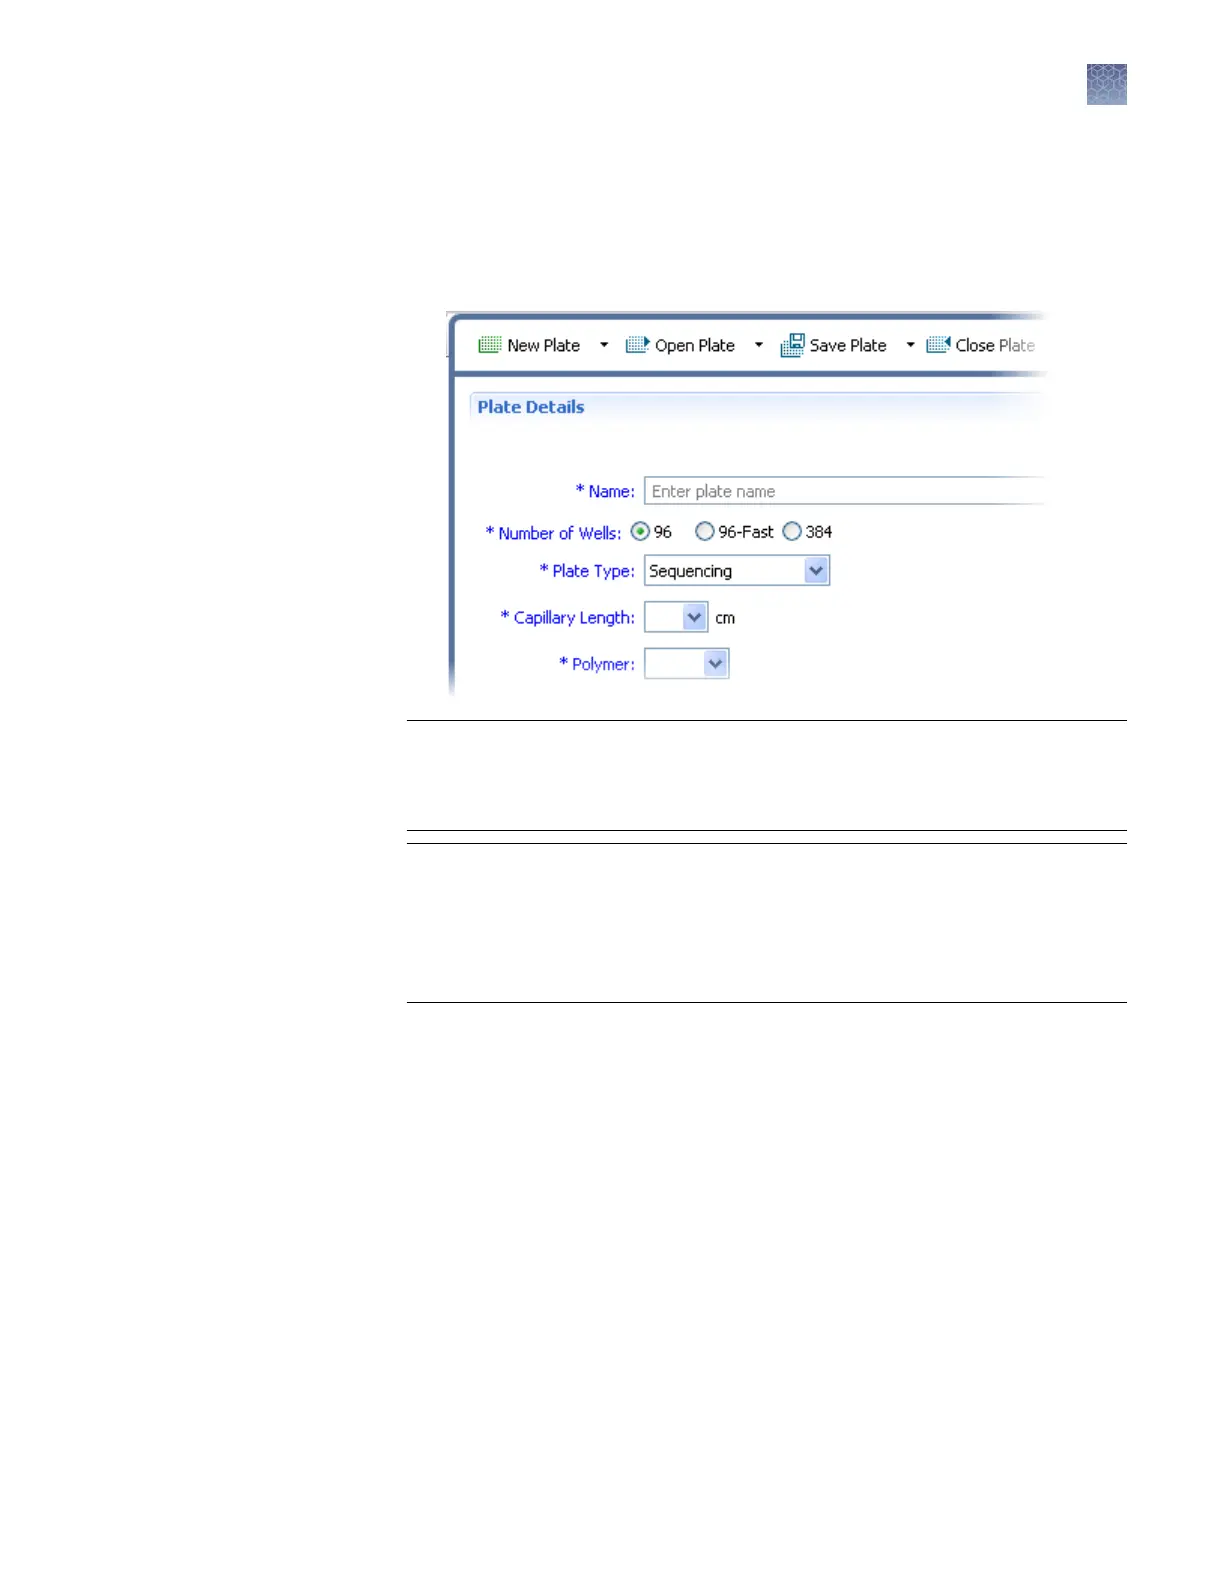
In the Dene Plate Properties screen, enter the plate name and select the number
of wells on the plate.
• Find templates by selecting an aribute, entering the text to search for, then
clicking Go. (Click Clear to clear the eld and enter dierent search criteria).
• Select a template, then click Open.
IMPORTANT! Enter only alpha-numeric characters in the softw
are. Special
characters may not be correctly displayed in some software screens, may cause
problems with plate, le, folder, user account, and/or library item names, and
may interfere with starting a run and/or importing and exporting library items.
IMPORTANT! If y
ou copy/paste sample or plate information into the Assign
Plate Contents screen or into a plate import le, copy from a plain text editor
such as Notepad. Do not copy from a word processing program such as
Microsoft
™
Word
™
, which may include invisible, non-ASCII characters. Non-
ASCII characters in plate or sample information may cause a run to stop or may
prevent a run from starting.
• 96—Select if y
ou are using a 96-well standard reaction plate or 8-strip
standard tubes with a retainer.
• 96-Fast—Select if you are using a 96-well Fast reaction plate or 8-strip fast
tubes with a retainer.
• 384—Select if you are using a 384-well reaction plate (24-capillary
instruments only).
3.
(Optional) Enter Owner, Barcode, and Description for the plate. For more
information on these parameters, see “Plates library“ on page 142.
4.
(Optional) In the boom section of the screen, specify auto-analysis seings for
the plate. Refer to the instructions provided with the secondary analysis
software.
5.
Click Save.
6.
Click Assign Plate Contents, then go to “Assign plate contents“ on page 44.
Chapter 3 Set up and run
Create or import a plate
3
3500/3500xL Genetic Analyzer User Guide—Data Collection Software v3.1
43