For a 24-capillary instrument, create a results group that species an injection folder
,
then select this results group for all injections on the plate.
For an 8-capillary instrument, create one results group for each set of three injections
on the plate (each results group species a results group name folder). For more
information, see “Results Group example 2: store re-injections in separate folders“ on
page 158.
1.
Pipet samples into the plate according to the plate layout (see “Print the plate
layout“ on page 50).
2.
Briey centrifuge the plate.
3.
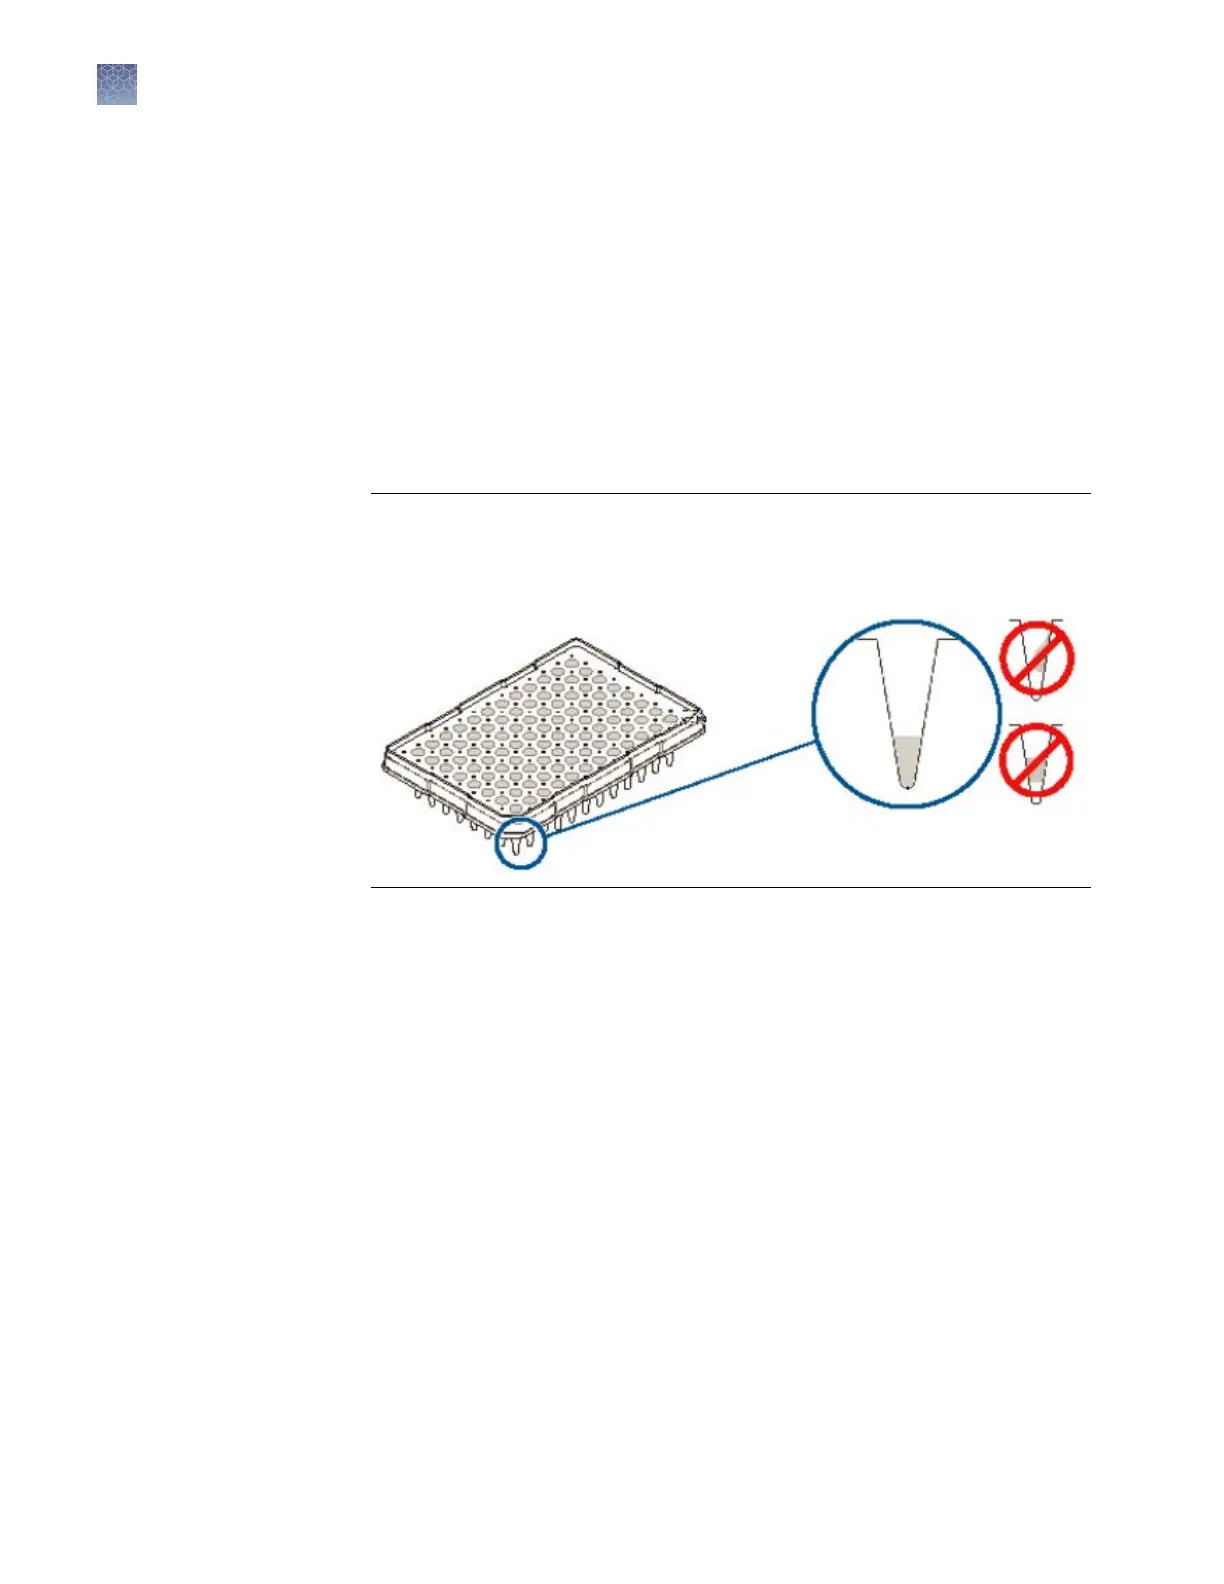
Verify that each sample is positioned correctly in the boom of its well.
IMPORTANT! If the contents of any w
ell contain bubbles or are not located at the
boom of the well, briey centrifuge the plate, remove the plate from the
centrifuge, and verify that each sample is positioned correctly in the boom of its
well.
4.
Store the plate on ice and protected from light until you prepare the plate
assembly and load the plate in the instrument.
Results group for
one allelic ladder
per run folder
Prepare sample
plates
Chapter 3 Set up and run
Prepare and load sample plates
3
52
3500/3500xL Genetic Analyzer User Guide—Data Collection Software v3.1