1.
Do either of the following:
• Create a plate on another 3500 Series Data Collection Software 3.1 computer,
then export (see “Import and export a plate“ on page 79).
• Create a plate import le (see “Create a plate import le“ on page 78.
IMPORTANT! If you copy/paste sample or plate information into the Assign
Plate Contents screen or into a plate import le, copy from a plain text editor
such as Notepad. Do not copy from a word processing program such as
Microsoft
™
Word
™
, which may include invisible, non-ASCII characters. Non-
ASCII characters in plate or sample information may cause a run to stop or may
prevent a run from starting.
2.
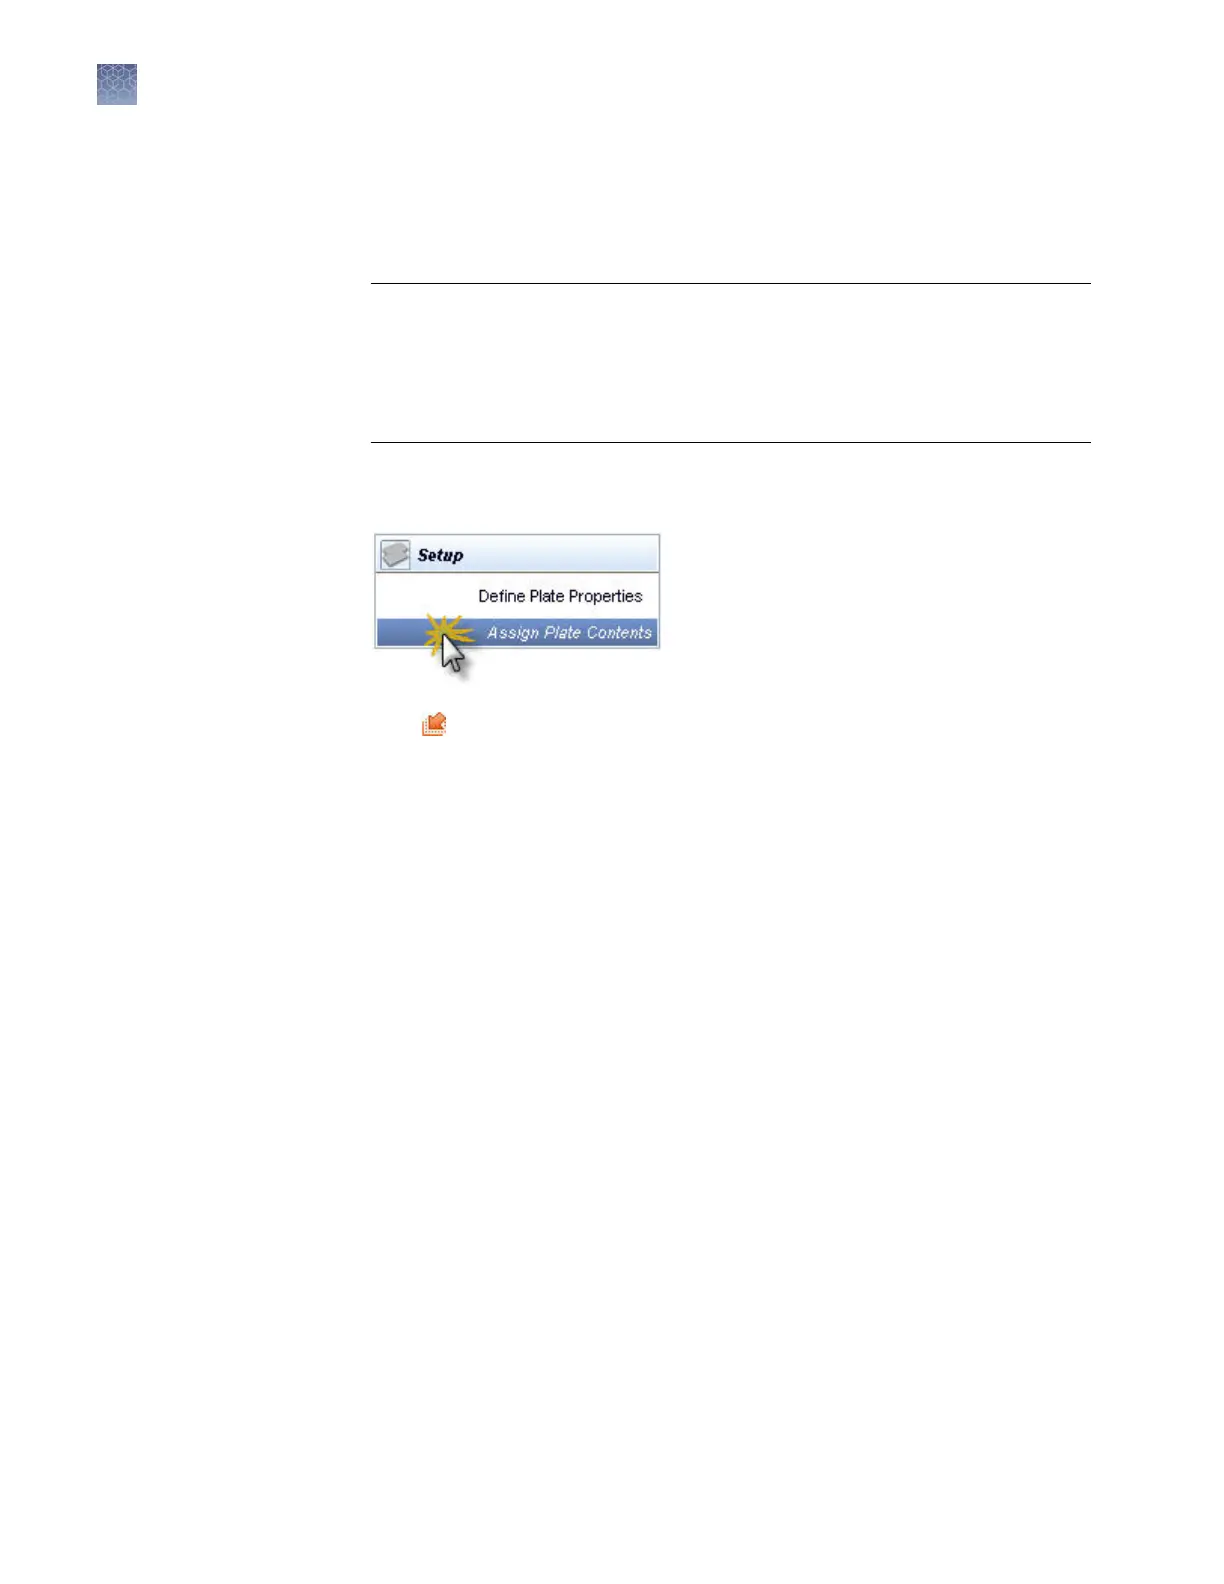
Access the Assign Plate Contents screen: Click the W
orkow tab in the
Dashboard, then select Assign Plate Contents in the navigation pane.
3.
Click
Import, then select the plate import le.
4.
Click Assign Plate Contents.
As
sign plate contents
You assign the following information to the wells in a plate before you can run the
plate:
• Sample names and sample types (required)—Identies the well positions of each
sample for data collection and processing.
• Assay (required)—Species the parameters that control data collection and
primary analysis (basecalling or sizing). All named wells on a plate must have an
assigned assay. For more information on assays, see “Assays library“ on page 144.
• Filename convention (optional)—Species le naming. For more information, see
“File name convention overview“ on page 147.
• Results group (optional)—Species sample data le storage. For more
information on assays, see “Results Group overview“ on page 152.
Import a plate
Chapter 3 Set up and run
Assign plate contents
3
44
3500/3500xL Genetic Analyzer User Guide—Data Collection Software v3.1