6. GUI orientation
Or,
Select the layer from the preview canvas.
The layer is selected.
Image 6-55
When the layer is selected and is visible on the canvas, it will have a blue highlight around the layer.
2. Click on the A djust tab that is on the top of the ad justment area.
The layer adjustment panel is d isplayed.
It is possible to select mu ltiple layers by clicking on the each targeted layer.
Layer adjustment panel description
The Layer adjustment panel allows access to gen eral layer adjustments and takes effect only if a layer is s elected.
Layer adjustments are p erformed o n individual layers. W hen multiple laye rs are selected, the adjustments are
disabled.
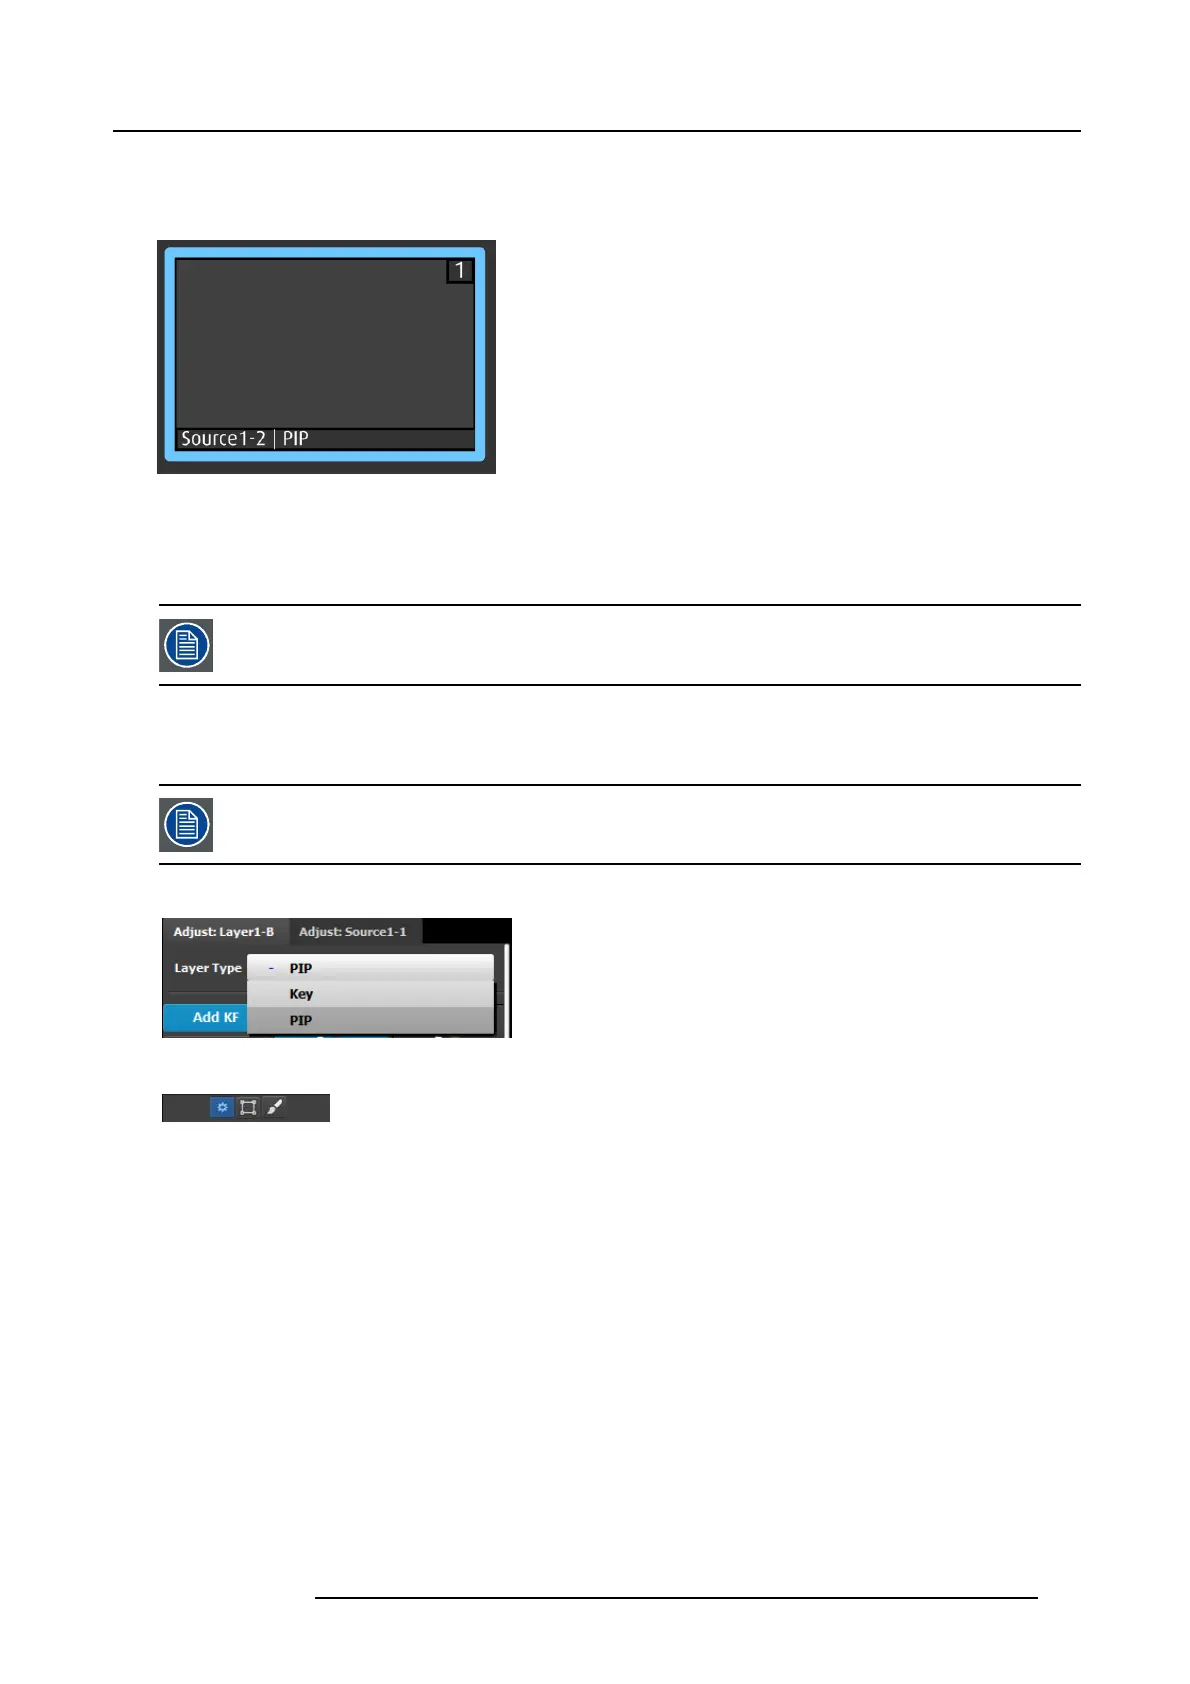
The upper part of the panel is always visible:
This part includes:
• Layer type: Lay er can be a PIP or a Key. The available
adjustments depend on the selected mode.
• Keyframes: T here are 2 KeyFrames per layer.
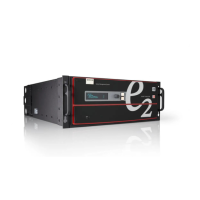
The lower par t of the panel provides menus for layer sizing and color a djustments
• Main ad justment : B order and Shadows
• Layer W indow adjustment: Size, Position, Mask
• Layer Color Effects adjustment: Brightness, Co ntrast,
Gamma, Hue, Saturation, Mon ochrome, Invert
PIP/KEYselection
The first selection is the choice for the layer type: PIP or a K ey. Depending on the selection, the rest of the m enu will adapt.
Keyframes
In a PIP “move,” Keyframe is a point where an action or a change occurs. For example, a PIP movement is described by two
keyframes. The first ke yframe is the state of the PIP at the initial point of the movement. The second keyframe is the point where
the PIP moves to. The size and color attributes can also c hange during the mov e.
By default, the initial pos ition and state of the layer is keyframe 1. The user can change the s ize, and change the border and shadow
parameters before defining Keyframe2. After c hanges are done to Keyframe1, the second keyframe can be added by pressing
the “Add K F” button. A ne w position and size can be defined and adjustme nts to the border and shadow parameters to define the
second Keyframe.
R5905948 E2 12/12/2014
121