CAPINTEC, INC. CAPTUS
®
3000
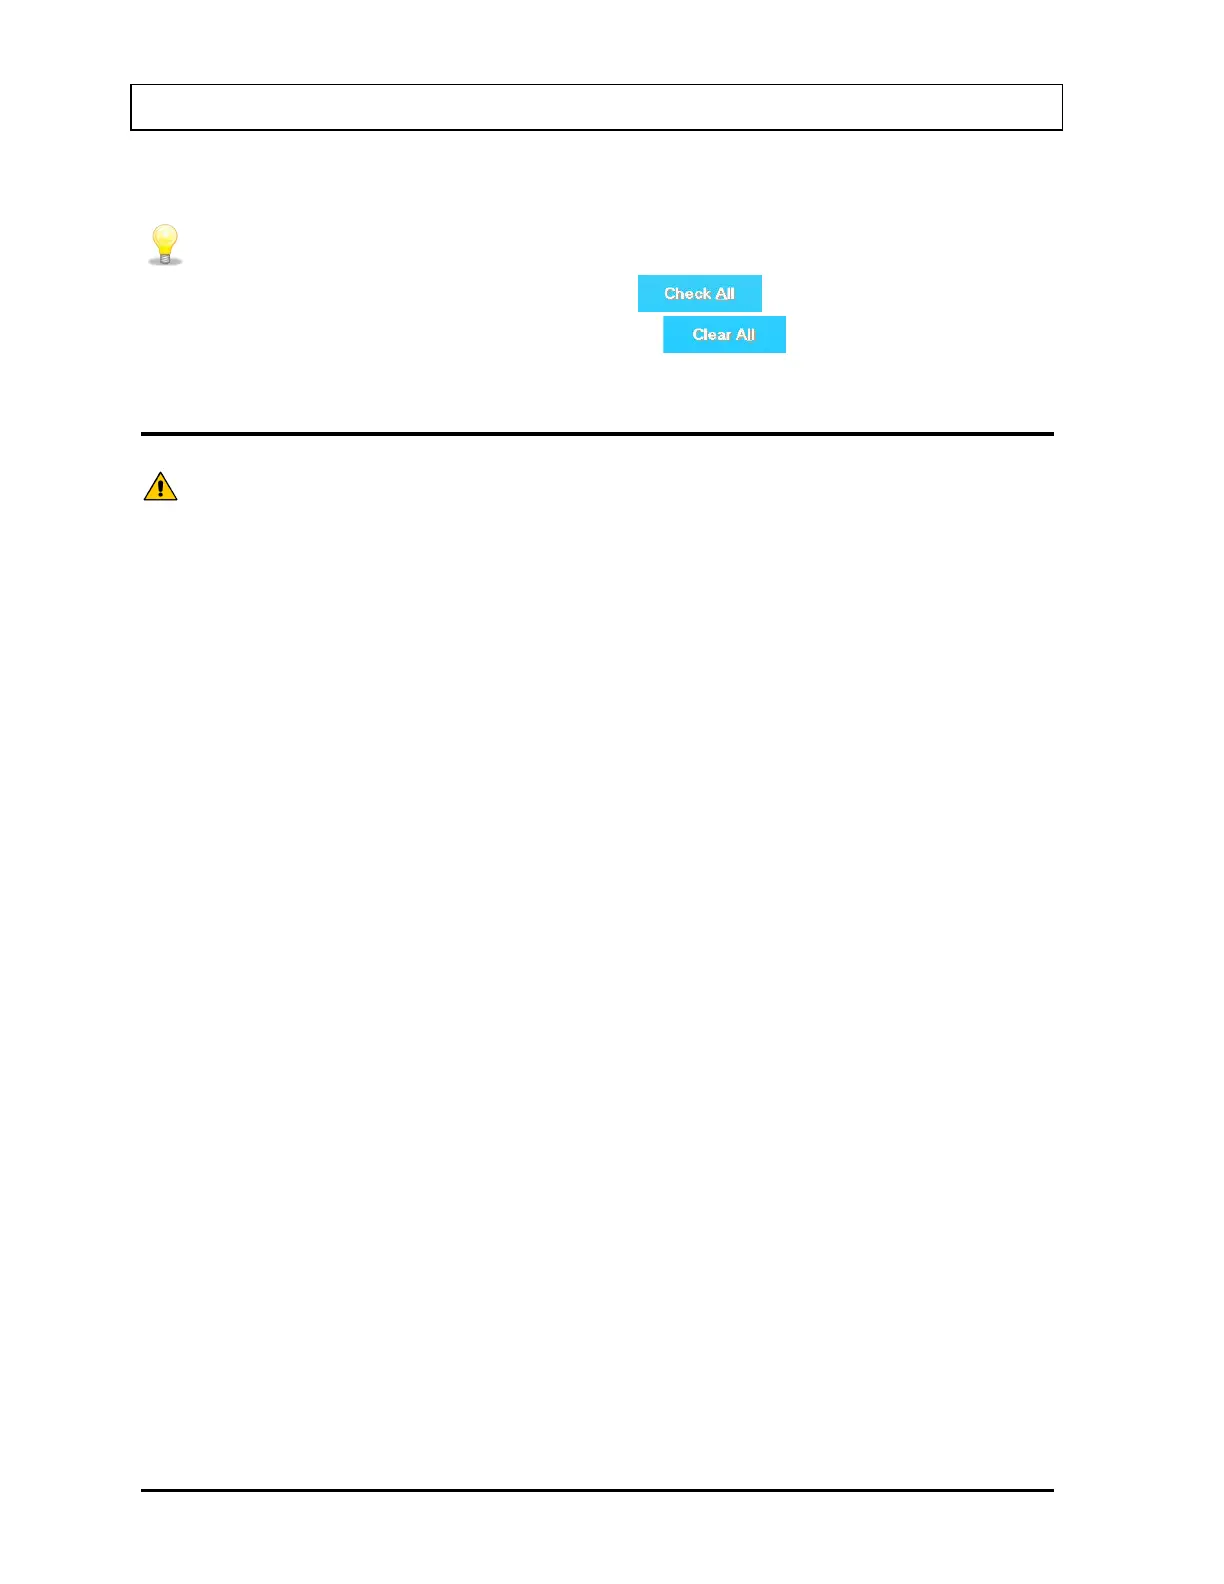
• Select ALL in Preset Groups to be able to see all wipe locations.
• To check all wipe locations, click the
button or press Alt+A.
• To deselect all wipe locations, click the button or press Alt+L.
MAKING MEASUREMENTS
CAUTION: Calibration is recommended before making any measurements. Refer to
CHAPTER 5: QUALITY ASSURANCE TESTS; SECTION: AUTO
Note: A wipe location must be created before making any measurements. Refer to
GROUPS on page 8-6.
For an isotope to be identified in the wipe test, the isotope must have been selected
in the Isotope Library. Refer to SELECTING ISOTOPES FOR WIPE TEST on page 8-
4.
The default settings for trigger level and counting time must be set before making any
measurements. Refer to EDITING WIPE LOCATION INFORMATION on page 8-9.
1. Select a group in the Preset Groups or User Defined Groups frame by clicking in its
radio button to view only those wipe locations that belong to that group.
2. Click inside the Wipe Locations box to make it active.
3. To select a wipe location for measurement, use the keys or Page Up and Page Down
keys to move up or down in the wipe location list. If the list is long, the scroll bar is also
available. To reach a particular location, press the first letter of the location name. Press
the key if necessary, to go further down.
4. Place a check in the box next to the location name by either pressing the Spacebar while
the desired location is highlighted or, using the pointing device, click in the box next to the
desired location or by first highlighting the desired location by clicking and then double-
clicking anywhere in the grid to place a check in the box..
Note: The status of a check box can be toggled by quickly double-clicking the desired
item.
For example, in Figure 8-13 below, all Group2 (a user defined group) locations are
selected for measurement.
8-12 WIPE TESTS November 13