CAPINTEC, INC. CAPTUS
®
3000
Viewing Protocols
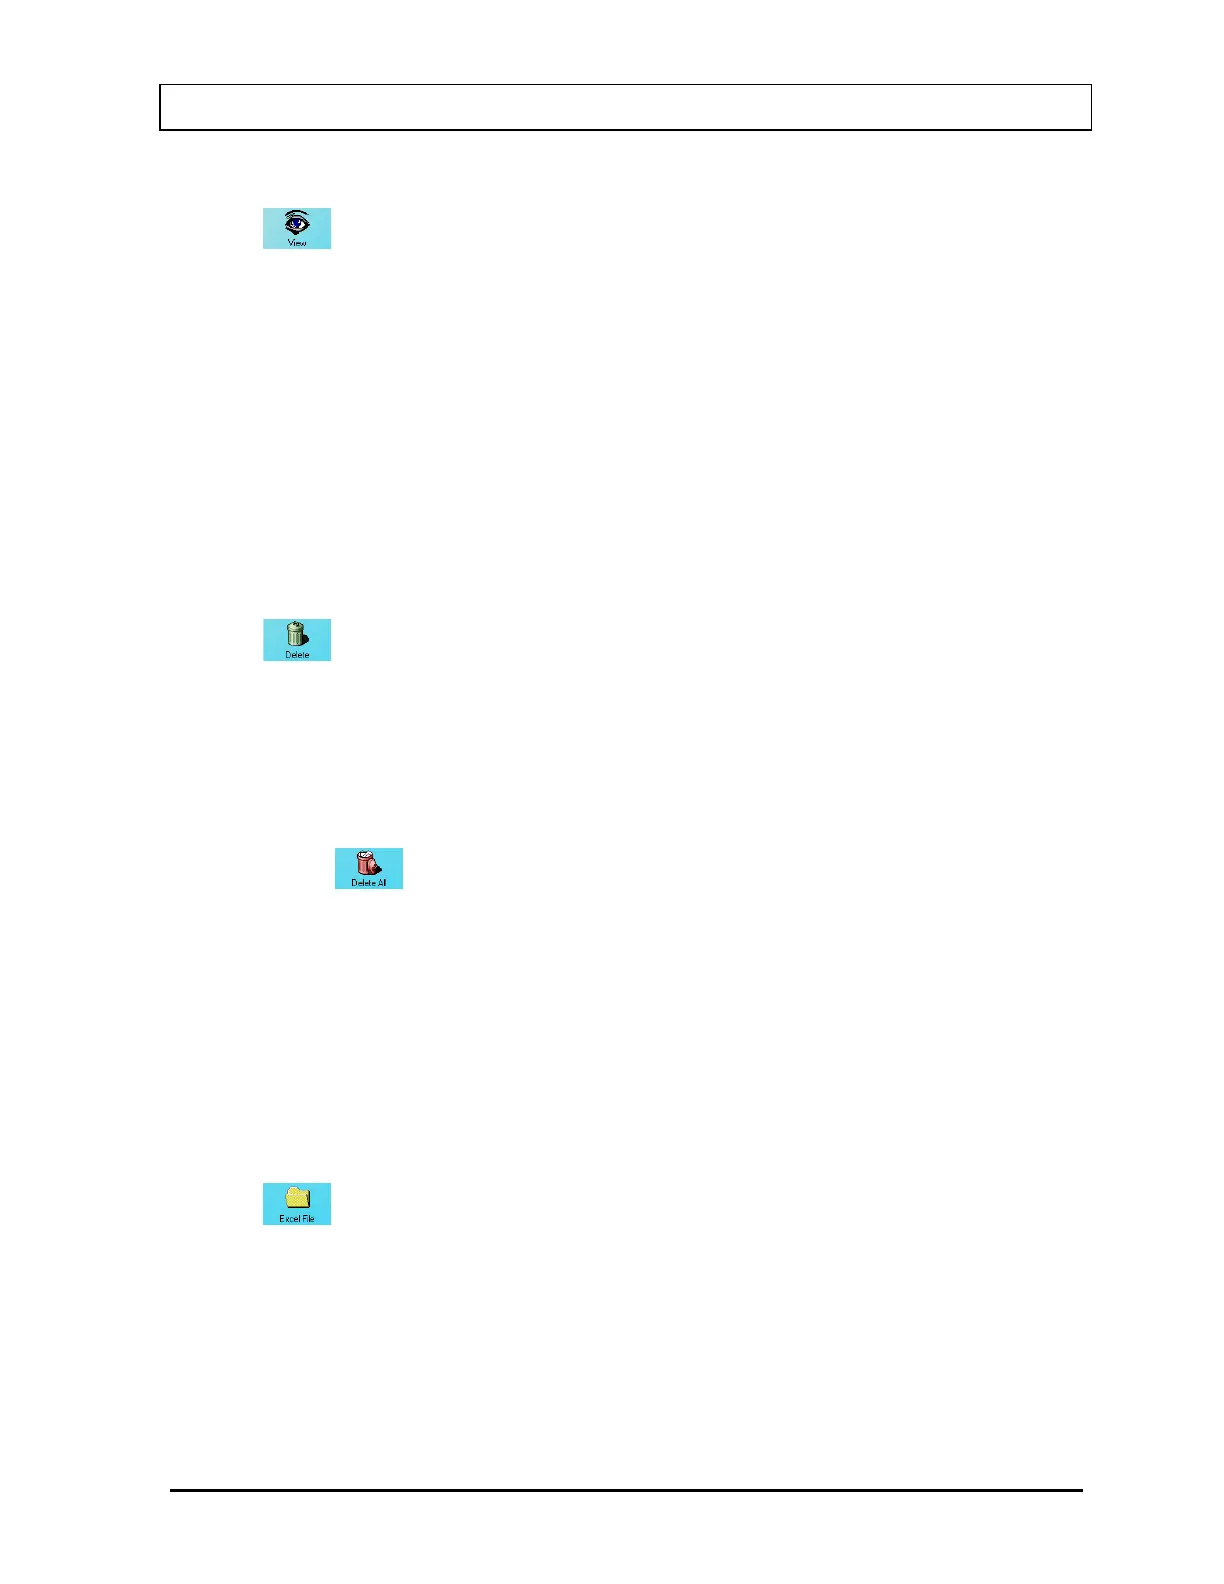
Click the
icon on Figure 16-2 Main Protocol Screen. You can then step through the
screens described in Adding Protocols and view the details of the protocol.
Deleting Protocols
On the Main Protocol Screen, select one or more protocols for deletion by clicking in the
check box to the left of the protocol name in the Protocols box. A check should appear in
the check box to indicate it has been selected. The Protocol can also be selected by first
highlighting the desired Protocol by clicking and then double-clicking anywhere in the grid to
place a check in the box. To deselect a protocol, click in its check box again or double-click
anywhere in the grid while the desired Protocol is highlighted and the check will be removed
from the check box.
Note: The status of a check box can be toggled by quickly double-clicking the desired item.
Click the
icon on Figure 16-2 Main Protocol Screen. You will be asked to verify the
deletion(s).
Note: You will not be allowed to delete a protocol if there is a patient test in progress using
the protocol.
Deleting All Protocols
Click the
icon on Figure 16-2 Main Protocol Screen. You will be asked to
verify the deletion(s).
Note: You will not be allowed to delete a protocol if there is a patient test in progress
using the protocol.
Selecting the Excel Workbook for the Protocol
Note: Before selecting a workbook for the protocol, the protocol must be set up in the
CAPTUS
®
3000 program then the steps outlined in section CUSTOM PROTOCOLS
EXCEL WORKBOOK on page 16-15 must be performed.
Click the
icon on Figure 16-2 Main Protocol Screen to enter or change the name of
the workbook to be used to analyze the data for the protocol. If the selected workbook has
already been assigned to a protocol, an error message will appear.
November 13 CUSTOM PROTOCOLS 16-7