Maintenance and Service
Pickup
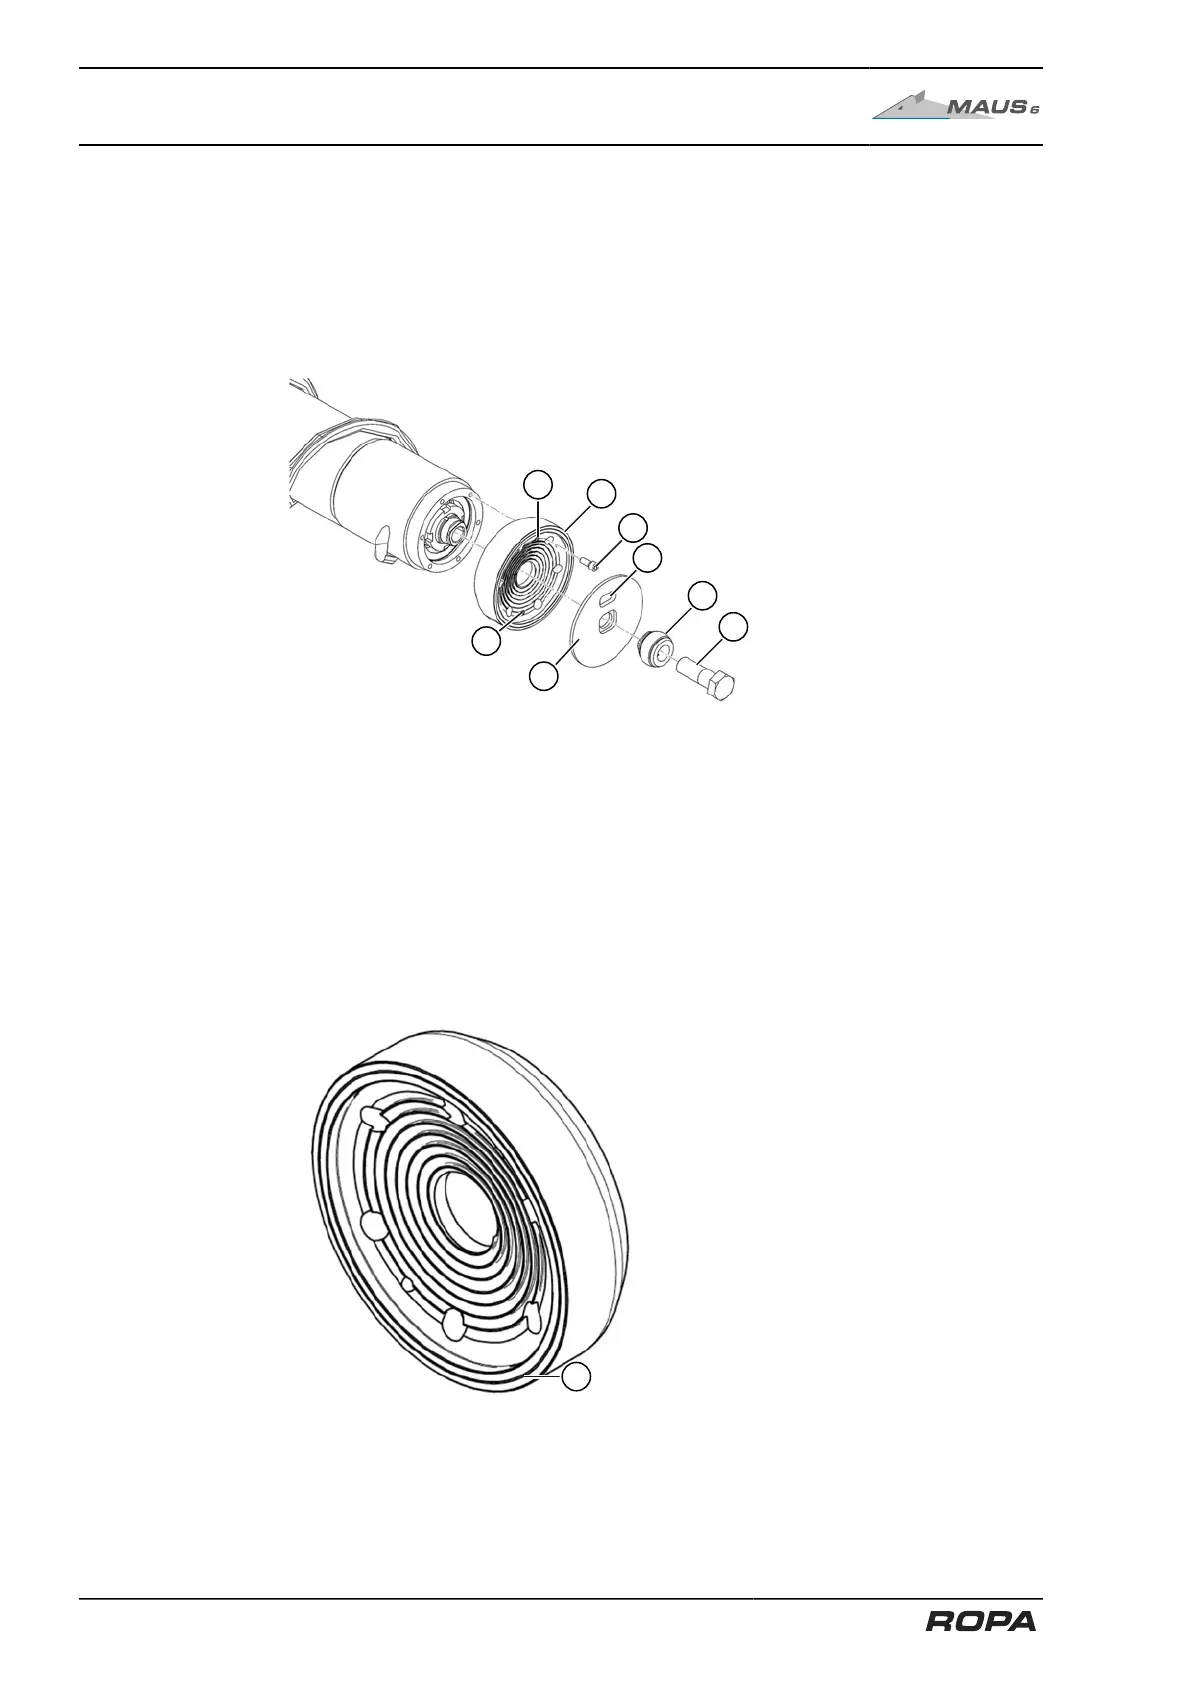
7.8.4.4 Replacing wear flange
On a new machine the distance between two wear flanges (28) is approx. 0.5 mm.
As soon as this distance is too high, more grass, weeds, beet leaves etc. will remain
stuck at the transition to the following conveyor.
ROPA recommends replacing the wear flanges as soon as the distance is 2-3 mm.
The replacement process is simple. The replacement does not affect the settings of
the taper roller bearings because they are behind the wear flange.
The basic procedure corresponds to the removal of pinch rollers, with the only differ-
ence being that the M24 fine-thread screw (16) is loosened first (do not unscrew com-
pletely).
To replace the wear flange (28) it is only necessary to remove the fastening screws
(29) of the wear flange. If the two grub screws (30) are screwed into the thread, the
wear flange is pressed out.
Wear flanges are required in two types:
– ROPA item no. 100225600 wear flange for clockwise rotating rollers (without mark-
ing)
– ROPA item no. 100225700 wear flange for anticlockwise rotating rollers (marking: 1
groove (1) on face)
The direction of rotation is always recognised by looking at the face of the wear flange.
404 / 546