Startup Guide Flow
82
Startup Guide Flow
The startup guide is a function to help you through the initial product settings (language selection, date
and time settings, loading media, etc.).
You can cancel the startup guide and perform the configuration later from the menu.
• The time zone setting screen appears if the NTP function is enabled or the optional
RTC (Real Time Clock) kit is installed.
• The date and time setting screen appears if the NTP function is disabled and the
optional RTC kit is installed.
• Tapping a selection opens the next screen. To move manually to the next or previous
screen, tap / or slide the screen to the left or right.
1.
Press the (Power/Home) button on the operator panel until the LED lights
blue to power on the product.
The startup guide screen appears.
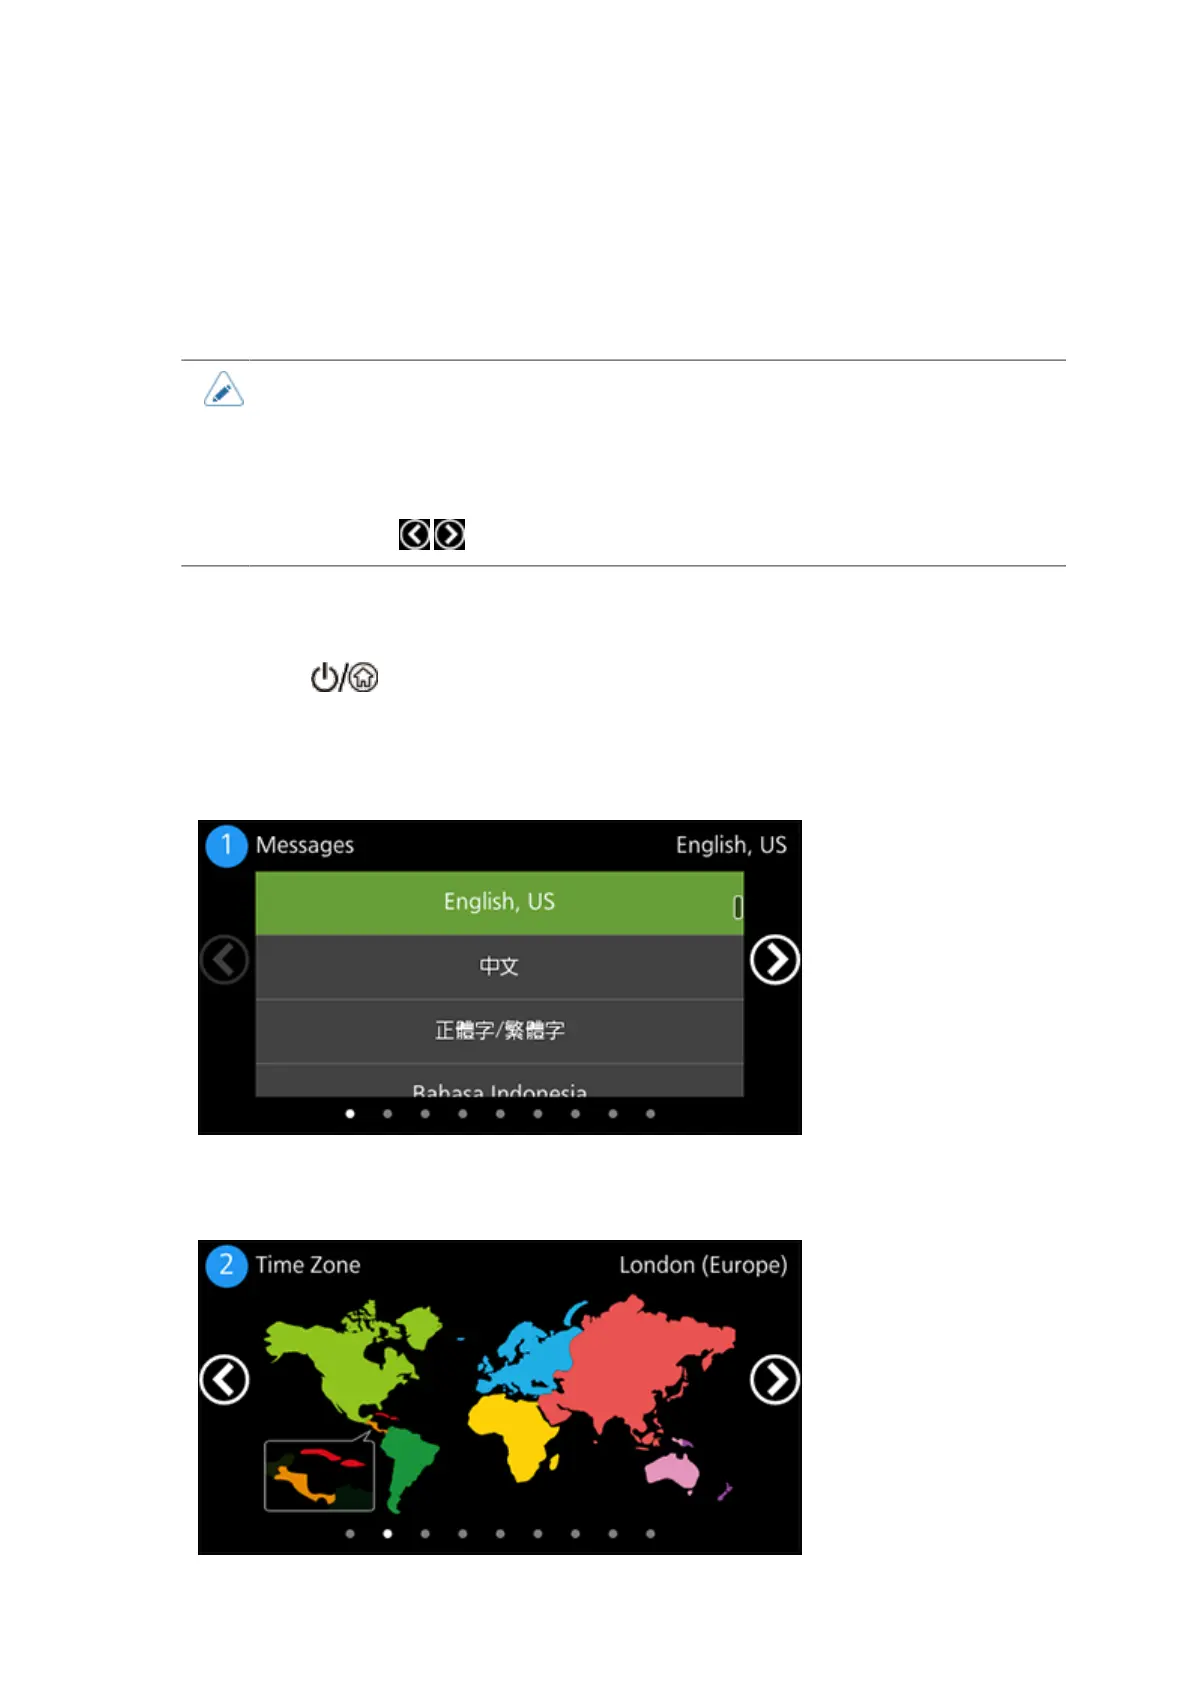
2. Tap the display language.
3. Tap the region to set for the time zone.
(Appears if you have enabled the NTP function or installed the optional RTC kit.)