284 Upgrade and Maintenance Manual TX300 S7 / RX350 S7
Hard disk drives / solid state drives
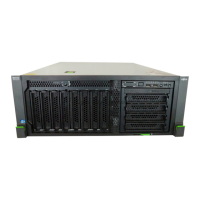
7.3.9 Replacing a 3.5-inch HDD SAS backplane
7.3.9.1 Required tools
● Preliminary and concluding steps: tool-less
● Replacing the HDD SAS backplane:
– Phillips PH2 / (+) No. 2 screw driver
7.3.9.2 Preliminary steps
Before replacing a 3.5-inch HDD SAS backplane, perform the following steps:
Ê Shut down the server as described in section "Shutting down the server" on
page 71.
Ê Remove the AC power cords from the PSU cable brackets and disconnect
them from the system as described in section "Disconnecting the server
from the mains" on page 72.
Ê When working on a rack-mounted server, extend it out of the rack as
described in section "Extending the server out of the rack" on page 76.
If further required, remove the server from the rack as described in section
"Removing the server from the rack" on page 77.
Ê Open the side / top cover as described in section "Removing the top cover"
on page 79 (rack server) or "Removing the side cover" on page 88 (tower
server).
Ê Remove all HDD modules from the server as described in section
"Replacing a 3.5-inch HDD SAS backplane" on page 284.
Ê Pull out the ID card and open the front cover as described in section
"Opening the server" on page 79.
Ê Remove the air duct as described in section "Removing the system air duct"
on page 100.
Upgrade and Repair Units (URU)
Average task duration: 15 minutes
 Loading...