TX300 S7 / RX350 S7 Upgrade and Maintenance Manual 755
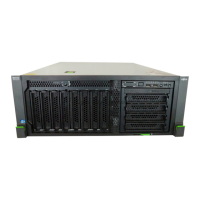
Accessible drives
Ê Close the side / top cover as described in section "Mounting the top cover"
on page 115 (rack server) or "Mounting the side cover" on page 122 (tower
server).
Ê When working on a rack-mounted server, secure it in the rack as described
in section "Sliding the server into the rack" on page 132.
If the server has been completely removed from the rack for maintenance
purposes, reinstall and secure it in the rack as described in section
"Mounting the server in the rack" on page 130.
Ê Reconnect the AC power cords to the power supply units and secure them
with PSU cable brackets as described in section "Connecting the server to
the mains" on page 133.
12.7.3 Replacing the slimline ODD
12.7.3.1 Required tools
● Preliminary and concluding steps: tool-less
● Replacing a slimline ODD:
– Phillips PH2 / (+) No. 2 screw driver
– Slotted screw driver (for bending in or out accessible drive mounting
brackets)
12.7.3.2 Preliminary steps
Before replacing a slimline ODD, perform the following steps:
Ê Locate the desired server as described in section "Locating the defective
server" on page 64.
Ê Remove all backup and optical disk media from backup and optical disk
drives as described in section "Removing backup and optical disk media" on
page 144.
Upgrade and Repair Units (URU)
Average task duration: 10 minutes
 Loading...