790 Upgrade and Maintenance Manual TX300 S7 / RX350 S7
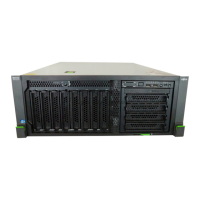
Front panel and external connectors
13.2.2 Removing the front LAN connector
13.2.2.1 Required tools
● Preliminary and concluding steps: tool-less
● Removing the front LAN connector: tool-less
13.2.2.2 Preliminary steps
Before removing the front LAN connector, perform the following steps:
Ê Disable BitLocker functionality as described in section "Disabling BitLocker
functionality" on page 141.
Ê Locate the desired server as described in section "Locating the defective
server" on page 64.
Ê Shut down the server as described in section "Shutting down the server" on
page 71.
Ê Remove the AC power cords from the PSU cable brackets and disconnect
them from the system as described in section "Disconnecting the server
from the mains" on page 72.
Ê When working on a rack-mounted server, extend it out of the rack as
described in section "Extending the server out of the rack" on page 76.
If further required, remove the server from the rack as described in section
"Removing the server from the rack" on page 77.
Ê Bring the server to its horizontal position.
Ê Open the side / top cover as described in section "Removing the top cover"
on page 79 (rack server) or "Removing the side cover" on page 88 (tower
server).
Ê Pull out the ID card and open the front cover as described in section
"Opening the server" on page 79.
Upgrade and Repair Units (URU)
Average task duration: 10 minutes
 Loading...