4. POINTS, BOUNDARIES
4-15
4.13 How to set Point Naming Functions
In the default setup, a point or event mark is automatically assigned the name
“WPXXX” (XXX=three-digit number, sequential order, starting with 001). If you do not
need automatic numbering or you want to change the prefix “WP” to something else,
follow the procedure below.
1. Go to the Home screen, then tap [Settings]→[Points & Boundaries].
2. Turn [Automatic Naming] ON (automatic naming enabled) or OFF (automatic
naming disabled) is required.
3. To change the name prefix, tap [Automatic Naming Prefix] to show the software
keyboard.
4. Enter desired name prefix, then tap [9]
5. ×Tap the close button on the title bar to finish.
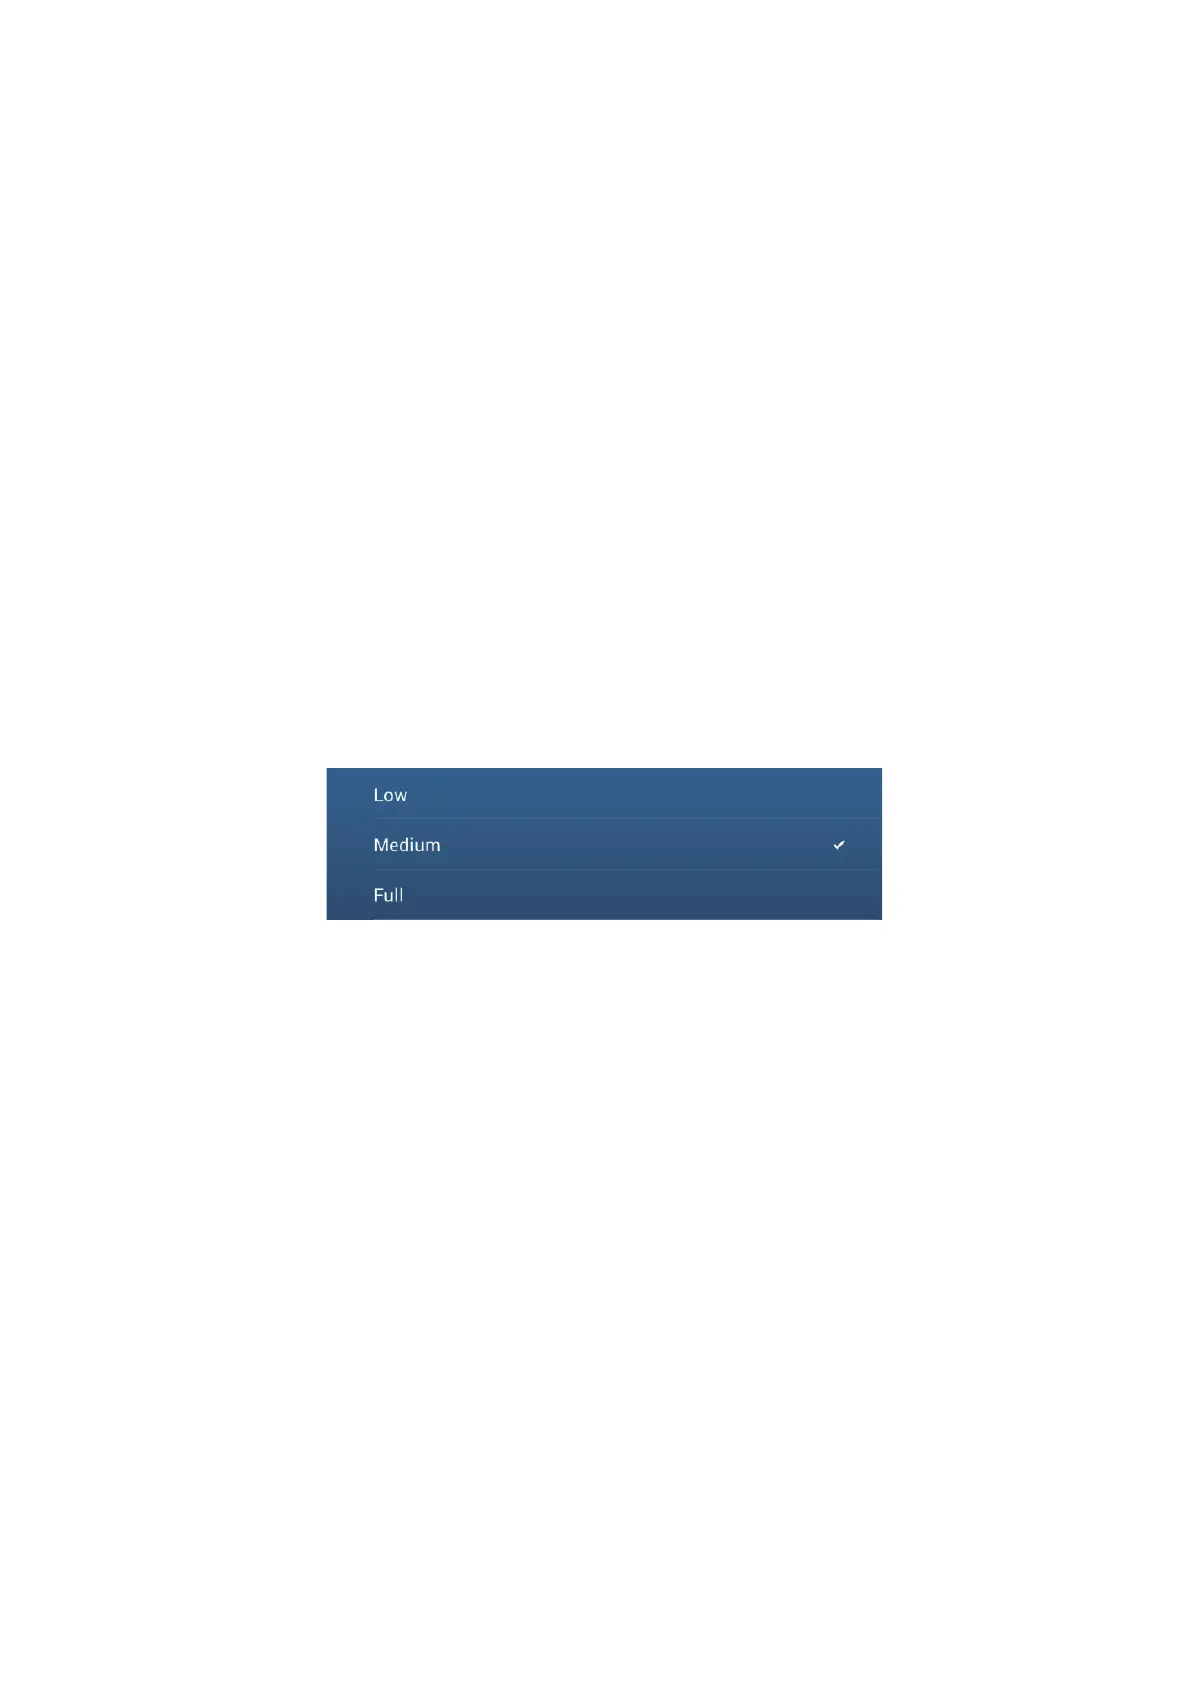
4.14 How to Set Point Density
The screen can become cluttered if all points are shown. To prevent this, set point
density as shown below to limit the number of points to show.
1. On the Home screen, tap [Settings]→[Points & Boundaries]→[Point Density] to
show the following options menu.
2. Tap desired point density. [Low] is the lowest point density, and [Full] displays all
points.
3. Tap X on the title bar to close the menu.
 Loading...