Repair information 4-83
7510
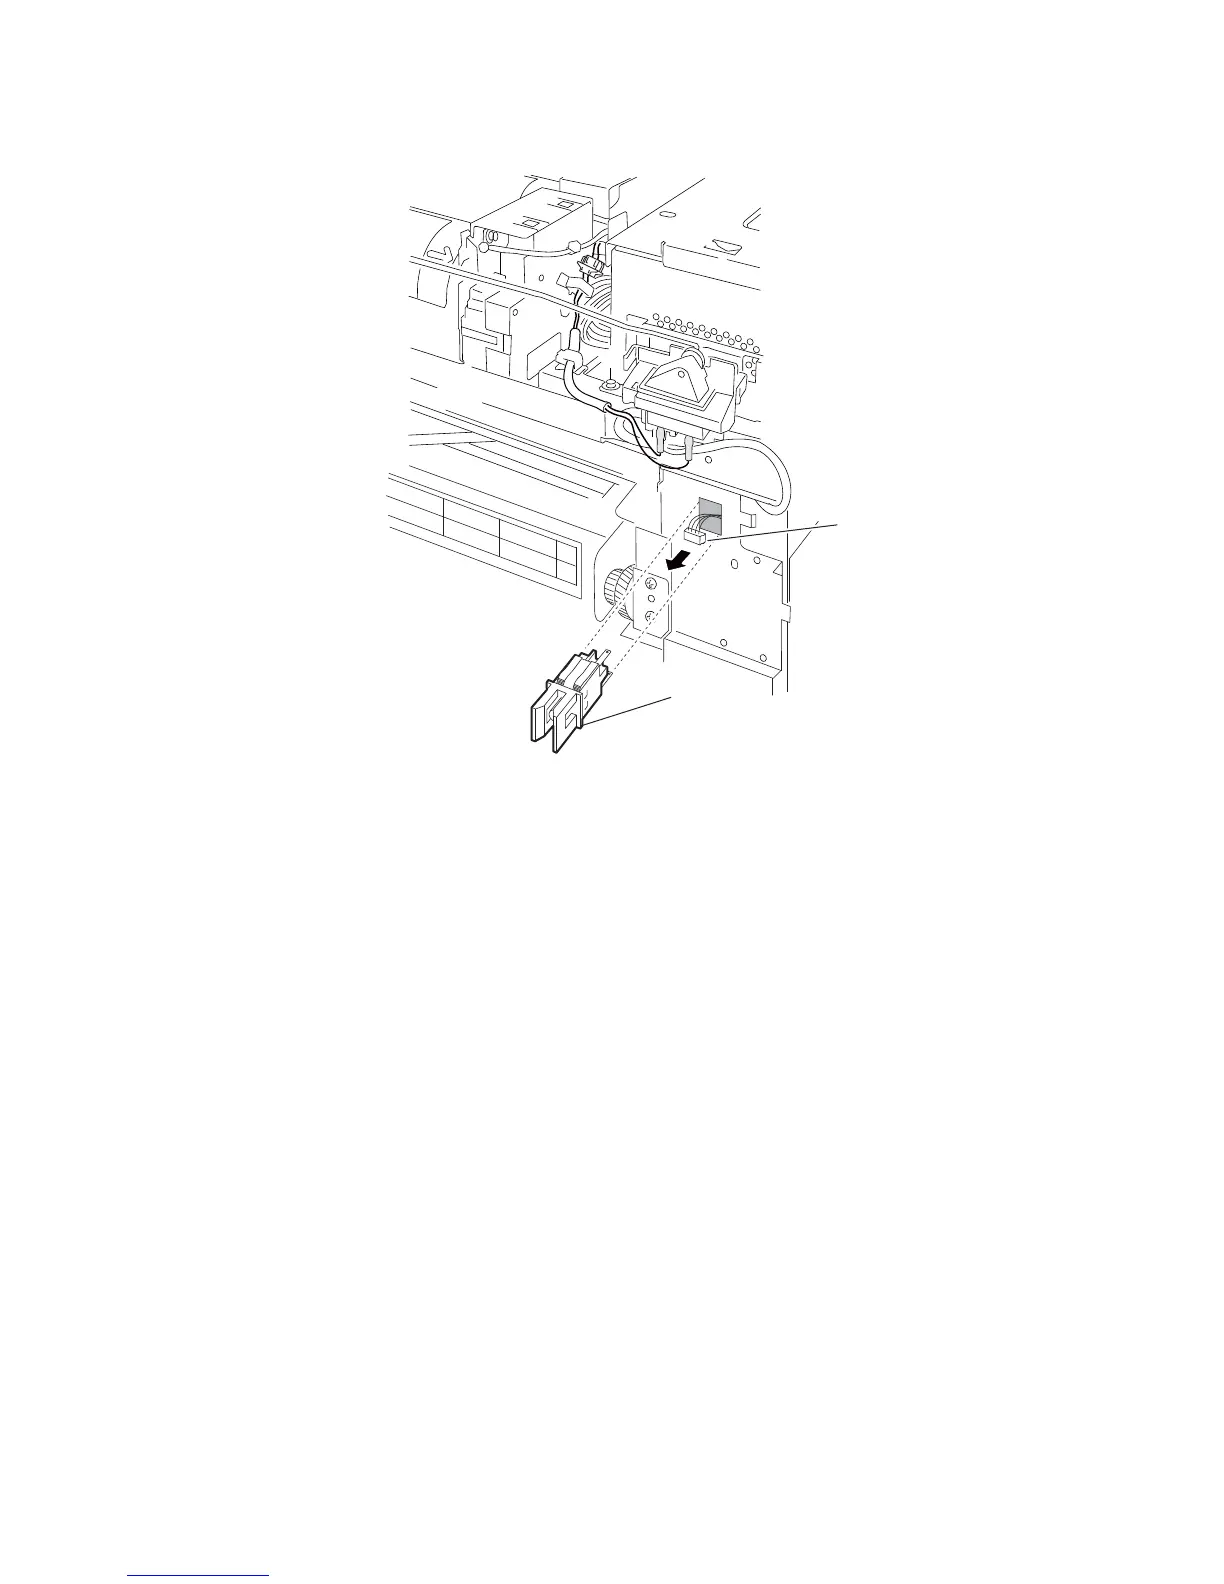
7. Remove the switch (transfer belt access door interlock) (A).
Laser diode power card assembly removal
1. Remove the rear cover assembly. See “Rear cover assembly removal” on page 4-5.
2. Remove the rear upper cooling fan bracket assembly. See “Rear upper cooling fan bracket assembly
removal” on page 4-102.
3. Remove the developer / transfer roll HVPS card assembly. See “Developer / transfer roll HVPS card
assembly removal” on page 4-103.
4. Remove the lower printer engine card bracket assembly. See “Lower printer engine card bracket assembly
removal” on page 4-79.
5. Disconnect the connector from the laser diode power card assembly (A).
6. Release the four plastic supports with needle nose pliers.
 Loading...