Chapter 3: FRU Removal and Replacement Procedures
Replacing Node CMOS Battery
Quantum DXi6900 G1 User’s Guide 113
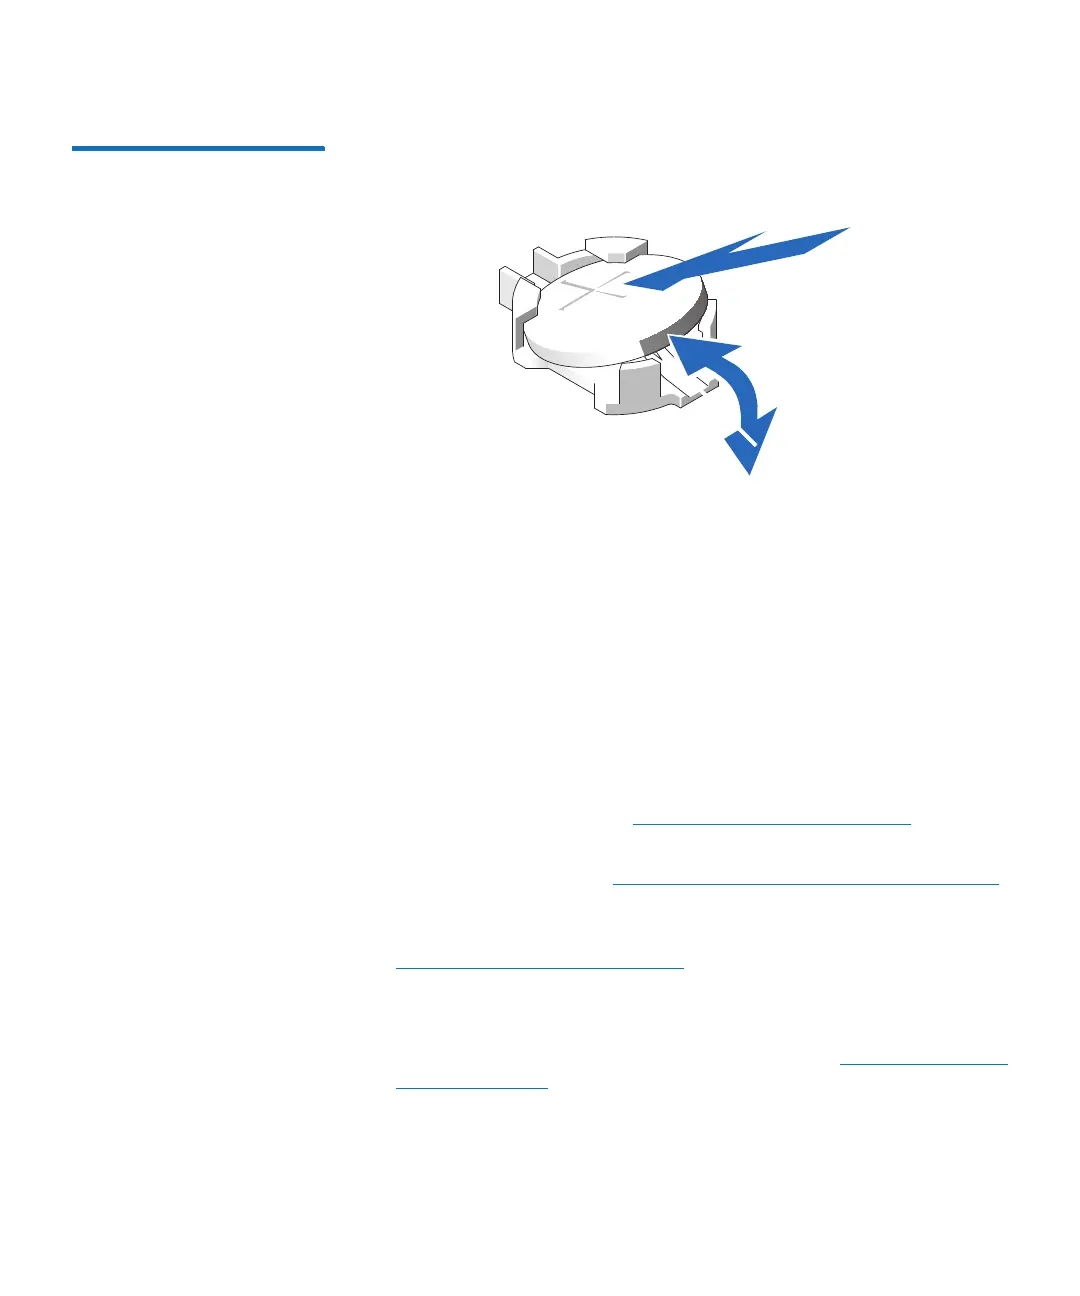
Figure 63 Removing and
Installing a CMOS Battery
5 Lift the battery out of the securing tabs at the negative side of the
connector.
Installing a Replacement CMOS Battery in the Node
To install the replacement CMOS battery in the DXi6900 G1 Node:
1 Support the battery connector by pressing down firmly on the
positive side of the connector.
2 Hold the battery with the “+” facing up and slide it under the
securing tabs at the positive side of the connector.
3 Close the Node cover (see Opening and Closing the Node on
page 78).
4 Turn on the system (see Turning On and Shutting Down the System
on page 21).
5 Log on to the remote management console as the service user (see
Accessing Remote Management on page 23).
6 Navigate to the Status > Hardware > Summary > System Board
Details page to confirm that the battery is operating properly.
7 Verify that the BIOS settings are set correctly (see Required DXi6900
G1 BIOS Settings on page 234).
8 Navigate to the Configuration > System > Date & Time page to
enter the correct time and date.

 Loading...


